
A dirty keyboard is more than just an eyesore—it’s a breeding ground for bacteria, dust, and grime that can affect both hygiene and performance. Whether you're working from home or typing away in a busy office, cleaning your keyboard regularly is essential. The good news? You don’t need to remove every key to achieve a deep clean. With the right tools and techniques, you can maintain a spotless, functional keyboard using simple, non-invasive methods. This guide outlines proven strategies suitable for all types of keyboards—mechanical, membrane, laptop, or wireless—without risking damage from disassembly.
Why Cleaning Without Removing Keys Matters
Many users assume that effective keyboard cleaning requires pulling off each keycap to scrub underneath. While this method offers thorough access, it comes with risks: broken clips, misaligned keys, or difficulty reassembling certain models. For most day-to-day maintenance, removal isn’t necessary—and often discouraged by manufacturers.
Cleaning without removing keys preserves the integrity of your device while still addressing the primary sources of contamination: surface debris, oils from fingertips, and airborne particles trapped between keys. According to Dr. Lisa Chen, microbiologist at the Urban Workspace Health Initiative, “Keyboards can harbor up to 400 times more bacteria than a toilet seat. Regular surface cleaning significantly reduces microbial load, even without full disassembly.”
“Consistent surface maintenance prevents debris buildup that leads to mechanical failure over time.” — James Rourke, Electronics Technician & Peripheral Specialist
Essential Tools for Non-Invasive Keyboard Cleaning
Before diving into the cleaning process, gather the right supplies. Using improper materials (like paper towels or household cleaners) can scratch surfaces or leave residue. Here’s what you’ll need:
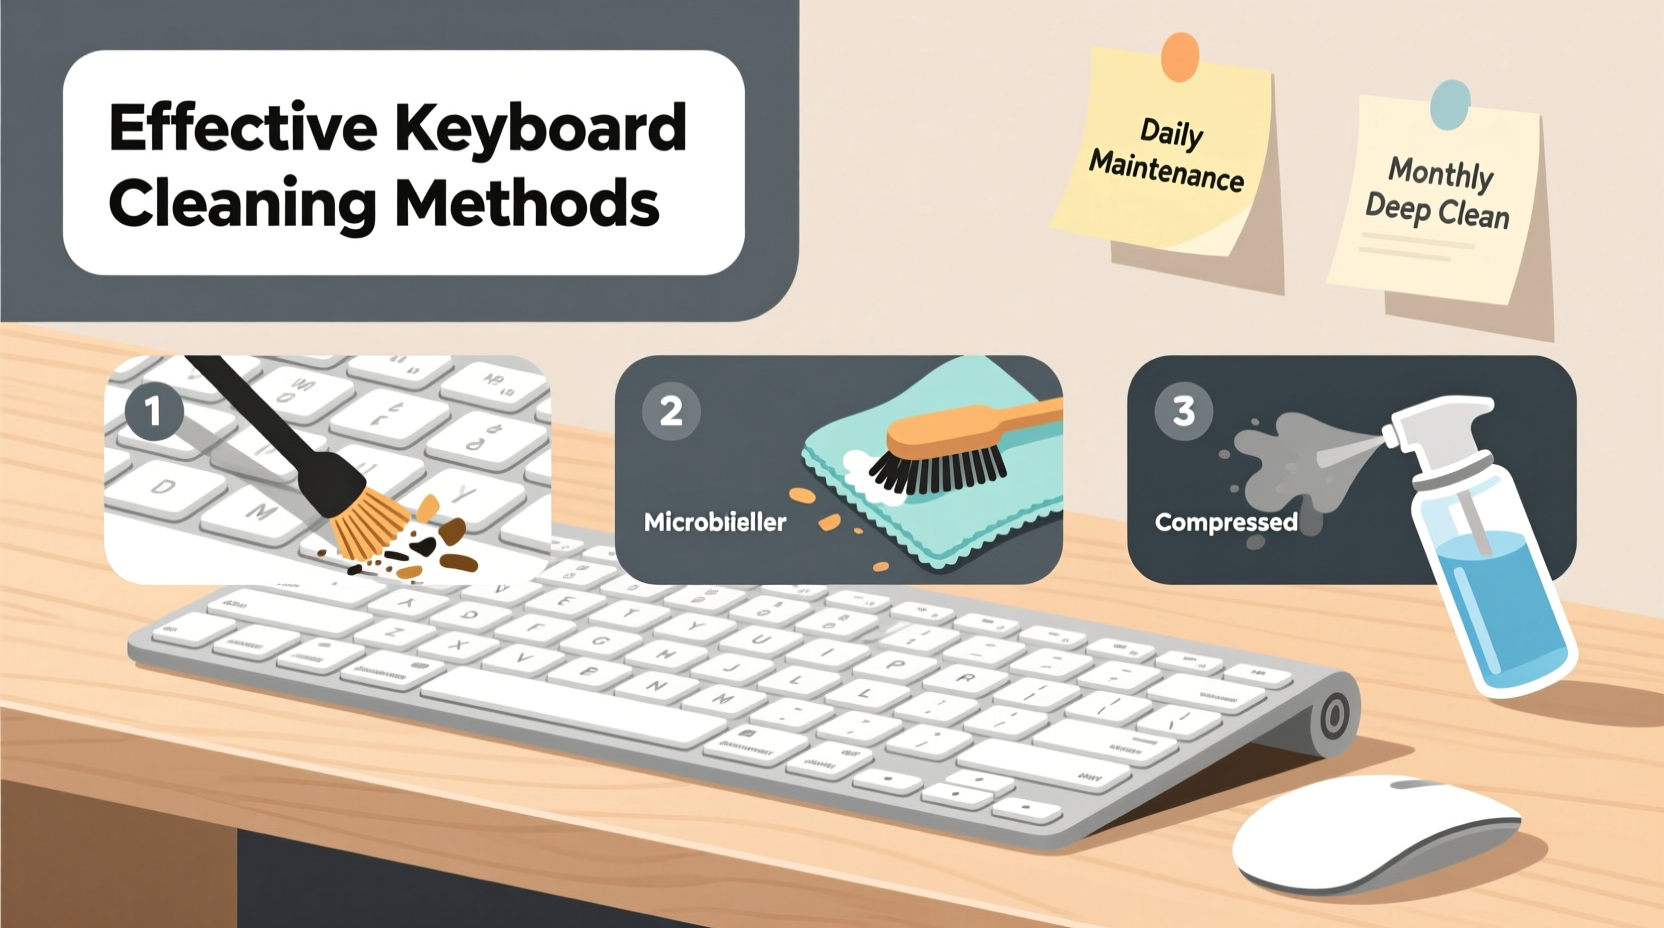
- Compressed air duster – Removes dust and crumbs from between keys
- Microfiber cloth – Soft, lint-free wiping material safe for electronics
- Isopropyl alcohol (70%) – Disinfects without damaging plastic
- Cotton swabs or foam-tipped applicators – Reach tight spaces around key stems
- Soft-bristle brush (e.g., clean makeup or artist brush) – Loosens stubborn debris
- Vacuum with narrow nozzle attachment (optional) – Sucks up loosened particles
Step-by-Step Guide: Deep Clean Your Keyboard Safely
Follow this six-step routine every 4–6 weeks (or monthly in low-use environments) to keep your keyboard hygienic and responsive.
- Power down and disconnect. Unplug wired keyboards or turn off wireless ones. For laptops, shut down completely to avoid accidental input or electrical risk.
- Tilt and shake gently. Hold the keyboard at a 75-degree angle over a trash can and tap the back lightly to dislodge loose crumbs and dust.
- Use compressed air. Spray short bursts between keys in a zig-zag pattern. Keep the can upright and move diagonally across rows to prevent moisture buildup.
- Brush away residue. Use a soft brush to sweep horizontal and vertical gaps. Focus on high-contact areas like spacebar, Enter, and Shift keys.
- Wipe disinfecting solution. Dampen a microfiber cloth with isopropyl alcohol. Wring thoroughly until barely moist. Wipe keycaps and frame in circular motions, avoiding pooling liquid.
- Clean between keys with swabs. Wrap a cotton swab around with microfiber or use a foam tip dipped in alcohol. Gently rotate between stubborn spots. Replace frequently as they pick up grime.
For heavier buildup, repeat steps 3–6 after letting the initial dry cycle complete (about 5 minutes). Allow the keyboard to air-dry fully for 10–15 minutes before reconnecting.
Do’s and Don’ts: Best Practices Table
| Do’s | Don’ts |
|---|---|
| Use 70% isopropyl alcohol for disinfection | Use bleach, ammonia, or window cleaner |
| Hold compressed air can upright during use | Invert the can, which releases freezing liquid |
| Clean in a well-lit area to spot debris | Use excessive force when brushing or wiping |
| Unplug device before cleaning | Spray water or cleaner directly onto keys |
| Vacuum with low suction + narrow nozzle | Use a standard vacuum hose—it may damage keys |
Office vs. Home: Tailoring Your Cleaning Routine
The environment where you use your keyboard influences how often and how intensely it needs cleaning.
Home Use Considerations
At home, keyboards may be exposed to food particles, pet hair, or children’s handling. Users often type bare-handed, transferring natural skin oils more rapidly. A bi-monthly deep clean combined with weekly surface wipes maintains optimal condition.
Office Environment Challenges
In shared or high-traffic offices, multiple users increase germ transmission risk. Studies show shared keyboards carry higher levels of staphylococci and coliform bacteria. In such settings, implement a rotating cleaning schedule:
- Individual users wipe their keyboard weekly
- Facilities staff perform compressed air and alcohol treatment monthly
- Post signage reminding employees not to eat at desks
“In open-plan offices, unclean keyboards contribute to ‘sick building syndrome’ spikes during flu season.” — Dr. Alan Meeks, Occupational Health Consultant
Real Example: How One Startup Reduced Sick Days
When TechFlow Solutions, a 45-person software startup in Portland, noticed a rise in employee absences during winter, HR partnered with an industrial hygienist to audit workspace cleanliness. Keyboards were sampled across departments—results showed bacterial counts exceeding hospital-grade thresholds.
The company introduced a policy: every Friday afternoon, staff spent five minutes cleaning their workstations using provided kits (microfiber cloths, alcohol wipes, mini air dusters). Supervisors rotated responsibility for deeper monthly cleans.
Within three months, self-reported illness dropped by 38%. Employee feedback highlighted improved comfort and confidence in shared equipment. As one developer noted, “I never thought my sticky 'E' key was making me sick. Now I clean it like I wash my hands.”
Alternative Methods and When to Avoid Them
While the above methods are universally recommended, some alternative techniques circulate online—often with mixed results.
Rice Method (Not Recommended)
Buried keyboards in rice to absorb moisture? That’s for wet devices, not cleaning. Rice grains can wedge under keys and release starch, creating a sticky mess. Skip it entirely for dry maintenance.
UV Sanitizing Devices (Situational Use)
UV-C wands or boxes claim to kill germs without chemicals. They work best as a supplement—not replacement—for physical cleaning. Surfaces must be pre-cleaned; shadows between keys reduce effectiveness. Worth considering in medical or lab settings, but overkill for average users.
Adhesive Putty (Limited Application)
Specialized electronics putty lifts surface dust and lint. Press gently between keys and lift slowly. Effective for light debris but ineffective against oils or dried spills. Use only on cool, dry keyboards and avoid colored putty that might stain.
Frequently Asked Questions
Can I use baby wipes to clean my keyboard?
No. Most baby wipes contain moisturizers, fragrances, and mild soaps that leave behind residue and can degrade plastic over time. Some include alcohol at concentrations too low to disinfect but high enough to dry out materials. Stick to 70% isopropyl alcohol on a cloth for safe sanitizing.
How often should I clean my keyboard if I wear gloves or use hand sanitizer?
Even with hand protection, daily wiping is advised. Hand sanitizer leaves behind alcohol and gel residues that attract dust. Gloves—especially fabric ones—can shed fibers. Wipe keys once per week with a dry microfiber cloth, and deep clean monthly.
Is it safe to use a vacuum on a laptop keyboard?
Only with caution. Use a handheld vacuum with a soft brush attachment and the lowest suction setting. Hold the nozzle slightly above the keys to avoid dislodging them. Never press down. Better alternatives: compressed air or manual brushing.
Checklist: Monthly Keyboard Maintenance Routine
Stay consistent with this actionable checklist:
- ✅ Disconnect power or shut down device
- ✅ Shake out loose debris over trash can
- ✅ Blow compressed air between all key rows
- ✅ Brush stubborn dust with soft-bristle tool
- ✅ Dampen microfiber cloth with isopropyl alcohol
- ✅ Wipe top and sides of keys and outer frame
- ✅ Swab around spacebar, Enter, and Shift keys
- ✅ Air-dry for 10–15 minutes before use
- ✅ Test keystroke responsiveness
- ✅ Store cleaning kit in accessible location for next session
Conclusion: Make Keyboard Hygiene a Habit
Your keyboard is one of the most touched—and least cleaned—surfaces in your workspace. Yet maintaining it doesn’t require technical skill or downtime. By adopting simple, non-invasive cleaning practices, you protect both your health and your equipment’s longevity. These methods work equally well whether you’re at a kitchen table or in a corporate cubicle. The key is consistency: a few minutes every month prevents years of accumulated gunk.


 浙公网安备
33010002000092号
浙公网安备
33010002000092号 浙B2-20120091-4
Comments
No comments yet. Why don't you start the discussion?