
Cleaning makeup brushes is essential for maintaining skin health and ensuring flawless product application. Yet many people avoid regular cleaning—either out of fear of ruining the bristles or confusion about the best method. Over time, accumulated bacteria, oils, and leftover cosmetics can degrade brush quality and even trigger breakouts. The good news: with the right approach, you can deep-clean your brushes effectively while preserving their softness, shape, and integrity. This guide delivers professional-grade techniques, backed by estheticians and makeup artists, to keep your tools in pristine condition.
Why Regular Cleaning Matters
Makeup brushes come into direct contact with your skin daily, picking up sebum, dead skin cells, and residual foundation, concealer, and powder. These buildups create a breeding ground for bacteria like Staphylococcus aureus and Pseudomonas aeruginosa, which are linked to acne, folliculitis, and even eye infections when used near the delicate orbital area.
Beyond hygiene, dirty brushes compromise performance. Clogged bristles can't pick up pigment efficiently, leading to patchy blending and wasted product. Additionally, dried residue stiffens fibers over time, causing fraying, shedding, and permanent distortion of the brush’s original shape.
“Brushes are an investment in your beauty routine. Treating them well means they’ll treat your skin—and your makeup—better.” — Lila Chen, Master Makeup Artist & Educator
The Right Tools for Safe Brush Cleaning
Not all cleansers and methods are created equal. Using harsh soaps or improper rinsing can strip natural oils from animal hair or weaken synthetic filaments. The key is selecting gentle, pH-balanced products designed specifically for makeup tools.
Here’s what professionals recommend keeping in your brush-cleaning kit:
- Brush-cleaning solution: Specially formulated sprays or liquids that break down makeup without drying bristles.
- Gentle shampoo: Baby shampoo or sulfate-free facial cleanser works well for deep cleaning (avoid heavy moisturizing shampoos).
- Conditioner (for natural bristle brushes): A tiny amount helps restore softness after washing.
- Cleaning mat or glove: Textured silicone pads help agitate bristles gently without damage.
- Microfiber towel or paper towels: For drying—never use terrycloth, which can fray delicate tips.
- Brush guards or shaping caps: Maintain form during drying, especially for tapered brushes.
Do’s and Don’ts of Brush Cleaning Supplies
| Do | Don’t |
|---|---|
| Use lukewarm water (never hot) | Soak the entire brush—especially the ferrule |
| Swirl bristles on a textured cleaning mat | Rub aggressively on hard surfaces |
| Rinse until water runs clear | Leave soap residue in bristles |
| Reshape bristles before drying | Store brushes upright while wet (water seeps into handle) |
| Let brushes air-dry flat or hanging upside down | Use a hairdryer or direct sunlight to speed drying |
Step-by-Step Guide to Deep-Clean Makeup Brushes Safely
A proper cleaning session takes less than 15 minutes but extends the life of your brushes dramatically. Follow this sequence for consistently clean, soft tools.
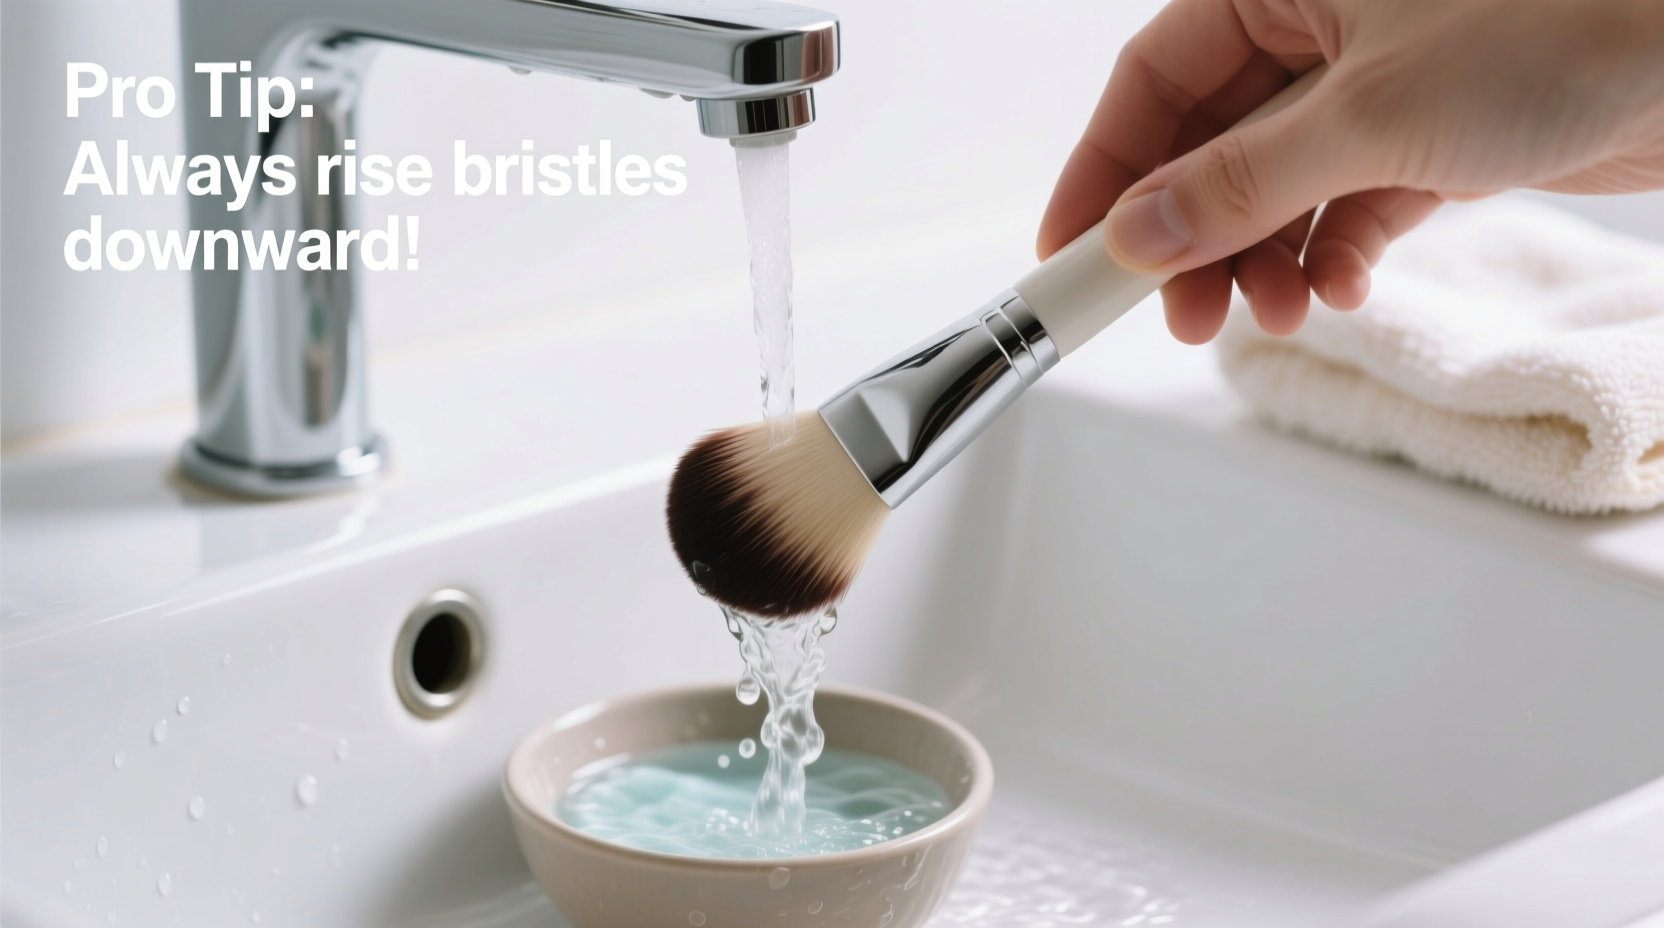
- Pre-rinse bristles: Hold under lukewarm running water, pointing downward. Never submerge the base where bristles meet the metal (the ferrule), as glue can loosen.
- Apply cleanser: Place a dime-sized drop of baby shampoo or brush cleanser in your palm or on a silicone mat. Gently swirl the brush in circular motions to work up a lather.
- Agitate carefully: Use the ridges on a cleaning mat to dislodge stubborn pigments—especially important for cream products and waterproof formulas.
- Rinse thoroughly: Continue rinsing until no suds or color remains. If traces persist, repeat step 2.
- Squeeze gently: Press bristles between clean fingers to remove excess water. Avoid pulling or twisting.
- Condition (optional for natural hair): For brushes made from squirrel, goat, or sable, apply a rice-grain-sized amount of conditioner to restore moisture.
- Reshape and dry: Smooth bristles back into their original form. Lay flat on a microfiber towel or hang upside down using a brush drying rack to prevent water from pooling in the handle.
Different Brushes, Different Needs
Not all brushes should be cleaned the same way. Their material, density, and usage determine the ideal care routine.
Natural Bristle Brushes
Commonly used for powder and bronzer application, these brushes are typically made from animal hair. They’re more porous and absorbent, requiring gentler handling. Always use mild shampoo and condition occasionally to prevent brittleness. Avoid soaking and never expose to high heat.
Synthetic Bristle Brushes
Ideal for liquid and cream products, synthetic brushes are durable and non-porous. They tolerate slightly stronger cleansers and dry faster. Still, avoid boiling water or alcohol-based cleaners, which can melt or fray the tips.
Duo-Fiber and Detail Brushes
These delicate tools require extra caution. Use minimal pressure when cleaning, and consider spot-cleaning with a quick-dry spray between full washes. Due to their sparse bristles, they’re prone to misshaping if not properly supported during drying.
Eyeliner and Lip Brushes
Small but critical, these mini brushes accumulate sticky residues. Soak tip-first in a small cup of diluted brush cleanser for 5–10 minutes before gently swiping across a microfiber cloth. Rinse immediately and lay flat.
“Many clients ruin expensive brushes by neglecting the drying phase. Gravity pulls water into the handle, weakening the glue and causing shedding within weeks.” — Rafael Torres, Beauty Tool Technician
Pro Tips for Long-Term Brush Care
Cleaning is just one part of maintenance. How you store, use, and refresh your brushes between washes plays a major role in longevity.
Spot-Cleaning Between Washes
If you don’t have time for a full wash, spot-clean with a quick-drying solution. Spray onto a paper towel or makeup sponge and swirl the brush gently until product lifts. This prevents buildup and reduces the need for frequent deep cleaning.
Proper Storage Techniques
Store brushes in breathable containers—preferably open-faced holders or fabric rolls. Avoid sealed plastic cases, which trap moisture and encourage mold growth. Keep them in a cool, dry place away from humidity (like bathroom counters near showers).
Rotate Your Brushes
Like skincare tools, brushes benefit from rest. Rotate between two sets so each has time to fully dry and recover its shape between uses. This also spreads wear evenly and prolongs overall lifespan.
Replace When Necessary
No amount of care can revive a brush with loose ferrules, persistent odor, or severely splayed bristles. As a rule, replace heavily used brushes every 1–2 years. Spot-check monthly for signs of deterioration.
Mini Case Study: From Shedding to Smooth Application
Jessica, a freelance makeup artist in Austin, noticed her favorite blending brush was shedding excessively and leaving streaks in foundation. She assumed it was worn out and nearly tossed it. Instead, she followed a professional deep-cleaning protocol: pre-rinsed under lukewarm water, washed with baby shampoo on a silicone mat, conditioned lightly, and dried horizontally overnight.
To her surprise, the brush regained its softness and held pigment better than it had in months. “I realized I’d been rinsing too roughly and storing it upright in a jar, which bent the bristles,” she said. “Now I lay them flat, and I can see the difference immediately.” Her brush lasted another ten months with consistent care—proving that proper cleaning often restores performance more effectively than replacement.
Frequently Asked Questions
Can I use dish soap to clean makeup brushes?
While dish soap cuts through grease effectively, it’s too harsh for regular use. It strips natural oils from bristles and may leave a residue that irritates skin. Reserve it for emergency degreasing of extremely oily brushes, then follow with a conditioning rinse.
How do I know when my brush is fully dry?
A brush is dry when the base of the bristles (near the ferrule) feels completely dry to the touch. Even if the tips seem dry, trapped moisture inside the handle can cause mold and loosen the glue. Allow 6–12 hours for full drying, depending on thickness.
Is it safe to share cleaned makeup brushes?
Even after cleaning, sharing brushes increases the risk of transferring bacteria and viruses (like herpes simplex). If sharing is necessary—for photo shoots or trials—sanitize with 70% isopropyl alcohol before and after each use, and avoid cross-contact with mucous membranes.
Final Checklist: Healthy Brush Maintenance Routine
- ✔ Clean foundation/concealer brushes weekly
- ✔ Wash powder/eyeshadow brushes every 2–3 weeks
- ✔ Use lukewarm water and point bristles downward
- ✔ Choose a mild, sulfate-free cleanser
- ✔ Swirl on a silicone cleaning mat, not your palm
- ✔ Rinse until water runs clear
- ✔ Reshape bristles before drying
- ✔ Dry flat or upside down—never upright
- ✔ Store in a ventilated, dry space
- ✔ Replace brushes showing irreversible damage
Conclusion: Treat Your Brushes Like the Tools They Are
Your makeup brushes are precision instruments, not disposable applicators. With consistent, thoughtful care, they’ll deliver smoother blends, truer color payoff, and healthier skin over time. The habits you build today—gentle washing, proper drying, smart storage—compound into years of reliable use. Whether you own a five-brush starter set or a 30-piece collection, each tool deserves respect and maintenance. Start tonight: pull out your most-used brush, give it a careful cleanse, and feel the difference in its texture and performance. Small actions lead to lasting results.


 浙公网安备
33010002000092号
浙公网安备
33010002000092号 浙B2-20120091-4
Comments
No comments yet. Why don't you start the discussion?