
Cleaning makeup brushes is essential for maintaining skin health, preventing breakouts, and ensuring flawless product application. However, many people avoid regular cleaning—or do it incorrectly—because they fear damaging the delicate bristles. Over time, harsh cleansers, excessive scrubbing, or improper drying can leave brushes stiff, frayed, or brittle. The good news is that with the right techniques and products, you can deep-clean your brushes while preserving their softness and integrity. This guide reveals professional-grade methods to clean your makeup brushes thoroughly without drying out the bristles, helping them last longer and perform better.
Why Brush Care Matters Beyond Cleanliness
Makeup brushes are an investment. High-quality synthetics and natural hair bristles respond beautifully to powders, creams, and liquids—but only when well-maintained. Dirty brushes harbor bacteria, oil, and residual pigments that can clog pores and cause irritation. Yet aggressive cleaning routines often do more harm than good. Alcohol-based cleaners, boiling water, or strong detergents strip away natural oils in both synthetic and animal-hair bristles, leading to brittleness and shedding.
The goal isn’t just cleanliness—it’s balance. A proper cleaning routine removes impurities while protecting the structural integrity of the bristles. Whether you use $5 drugstore brushes or artisan-crafted sable-hair tools, treating them gently during cleaning ensures they remain supple, responsive, and hygienic for months or even years.
Choosing the Right Cleanser: What Works and What Doesn’t
Not all cleansers are created equal. Some are too harsh; others don’t cut through buildup effectively. The ideal formula lifts away grease and pigment without compromising moisture retention in the bristles.
- Gentle baby shampoo – Mild surfactants cleanse without stripping, and its pH is close to neutral, making it safe for sensitive bristles.
- Olive oil-based soaps – These add a slight conditioning effect, especially beneficial for natural hair brushes like goat or squirrel.
- Dedicated brush-cleaning solutions – Look for alcohol-free, sulfate-free formulas designed specifically for makeup tools.
- Co-washing shampoos (for curly hair) – Often contain moisturizing ingredients like shea butter or glycerin, which help retain softness.
Avoid dish soap, rubbing alcohol, vinegar, or household cleaners—even if they’re effective at degreasing. These disrupt the bristle’s surface proteins and dry out fibers quickly. Also skip conditioners unless used sparingly, as they can leave residue that attracts dirt.
“Over-cleaning with aggressive agents is one of the top reasons brushes lose their bounce within weeks. Use mild, emollient-rich cleansers to maintain flexibility.” — Lila Nguyen, Professional Makeup Artist & Beauty Educator
Step-by-Step Guide: How to Clean Brushes Without Drying Out Bristles
Follow this six-step method weekly for everyday brushes and bi-weekly for less-used ones. It balances deep cleansing with bristle preservation.
- Pre-rinse under lukewarm water
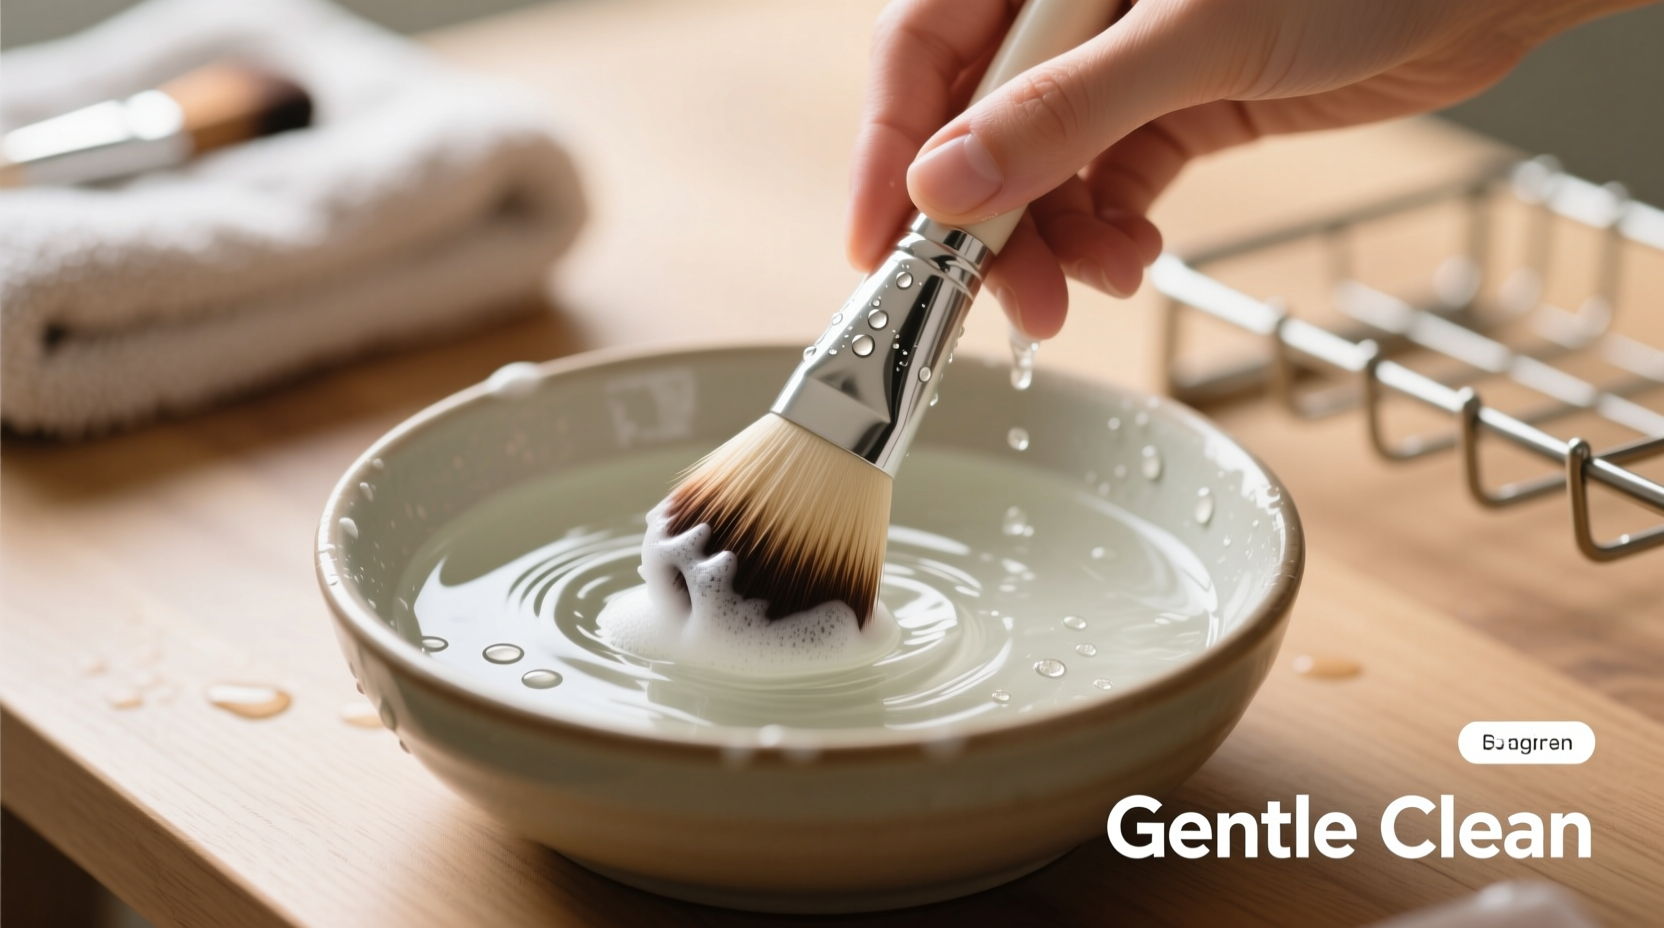
Hold the brush at an angle and run the bristles under warm (not hot) water. Keep the handle elevated so water doesn’t seep into the ferrule. Warmth helps loosen dried product without shocking delicate fibers. - Swirl on a cleansing mat or palm
Apply a pea-sized amount of baby shampoo or gentle brush cleanser to a silicone cleansing mat or your palm. Gently swirl the brush in circular motions to lift debris. Avoid pressing hard—let the cleanser do the work. - Rinse thoroughly
Continue rinsing until the water runs clear. Residual soap can build up and stiffen bristles over time, so ensure complete removal. - Optional: Deep clean with oil pre-wash (for stubborn buildup)
For cream or silicone-based products, massage a few drops of jojoba or almond oil into the bristles before washing. Oil breaks down waxes and polymers without abrasion. Rinse lightly, then proceed with shampoo. - Squeeze gently and reshape
Using a clean towel, press the bristles lightly to remove excess water. Do not wring or twist. Reshape the tip to its original form so it dries correctly. - Dry flat or hanging upside down
Lay brushes horizontally on a towel with the bristles hanging slightly off the edge, or use a brush drying rack with the heads pointing downward. This prevents water from pooling in the ferrule and allows airflow without warping.
Do’s and Don’ts: Brush Cleaning Best Practices
| Do | Don't |
|---|---|
| Use lukewarm water for rinsing | Use hot water—it weakens glue and deforms bristles |
| Clean frequently (every 1–2 weeks for daily-use brushes) | Wait months between washes—bacteria thrives in old product residue |
| Dry brushes flat or head-down | Stand brushes upright in a cup—water seeps into the handle |
| Use a conditioning oil once a month on natural hair brushes | Soak brushes in oil or heavy conditioner regularly |
| Reshape bristles after washing | Leave brushes misshapen—they’ll dry that way permanently |
Real Example: A Makeup Artist’s Weekly Routine
Sophia, a freelance artist based in Austin, uses over 20 brushes per client and previously replaced her kit every six months due to stiffness and shedding. After switching to a gentler cleaning protocol, her brushes now last over two years.
She begins each Sunday night by pre-soaking heavily used foundation and concealer brushes in a mix of one teaspoon of olive oil and a capful of baby shampoo for 10 minutes. Then she massages them on a textured silicone pad, rinses under warm water, and lays them across a drying rack with the tips slightly lower than the handles. Once dry the next morning, she lightly spritzes them with a 1:3 mix of witch hazel and distilled water for final sanitization—without drying agents.
“The change was immediate,” she says. “My blending brushes felt plush again, and I stopped losing bristles mid-application. Clients noticed smoother finishes, and I saved hundreds on replacements.”
Conditioning Natural Hair Brushes Safely
Natural hair brushes (like those made from squirrel, sable, or goat) require extra care. Unlike synthetic fibers, they have microscopic scales that absorb oils and pigments—and also benefit from occasional conditioning.
Once a month, after a regular wash, apply a tiny drop of argan or jojoba oil to the palm of your hand. Swirl the brush lightly to coat the tips. Let sit for 5–10 minutes, then rinse with cool water and rewash with a mild shampoo to remove excess oil. Dry as usual.
This restores natural lipids lost during cleaning, keeping bristles flexible and reducing frizz. Never apply oil to synthetic brushes—they don’t absorb it, and it can attract dust and grime.
Frequently Asked Questions
Can I use micellar water to clean my brushes?
Micellar water is excellent for quick mid-session refreshes but not for deep cleaning. It removes surface pigment but doesn’t eliminate oils or bacteria. Frequent use without proper washing leads to buildup. Reserve it for on-the-go touch-ups, not full cleanses.
How often should I clean different types of brushes?
Liquid and cream brushes (foundation, concealer, cream blush) should be cleaned weekly. Powder brushes (blush, bronzer, eyeshadow) can go 2–3 weeks between washes. Spot-clean after each use with a brush spray or dry cloth to extend time between full washes.
Is it safe to share makeup brushes?
Sharing increases the risk of spreading bacteria, fungi, and viruses like staph or herpes. If sharing is necessary—for photo shoots or events—sanitize brushes with a 70% isopropyl alcohol and water solution (only on synthetic bristles), then follow with a gentle shampoo wash to restore moisture. Never share brushes after someone has had an active skin infection.
Checklist: Gentle Brush Cleaning Routine
- ✔ Gather supplies: mild shampoo, cleansing mat, clean towel, drying rack
- ✔ Pre-rinse bristles under warm (not hot) water, angled downward
- ✔ Apply small amount of cleanser to palm or mat
- ✔ Swirl brush gently in circles to lift debris
- ✔ Rinse until water runs clear
- ✔ Press out water with towel; reshape bristles
- ✔ Lay flat or hang upside down to dry overnight
- ✔ Store in breathable container once fully dry
Conclusion: Treat Your Brushes Like Tools of the Trade
Your makeup brushes are more than applicators—they’re precision instruments that shape your look and affect your skin’s health. Cleaning them shouldn’t mean sacrificing their softness or lifespan. By choosing gentle cleansers, avoiding water damage, and drying them properly, you protect their performance and extend their usability. Whether you're a daily wearer or a professional artist, adopting these mindful practices transforms maintenance from a chore into a ritual of care. Start tonight: pick one brush, clean it with intention, and feel the difference in its texture and glide. Your future self—and your skin—will thank you.


 浙公网安备
33010002000092号
浙公网安备
33010002000092号 浙B2-20120091-4
Comments
No comments yet. Why don't you start the discussion?