
Sticky controller buttons are a common frustration for Xbox players. Whether caused by spilled drinks, accumulated sweat, or dust buildup over time, gummy triggers or sluggish face buttons can ruin gameplay precision and responsiveness. Many assume the only solution is opening up the controller—but that risks voiding warranties, damaging internal components, or misplacing tiny parts. The good news? You don’t need to disassemble your Xbox controller to restore smooth functionality. With careful cleaning techniques and everyday household supplies, you can effectively remove grime from under and around the buttons safely and efficiently.
Why Controller Buttons Become Sticky
Understanding what causes stickiness helps prevent future issues. Several factors contribute to degraded button performance:
- Skin oils and sweat: Regular handling transfers natural oils and moisture onto buttons and crevices.
- Dust and debris: Tiny particles accumulate in gaps between buttons and the casing, mixing with oils to form a sticky paste.
- Food and drink spills: Even minor splashes near the D-pad or analog sticks can seep underneath, leaving behind sugary residues.
- Aging rubber domes: Over time, the silicone pads beneath each button degrade slightly, especially if exposed to heat or humidity.
These contaminants don’t just affect feel—they can interfere with electrical contact, leading to missed inputs or double presses. Cleaning early prevents long-term damage and extends the life of your controller.
What You’ll Need: Safe Cleaning Supplies
The key to non-invasive cleaning is using materials that won’t damage plastic surfaces or conduct electricity inside the device. Avoid harsh chemicals like acetone or window cleaners containing ammonia, which can cloud or crack polycarbonate plastics.
“Using improper cleaners can permanently mar the finish of gaming hardware. Stick to isopropyl alcohol at 70% concentration—it evaporates quickly and disinfects without residue.” — Marcus Tran, Consumer Electronics Technician
| Item | Purpose | Safe Alternatives |
|---|---|---|
| Isopropyl alcohol (70%) | Disinfects and dissolves grease without damaging electronics | Vinegar-water mix (50/50), only for external wipe-downs |
| Cotton swabs (Q-tips) | Reach tight spaces around buttons and seams | Fine-tip foam swabs (less lint) |
| Microfiber cloth | Wipe down surfaces without scratching | Lint-free glasses cleaning cloth |
| Compressed air | Blow out loose debris from crevices | Small handheld blower or hairdryer on cool setting |
| Distilled water | Dilute cleaning solutions safely; avoids mineral deposits | N/A – tap water not recommended |
Step-by-Step Guide: Deep Cleaning Without Opening the Controller
Follow this detailed process to restore full button function while minimizing risk:
- Power off and disconnect: Turn off your Xbox console and unplug the controller. If wireless, ensure it’s powered down via the Xbox button.
- Clear surface debris: Use compressed air to blow across all button areas, focusing on gaps around triggers, bumpers, and the D-pad. Hold the can upright and use short bursts to avoid moisture spray.
- Dampen—not soak—a cotton swab: Dip a swab into isopropyl alcohol and gently squeeze excess liquid. It should be moist but not dripping.
- Clean around each button: Carefully run the swab along the edges where the button meets the shell. Rotate the swab as it picks up grime to use a clean side.
- Target problem zones: For sticky triggers (LT/RT), press them halfway and swab the visible gap. Repeat multiple times until no residue appears on the swab.
- Work the D-pad and face buttons: Press each directional input and A/B/X/Y lightly while swabbing around the base. These often trap skin flakes and pocket lint.
- Wipe analog sticks: Gently pull back the rubber cap slightly (without removing) and clean the inner rim. Be cautious not to force or tear the rubber seal.
- Dry thoroughly: Wait at least 10–15 minutes before powering on. Let any residual moisture evaporate completely.
- Test responsiveness: Reconnect the controller and navigate the Xbox dashboard or test in a game menu to confirm improvements.
When to Repeat the Process
If stickiness persists after the first round, repeat the cleaning one more time. Sometimes layered gunk requires multiple passes. However, if there’s still resistance or inconsistent response, the issue may involve worn internal contacts or damaged membranes—cases better suited for professional repair or replacement.
Real Example: Recovering a Gaming Tournament Controller
Jason, an amateur Halo competitor, noticed his right trigger began sticking during matches. He’d been using the same Xbox Elite Series 2 controller for over a year, often playing late-night sessions with energy drinks nearby. One evening, he accidentally knocked over a half-full can near his setup. Though he wiped the spill immediately, sugar residue had already seeped into the trigger well.
Instead of sending it in for service—which would take weeks—he followed the non-disassembly method outlined above. Using 70% isopropyl alcohol and micro-swabs, he spent about 20 minutes carefully cleaning around the trigger and bumper. After drying overnight, the trigger responded crisply again. Jason resumed training within two days and placed third in his next online tournament.
This case shows how timely maintenance can save both money and downtime, especially for competitive gamers reliant on precise controls.
Do’s and Don’ts of Xbox Controller Maintenance
| Do’s | Don’ts |
|---|---|
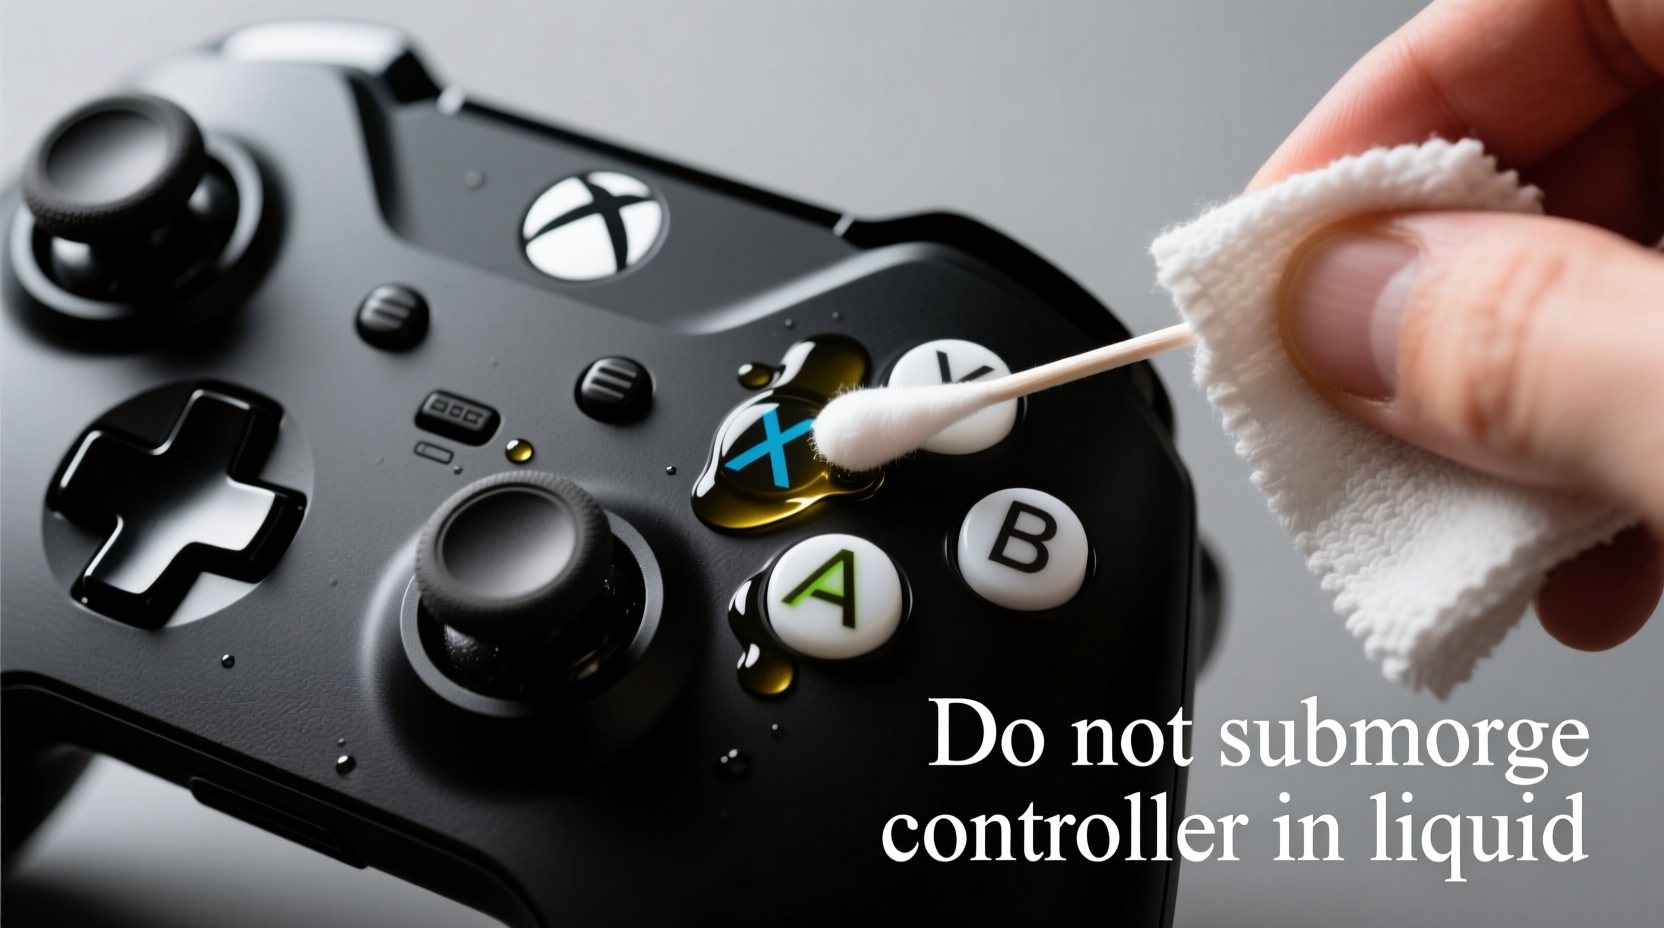
| Use 70% isopropyl alcohol for deep cleaning | Submerge the controller in liquid |
| Clean buttons monthly with a dry microfiber cloth | Use paper towels that can scratch plastic |
| Store in a closed case when not in use | Leave it exposed on dusty shelves |
| Blow out dust quarterly with compressed air | Use canned air upside down (causes liquid spray) |
| Wash hands before extended play sessions | Eat or drink directly over the controller |
Alternative Methods and Their Risks
Some users turn to unconventional tactics, such as blowing cigarette smoke through button gaps or using toothpicks to scrape under caps. These carry serious drawbacks:
- Toothpicks or metal tools: Can gouge plastic or puncture rubber domes, causing permanent failure.
- WD-40 or lubricants: Attract more dust and may dissolve adhesives holding components together.
- Rice or silica gel submersion: Ineffective for localized stickiness and doesn’t address surface grime.
- Water-only rinsing: Risk of corrosion and short circuits even if dried later.
Stick to proven, low-risk methods. Simplicity and consistency beat aggressive fixes when preserving electronic longevity.
FAQ: Common Questions About Cleaning Xbox Controllers
Can I use hand sanitizer to clean sticky buttons?
No. While some sanitizers contain alcohol, they also include fragrances, thickeners, and moisturizers that leave behind sticky residues. These can worsen the problem over time. Use pure isopropyl alcohol instead.
How often should I clean my Xbox controller?
For average use, a quick wipe with a dry microfiber cloth once a week and a deeper clean every 4–6 weeks is sufficient. Heavy users or those who play in humid environments should consider bi-weekly maintenance.
Will cleaning without disassembly fix all button issues?
No. This method works best for surface-level grime and light buildup. If a button feels physically broken, has no tactile feedback, or registers constant input, internal damage may require professional repair or replacement.
Checklist: Quick Maintenance Routine
- ☐ Power off the controller
- ☐ Blow out debris with compressed air
- ☐ Dampen cotton swab with 70% isopropyl alcohol
- ☐ Clean around all buttons and triggers
- ☐ Wipe analog sticks and casing with microfiber cloth
- ☐ Allow 15+ minutes to dry completely
- ☐ Test button response before resuming play
Final Thoughts: Keep Your Gear Responsive and Reliable
Your Xbox controller is a high-precision tool, not just a peripheral. Treating it with regular care ensures consistent performance, enhances comfort, and delays the need for costly replacements. Cleaning sticky buttons without disassembly is not only possible—it’s preferable for most users. By adopting a few simple habits and keeping basic supplies on hand, you maintain control literally and figuratively over your gaming experience.


 浙公网安备
33010002000092号
浙公网安备
33010002000092号 浙B2-20120091-4
Comments
No comments yet. Why don't you start the discussion?