
White plastic components on game controllers often develop a yellowish tint over time, especially around the buttons where oils from fingers accumulate and environmental factors like UV exposure and heat take effect. While this discoloration doesn’t affect performance, it can make even well-maintained controllers look aged and neglected. The challenge lies in reversing or minimizing this yellowing without compromising the integrity of the plastic. Many common cleaning agents—such as bleach, acetone, or abrasive scrubs—can degrade plastic, making it brittle or cloudy. This guide outlines safe, tested methods to restore white controller buttons using household items and careful techniques that preserve both appearance and function.
Understanding Why White Buttons Yellow
The yellowing of white plastic is not merely dirt—it’s often a chemical change. Most consumer electronics, including game controllers, are made with ABS (acrylonitrile butadiene styrene) plastic. This material contains flame retardants, particularly brominated compounds, which react over time to UV light, oxygen, and heat. This reaction causes oxidation, resulting in a gradual yellow or brown tint. Additionally, natural skin oils, sweat, and dust accelerate surface degradation, especially on frequently touched areas like face buttons (A, B, X, Y), D-pads, and analog stick rings.
Unlike stains that sit on the surface, this yellowing penetrates the outer layer of the plastic. That means wiping alone won’t fully reverse it. However, gentle oxidation reversal and deep cleaning can significantly improve appearance without risking structural damage.
“Plastic yellowing is inevitable with age, but improper cleaning can make it worse. Always prioritize pH-neutral solutions and soft materials.” — Dr. Lena Park, Materials Scientist specializing in polymer degradation
Safe Cleaning Methods Step by Step
Cleaning yellowed controller buttons requires patience and precision. Rushing the process or using aggressive chemicals may lead to hazing, cracking, or permanent etching. Follow this detailed timeline for optimal results:
- Power down and disconnect: Turn off the console and unplug the controller. For wireless models, ensure it’s powered off or disconnected via Bluetooth.
- Dust removal: Use a dry microfiber cloth or compressed air to remove loose debris from button crevices and seams.
- Surface wipe: Dampen a corner of a microfiber cloth with distilled water and gently wipe each button. Avoid excess moisture near seams.
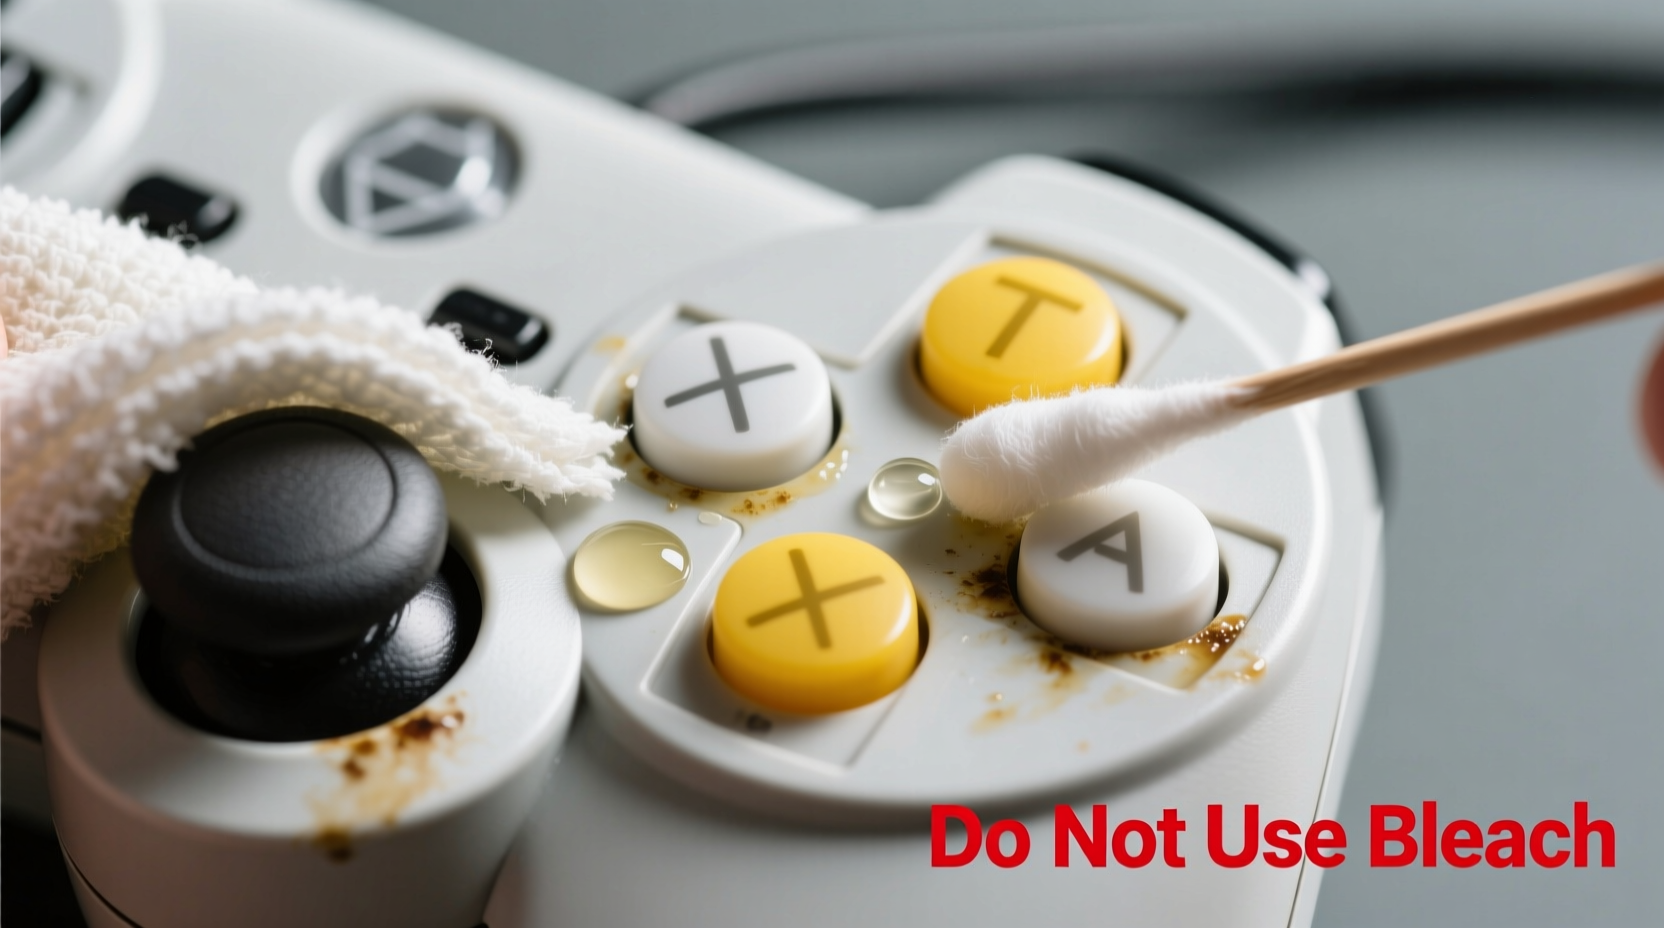
- Deep clean with mild solution: Mix one part isopropyl alcohol (70%) with three parts distilled water. Dip a cotton swab lightly into the solution and rub the button surface in small circular motions. Replace swabs frequently to avoid redepositing grime.
- Rinse and dry: Wipe the area with a water-dampened swab to neutralize any residue, then immediately dry with a clean cloth.
- Repeat if necessary: For stubborn yellowing, allow the controller to rest for 24 hours before repeating once more.
Alternative: Baking Soda Paste for Surface Stains
If yellowing is accompanied by visible grime or residue, a baking soda paste can help lift organic buildup without abrasion. Mix one teaspoon of baking soda with a few drops of water to form a thick paste. Apply sparingly to a soft toothbrush or cotton pad and gently scrub the button surface. Rinse with a damp cloth and dry thoroughly. This method works best for early-stage discoloration caused by oils rather than deep oxidation.
Do’s and Don’ts: Plastic-Safe Cleaning Table
| Do | <Don’t |
|---|---|
| Use 70% isopropyl alcohol diluted with water | Use undiluted bleach or ammonia-based cleaners |
| Clean with soft microfiber cloths or cotton swabs | Scrub with rough sponges or steel wool |
| Work in a well-ventilated area | Expose plastic to direct sunlight during drying |
| Allow full drying (at least 2 hours) before use | Rush reassembly or reuse while damp |
| Test solutions on a small, hidden area first | Apply acetone or nail polish remover |
Real Example: Restoring a Decade-Old Xbox 360 Controller
A collector in Austin, Texas, recently acquired a used Xbox 360 controller originally purchased in 2012. The white face buttons were heavily yellowed, with visible grime buildup around the edges. Rather than replacing the unit, he followed a cautious restoration protocol. He began with dry brushing using a clean makeup brush to dislodge dust. Then, using a 70% isopropyl alcohol/water mix on cotton swabs, he cleaned each button over two sessions spaced 24 hours apart. After the second round, he applied a tiny amount of baking soda paste with a soft toothbrush, focusing only on the raised button surfaces. No liquids entered the seams. After 48 hours of air drying, the buttons appeared noticeably brighter—about 60–70% restored—with no signs of clouding or texture change. The controller remained fully functional, proving that conservative cleaning can yield meaningful aesthetic improvements safely.
Advanced Option: UV + Hydrogen Peroxide (Retr0Brite Method)
For severe yellowing, some enthusiasts use a modified version of the Retr0Brite method—a technique developed by retro gaming communities to restore vintage consoles. This involves applying a hydrogen peroxide-based gel to the plastic and exposing it to UV light to reverse oxidation. While effective, this method carries risks and should only be attempted if you're willing to disassemble the controller.
To proceed:
- Disassemble the controller carefully using appropriate screwdrivers.
- Remove the buttons and clean them individually with isopropyl alcohol to remove oils.
- Mix equal parts hydrogen peroxide (3–6%) and cornstarch or xanthan gum to create a thick gel.
- Coat the yellowed buttons evenly with the gel using a brush.
- Place under direct sunlight or a UV lamp for 2–6 hours, monitoring every 30 minutes to avoid overexposure.
- Rinse thoroughly with water and dry completely before reassembling.
This process accelerates the breakdown of oxidized molecules, effectively bleaching the yellow tint. However, overexposure can weaken plastic or cause brittleness. Use only low-concentration peroxide and never apply heat sources like hairdryers.
“The Retr0Brite method works because UV light catalyzes hydrogen peroxide’s ability to break down chromophores—the molecules responsible for yellow color in aged plastics.” — Dr. Alan Zhou, Polymer Chemist at MIT Media Lab
Prevention Tips to Keep Buttons White Longer
Once cleaned, maintaining the appearance of white controller buttons requires consistent care. Environmental control and user habits play a major role in slowing future yellowing.
- Store in a dark, cool place: Keep controllers in drawers or enclosed cabinets away from windows to minimize UV exposure.
- Use protective skins or covers: Silicone or TPU button caps act as sacrificial layers, absorbing wear while preserving original buttons.
- Wipe weekly: A quick pass with a dry microfiber cloth removes oils before they bond to the plastic.
- Avoid cigarette smoke: Nicotine and tar particles settle on surfaces and contribute to staining and faster aging.
- Control humidity: Store in environments with 40–50% relative humidity to prevent static buildup and material stress.
Frequently Asked Questions
Can I use toothpaste to clean white controller buttons?
No. Despite popular DIY advice, toothpaste is mildly abrasive and formulated for enamel, not plastic. It can leave micro-scratches that trap dirt and increase cloudiness over time. Stick to non-abrasive solutions like diluted isopropyl alcohol.
Will cleaning fix deep yellowing completely?
Surface-level grime and early oxidation can be significantly improved with proper cleaning. However, deeply embedded yellowing due to molecular changes in the plastic may only be partially reversible. The goal is improvement, not perfection.
Is it safe to open my controller for cleaning?
Yes, if done carefully. Use precision tools and work on a clean, static-free surface. Note that opening may void warranties. If unsure, stick to external cleaning methods.
Essential Cleaning Checklist
Follow this checklist to ensure a thorough and safe cleaning process:
- ✅ Power off and disconnect the controller
- ✅ Gather supplies: microfiber cloth, cotton swabs, 70% isopropyl alcohol, distilled water, soft toothbrush (optional)
- ✅ Remove surface dust with dry cloth or compressed air
- ✅ Prepare cleaning solution (1:3 alcohol to water ratio)
- ✅ Clean buttons with dampened swabs using circular motions
- ✅ Wipe with water-dampened swab to rinse residue
- ✅ Dry completely for at least 2 hours
- ✅ Test functionality before extended use
- ✅ Store properly to maintain results
Conclusion: Care That Lasts Beyond the Game
Restoring yellowed white controller buttons isn’t about achieving factory-new perfection—it’s about respecting the gear you use and extending its life with thoughtful maintenance. With the right approach, you can reclaim much of the original brightness without risking cracks, haze, or electronic failure. Whether you’re a casual player or a collector, these methods offer a balance of effectiveness and safety grounded in material science and real-world testing. The key is consistency: regular light cleaning, smart storage, and avoiding harsh chemicals go much further than occasional aggressive treatments.


 浙公网安备
33010002000092号
浙公网安备
33010002000092号 浙B2-20120091-4
Comments
No comments yet. Why don't you start the discussion?