
Gaming controllers endure constant handling, sweat, food crumbs, and dust buildup—especially if used daily. Over time, grime accumulates in crevices, around buttons, and inside analog sticks, affecting performance and hygiene. While cleaning seems straightforward, improper methods can damage sensitive components like microswitches, potentiometers, or contact sensors. A single drop of liquid seeping under a button can cause stickiness or unresponsiveness. Done right, however, cleaning extends your controller’s lifespan and improves gameplay accuracy. This guide walks through safe, effective techniques that protect delicate electronics while restoring your device to near-new condition.
Why Regular Controller Cleaning Matters
Dirt and oils from hands don’t just make controllers look grimy—they interfere with functionality. Sweat residue corrodes metal contacts over time, especially on frequently pressed buttons like A, X, or triggers. Dust particles trapped beneath D-pads can cause input lag or double-taps. In extreme cases, microbial growth from prolonged moisture exposure leads to unpleasant odors and potential skin irritation.
Professional esports players and streamers often maintain strict cleaning routines between sessions. According to Dr. Lena Patel, a human-computer interaction researcher at MIT, “Controllers are high-touch surfaces comparable to keyboards or smartphones. Their proximity to skin oils and environmental debris makes them breeding grounds for bacteria if neglected.”
“Even minor debris under analog sticks can throw off precision in competitive games.” — Dr. Lena Patel, Human-Computer Interaction Researcher
Cleaning isn’t just about appearance; it preserves tactile feedback, ensures consistent inputs, and prevents long-term degradation of internal circuitry.
Essential Tools and Materials
Using the wrong tools is one of the most common reasons controllers fail after cleaning. Avoid household cleaners like Windex or bleach wipes—they’re too harsh and conductive. Instead, gather these safe, purpose-specific items:
- Isopropyl alcohol (70% minimum) – Effective at dissolving grease and killing germs without leaving residue.
- Microfiber cloth – Soft enough not to scratch plastics but absorbent for wiping surfaces.
- Cotton swabs (Q-tips) – Ideal for tight spaces around buttons and joysticks.
- Compressed air duster – Removes loose dust and debris from ports and crevices.
- Soft-bristled brush (e.g., clean toothbrush) – Gently dislodges dirt without damaging plastic.
- Tweezers (optional) – Useful for removing visible lint or fibers stuck deep in seams.
Step-by-Step Cleaning Process
This method works for all major controllers—Xbox Wireless, PlayStation DualSense/DualShock, Nintendo Switch Pro, and third-party models—without voiding warranties or risking internal damage.
- Power down and disconnect: Turn off the controller and unplug it from any device. If wireless, ensure it’s fully powered down. This prevents accidental inputs and protects circuits during cleaning.
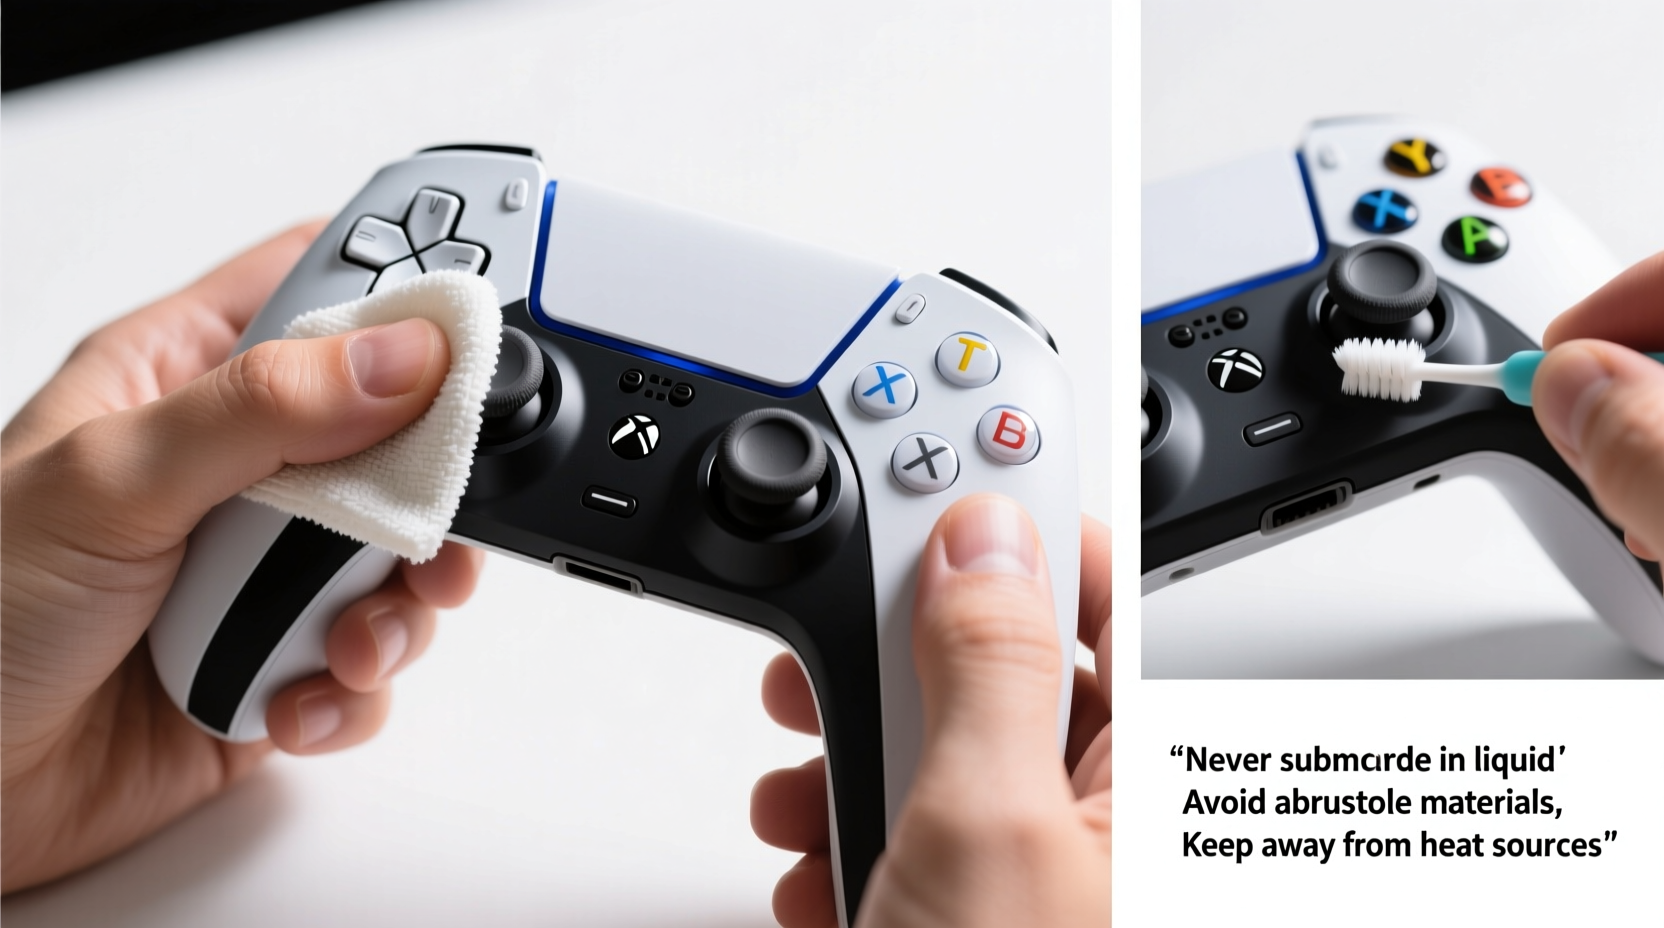
- Remove surface debris with compressed air: Hold the can upright and use short bursts to blow dust out of button gaps, analog stick housings, and ports. Tilt the controller at different angles to loosen trapped particles. Avoid shaking the can excessively, as this can release propellant fluid.
- Wipe exterior with a dry microfiber cloth: Start by removing loose grime. Use light pressure to avoid pressing debris further into joints.
- Clean buttons and analog sticks: Dampen a cotton swab with isopropyl alcohol. Gently clean around each button edge, working clockwise to lift dirt outward. For analog sticks, rotate them while swabbing the base to reach hidden areas. Replace swabs frequently as they pick up grime.
- Tackle stubborn stains: For yellowed bumpers or sticky triggers, dampen a corner of a microfiber cloth with alcohol and rub in small circles. Do not saturate—moisture should evaporate within seconds.
- Clean back panel and grips: Textured rubberized surfaces trap oil. Use a soft brush dipped lightly in alcohol to scrub in one direction, then wipe dry immediately.
- Sanitize and finish: Lightly mist a microfiber cloth (not the controller) with 70%+ alcohol and do a final pass over all surfaces. Let air-dry completely for at least 15 minutes before reuse.
What to Avoid During Cleaning
Even well-intentioned actions can lead to irreversible damage. Follow this checklist to prevent mishaps:
| Do’s | Don’ts |
|---|---|
| Use 70–99% isopropyl alcohol on cloths or swabs | Use water, window cleaner, or hand sanitizer |
| Let the controller dry fully before powering on | Rush drying with hairdryers on high heat |
| Clean every 4–6 weeks with moderate use | Wait until performance issues arise |
| Store in a closed case when not in use | Leave exposed on dusty shelves or near food |
| Use compressed air at room temperature | Shake the can or tilt it vertically during use |
When to Deep Clean vs. Routine Maintenance
Not every session requires full disinfection. Tailor your approach based on usage patterns.
Routine maintenance (every 2–4 weeks): Quick wipe-down with a dry microfiber cloth, brief air blast, and inspection for early signs of wear. Ideal for casual gamers who play a few hours weekly.
Deep cleaning (every 3–6 months or after spills): Full alcohol-based treatment including button edges, stick modules, and ports. Necessary for heavy users, shared controllers, or devices exposed to food/drink.
Mini Case Study: Recovering a Sticky Xbox Elite Series 2
Mark, a competitive Halo player, noticed his right analog stick began drifting slightly during matches. At first, he assumed sensor failure. After researching forums, he decided to clean instead of replace the $180 controller. Using 90% isopropyl alcohol and cotton swabs, he cleaned around the stick base and used compressed air to clear internal dust. After letting it dry overnight, the drift stopped entirely. A follow-up inspection revealed dark grime buildup under the rubber skirt—likely from months of accumulated sweat and dust. The fix took 20 minutes and cost less than $5 in supplies. Mark now cleans his controller monthly and reports improved responsiveness.
Special Considerations for Different Controller Types
While core principles remain the same, design differences affect cleaning approaches.
- Xbox Controllers: Have recessed button wells. Pay extra attention to the gaps around ABXY buttons using thin swabs. The share/menu buttons are flush and prone to collecting lint—use tweezers carefully.
- PlayStation DualShock 4 / DualSense: The touchpad on DS4 and adaptive triggers on DualSense require gentle care. Avoid pooling liquid near the touchpad edges. For DualSense, do not press hard on trigger resistance zones during cleaning.
- Nintendo Switch Pro Controller: Analog sticks sit low and collect debris quickly. Use a narrow brush to clean housing. The SL/SR buttons are small and easily missed—inspect with a flashlight.
- Third-Party & Custom Controllers: May use non-standard materials. Check manufacturer guidelines before applying alcohol. Some painted finishes degrade with repeated solvent exposure.
“Many so-called ‘broken’ controllers are simply clogged with debris. A proper cleaning restores function in over half the cases we see.” — Carlos Mendez, Lead Technician at GameFix Repairs
Frequently Asked Questions
Can I use baby wipes to clean my controller?
No. Most baby wipes contain mild soaps, fragrances, and moisturizers that leave behind sticky residues. These can attract more dust and potentially seep into circuits. Stick to dry microfiber cloths or alcohol-dampened swabs for safe cleaning.
How do I know if liquid got inside my controller?
If buttons become sluggish, unresponsive, or register phantom inputs after cleaning, moisture may have penetrated. Immediately power off, disconnect, and let it dry in a warm, ventilated area for 24–48 hours. Placing it near uncooked rice or silica gel packets can help absorb residual moisture, though effectiveness varies.
Is it safe to remove buttons for cleaning?
Not recommended unless you have experience. Modern controllers use fragile snap-fit mechanisms and ribbon cables. Removing faceplates without proper tools risks breaking clips or disconnecting internal wiring. Focus on external cleaning unless repair is already needed.
Preventative Habits for Long-Term Care
The best way to reduce cleaning frequency is to minimize contamination from the start. Adopt these habits:
- Wash hands before playing, especially after eating.
- Avoid using controllers in bed or on couches where lint and crumbs accumulate.
- Use a protective silicone skin or cover if sharing devices.
- Store in a zippered case or enclosed shelf away from pets and sunlight.
- Keep drinks and snacks at a distance during extended sessions.
These small changes significantly reduce dirt transfer and extend intervals between deep cleans.
Conclusion
Cleaning your gaming controller doesn’t require technical expertise—just patience and the right tools. By following a careful, electronics-safe process, you preserve both performance and longevity. Whether you're a weekend gamer or a tournament competitor, a well-maintained controller responds faster, feels better, and lasts longer. Don’t wait for sticky buttons or drifting sticks to act. Build regular cleaning into your routine and treat your gear with the care it deserves.


 浙公网安备
33010002000092号
浙公网安备
33010002000092号 浙B2-20120091-4
Comments
No comments yet. Why don't you start the discussion?