
Gaming keyboards are more than just tools—they’re precision instruments built for speed, accuracy, and immersion. With vibrant RGB backlighting enhancing every keystroke, they also become visual centerpieces of any setup. But over time, dust, oils, and debris accumulate between keys, dulling both performance and appearance. Cleaning is essential, but one wrong move—like submerging switches in water or using abrasive cleaners—can permanently damage sensitive LED components.
The good news: you can restore your keyboard to like-new condition without risking a single diode. The key lies in understanding your keyboard’s construction, choosing the right tools, and following a methodical approach that prioritizes protection over power. Whether you have a mechanical, membrane, or hybrid model with customizable lighting zones, this guide delivers actionable steps to deep-clean effectively while preserving the brilliance of your RGB effects.
Understand Your Keyboard’s Vulnerabilities
Before touching a cleaning cloth, it’s crucial to recognize where your keyboard is most at risk. RGB lighting typically involves small surface-mount LEDs beneath each keycap or along the PCB (printed circuit board). These emit light upward through translucent keycaps or diffusers. While durable under normal use, they’re vulnerable to moisture ingress, chemical corrosion, and physical stress during disassembly.
Mechanical keyboards, often favored by gamers, use individual switches per key—commonly Cherry MX, Kailh, or Gateron types. These switches contain delicate internal mechanisms and may allow limited exposure to dust and liquid depending on their IP rating (if any). Most consumer-grade gaming keyboards lack full waterproofing, meaning even a few drops inside a switch can cause short circuits or LED failure.
Membrane and low-profile keyboards present different challenges. Their lighting systems are often integrated into thin layers beneath the key matrix, making them harder to access and more susceptible to pressure damage during cleaning.
“Cleaning a keyboard isn’t about scrubbing hard—it’s about removing contaminants without introducing new risks. Moisture and abrasives are the two biggest threats to RGB longevity.” — Daniel Lin, Electronics Technician & Peripheral Specialist
Step-by-Step Guide: Safe Cleaning Process
Cleaning your gaming keyboard properly takes patience and precision. Rushing leads to mistakes. Follow this timeline-based method to ensure thoroughness without compromising your device.
- Power Down & Disconnect (5 minutes)
Unplug the keyboard from your computer or turn off wireless pairing. This prevents electrical surges during cleaning and protects both your PC and peripheral. - Remove Keycaps (15–20 minutes)
Using a plastic keycap puller, gently lift each keycap starting from the top row. Work systematically to avoid confusion when reassembling. Avoid metal tools—they can scratch plastics or snap fragile stems. - Dry Debris Removal (10 minutes)
Hold the keyboard upside down and tap lightly to dislodge loose particles. Then use compressed air in short bursts at a 45-degree angle to blow out dust from switch housings and crevices. Keep the nozzle moving to prevent moisture buildup from propellant condensation. - Clean Keycaps (30–60 minutes soak + drying)
Place removed keycaps in a container filled with lukewarm water and a drop of mild dish soap. Let them soak for 30 minutes. Gently scrub with a soft toothbrush if needed. Rinse thoroughly and lay flat on a lint-free towel to dry completely—never reinstall damp caps. - Surface Wipe (10 minutes)
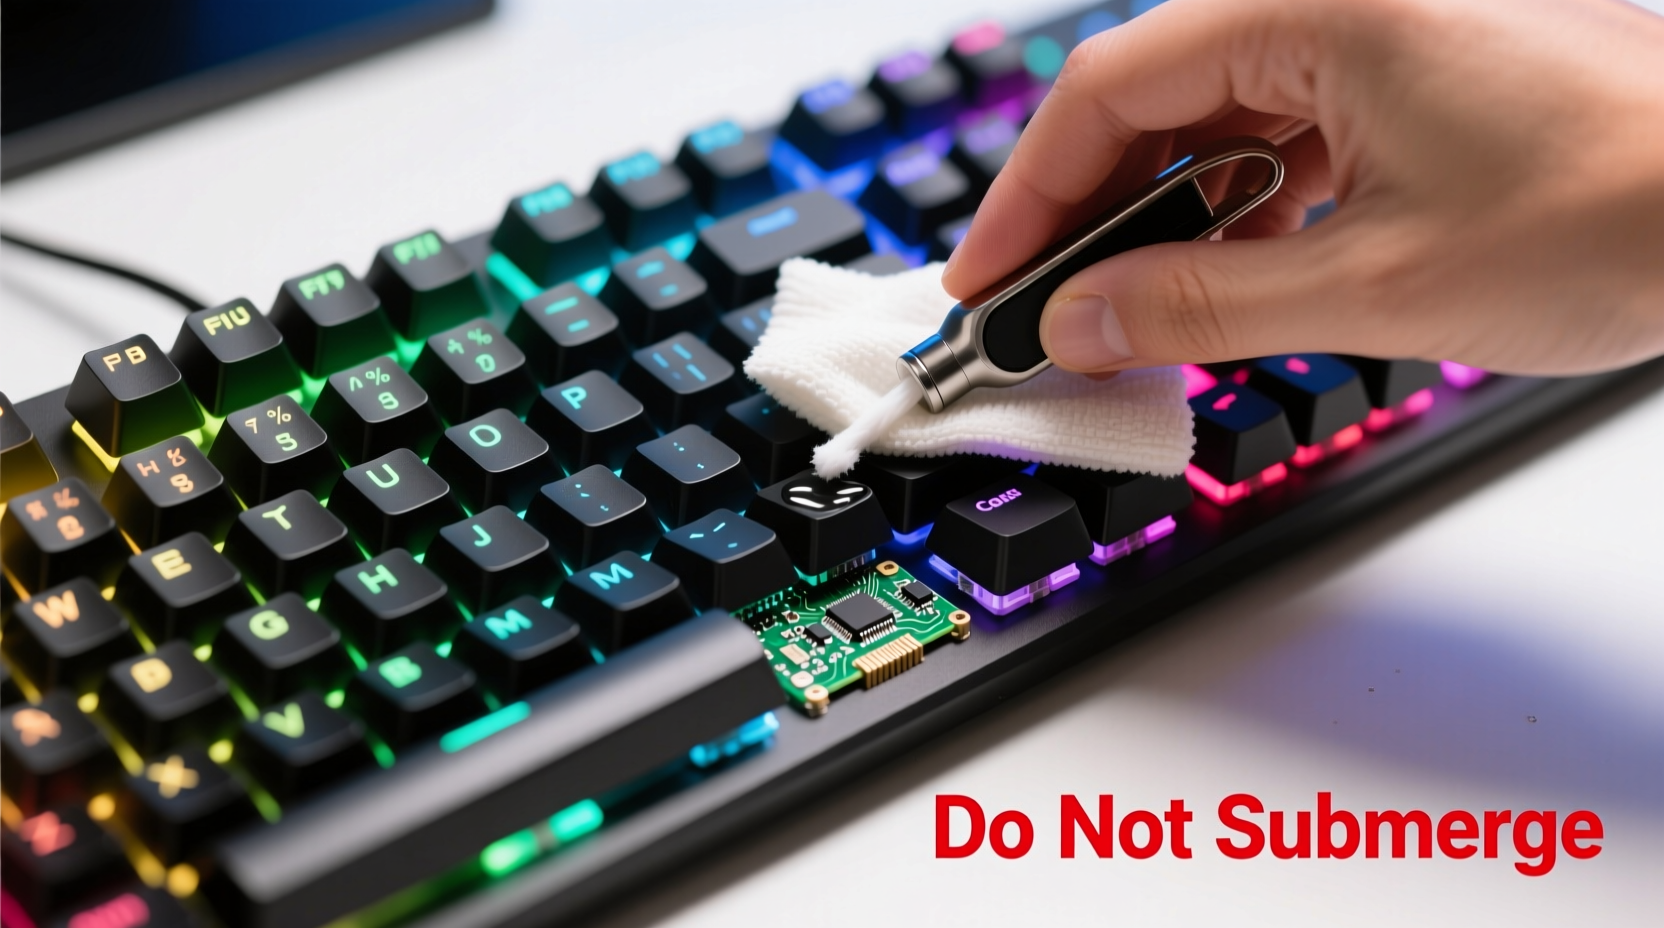
Dampen a microfiber cloth with isopropyl alcohol (70% concentration). Wring until nearly dry, then wipe the exposed frame and switch bases. Do not pour liquid directly onto the board. Focus on stained areas but avoid pooling. - Spot-Clean Sticky Residues (Optional, 10 minutes)
For dried spills or gummy residue near spacebar or Enter key, dip a cotton swab in alcohol and carefully dab—never rub aggressively. Replace swabs frequently to prevent spreading grime. - Reassemble & Test (15 minutes)
Once all parts are fully dry (wait at least 4 hours if unsure), reattach keycaps in correct positions. Reconnect the keyboard and test each key and lighting mode. Use software like Razer Synapse, Logitech G Hub, or open-source tools to verify RGB functionality across zones.
Do’s and Don’ts: Protecting RGB Lighting During Cleaning
Avoiding irreversible damage means knowing what actions to embrace—and which to eliminate entirely. The table below summarizes best practices based on real-world technician reports and manufacturer guidelines.
| Do | Don’t |
|---|---|
| Use 70% isopropyl alcohol on a cloth—not directly on the board | Spray liquids directly onto switches or PCB |
| Let all components dry fully before reassembly | Reinstall wet keycaps or power on a damp keyboard |
| Use compressed air cans upright to minimize moisture discharge | Shake or tilt air cans excessively, which releases propellant fluid |
| Clean every 1–3 months depending on usage | Wait until keys stick or lighting flickers before cleaning |
| Store spare keycaps in anti-static bags away from sunlight | Leave keycaps in direct sunlight, which yellows translucent plastics |
Real Example: A Close Call with Cola Spills
Mark, a streamer with a popular Twitch channel, once spilled soda near his WASD cluster during an intense match. Initially, he ignored it—until two weeks later, when the 'A' key began double-typing and the red LED underneath dimmed intermittently. He tried quick fixes: blowing with canned air, wiping with a damp napkin. Nothing worked.
Finally, he followed a proper cleaning protocol. After removing the keycap, he found a crusty sugar deposit bridging the switch housing. Using a cotton swab dipped in isopropyl alcohol, he carefully dissolved the residue. He let the area dry overnight. Upon reassembly, the key functioned normally, and the red backlight returned to full intensity.
His mistake wasn’t the spill—it was delaying action. Sugary liquids accelerate corrosion and attract dust, forming conductive sludge that interferes with both tactile response and light diffusion. Acting early saved his keyboard; waiting longer might have required replacement.
Essential Tools Checklist
Having the right supplies on hand makes cleaning safer and faster. Here’s what every gamer should keep in their maintenance kit:
- Plastic keycap puller (avoid metal tweezers)
- Bottle of 70% isopropyl alcohol (higher concentrations evaporate too fast; lower ones leave residue)
- Microfiber cloths (lint-free to prevent fibers from sticking to damp surfaces)
- Compressed air duster (preferably with a long straw attachment)
- Soft-bristled toothbrush (dedicated to cleaning—never used for personal hygiene)
- Cotton swabs (for tight spaces around large keys like Shift or Spacebar)
- Small container for soaking keycaps
- Lint-free drying towel or mat
- Anti-static wrist strap (optional, but useful if opening the case)
Keep this kit in a drawer near your desk. Scheduled cleanings take less time when tools are ready.
Frequently Asked Questions
Can I wash my entire keyboard in water?
No—unless it’s explicitly rated as waterproof (e.g., IP68) by the manufacturer. Most gaming keyboards lack full sealing. Submerging them risks permanent damage to circuits, switches, and LEDs. Stick to spot-cleaning methods instead.
Why does my RGB look dim after cleaning?
This usually happens if keycaps weren’t fully dry before reinstallation. Moisture scatters light, reducing brightness. Alternatively, leftover film from improper cleaners (like glass cleaner or vinegar) can cloud polycarbonate caps. Always rinse keycaps with clean water after soapy washes and allow 4+ hours of drying time.
Is it safe to remove switches for cleaning?
Only if you’re experienced. Desoldering switches requires skill and proper equipment. For most users, cleaning around intact switches with compressed air and alcohol swabs is sufficient. Removing switches unnecessarily increases the risk of misalignment or static damage.
Preventative Maintenance for Long-Term Brilliance
The best way to protect RGB lighting is to minimize the need for aggressive cleaning. Simple daily habits extend intervals between deep cleans and preserve optical clarity.
Wash your hands before gaming sessions. Oils from skin transfer to keycaps and gradually degrade plastic transparency, especially on white or clear legends. Consider wearing fingerless gloves during extended play if you're prone to sweating.
Use a silicone keyboard cover when not in use. These form-fitting skins block dust, pet hair, and accidental spills without interfering with typing feel when removed. Choose transparent models to maintain aesthetic continuity.
Avoid eating or drinking near your setup. Even covered mugs can tip, and crumbs inevitably fall between keys. If you must snack, opt for non-greasy, crumb-free options and clean immediately afterward.
Run a monthly inspection: disconnect the keyboard, flip it over, and give it a few firm taps above a trash can. Follow with a quick air blast. This routine keeps debris from compounding into stubborn buildups.
“A well-maintained keyboard lasts five to seven years or more. Neglect cuts that lifespan in half—and ruins the immersive experience RGB is meant to provide.” — Lena Torres, Peripheral Design Engineer
Conclusion: Preserve Performance and Aesthetics Together
Your gaming keyboard deserves care that matches its role in your digital life. It’s not just a tool for commands—it’s part of your identity, reflecting your style and dedication. Cleaning it properly ensures every keystroke remains responsive and every light shines true to its intended hue.
You now have a complete, field-tested method to deep-clean your device without endangering its intricate lighting system. From understanding vulnerabilities to mastering the step-by-step process, you’re equipped to maintain both function and flair.


 浙公网安备
33010002000092号
浙公网安备
33010002000092号 浙B2-20120091-4
Comments
No comments yet. Why don't you start the discussion?