
A gaming mouse is only as good as its ability to track movement accurately. Over time, dust, oils, and debris accumulate around the optical sensor, leading to erratic cursor behavior, lag, or missed inputs—especially during intense gaming sessions. While many gamers upgrade hardware at the first sign of trouble, the real issue might be something far simpler: a dirty sensor. Cleaning it properly can restore precision, responsiveness, and extend the lifespan of your device without spending a dime on replacements.
This guide walks you through a proven three-step method to safely and effectively clean your gaming mouse sensor. Along the way, you’ll learn what tools to use, what to avoid, and how often maintenance should occur. Whether you’re a casual player or a competitive esports enthusiast, these steps will keep your mouse performing like new.
Why Sensor Cleanliness Matters for Performance
The optical or laser sensor at the base of your gaming mouse is responsible for detecting surface movement and translating it into on-screen cursor motion. It works by rapidly capturing thousands of images per second of the surface beneath it. When dust, skin oils, or pet hair obstruct the lens or surrounding area, the sensor struggles to get a clear read, resulting in:
- Inconsistent tracking or sudden jumps
- Lag between hand movement and cursor response
- Reduced DPI accuracy
- Unintended double-clicks or drift
According to hardware engineers at Logitech, even microscopic debris can interfere with high-DPI sensors (up to 25,600 DPI), which are designed for extreme sensitivity. “A speck of dust smaller than a grain of sand can throw off pixel-level tracking,” says Rajiv Mehta, senior firmware developer. “Regular cleaning isn’t just maintenance—it’s essential calibration.”
“Sensor cleanliness directly impacts input fidelity. Gamers who clean their mice monthly report up to 40% better tracking consistency in long sessions.” — Dr. Lena Torres, Human-Computer Interaction Researcher, MIT Media Lab
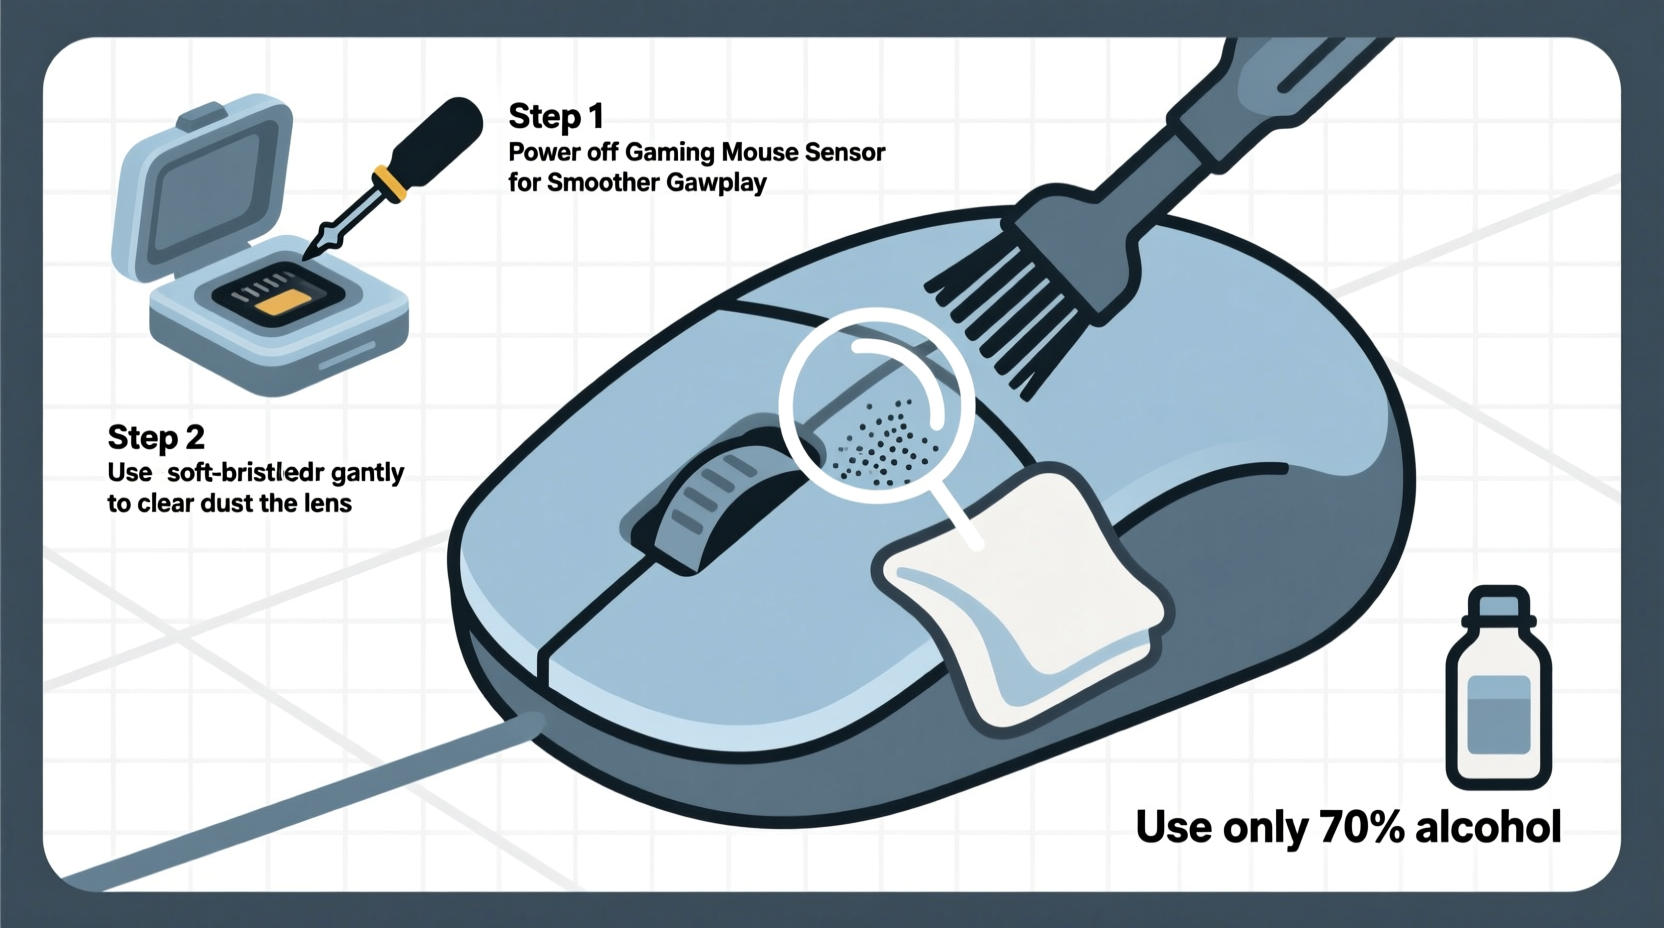
Step 1: Power Down and Prepare Your Workspace
Before touching any part of your mouse, disconnect it from your computer. If using a wireless model, turn it off or remove the battery. This prevents accidental clicks, firmware glitches, or electrical damage during cleaning.
Choose a clean, well-lit workspace with a non-static surface—like a wooden table covered with a microfiber cloth. Avoid carpeted areas where static electricity could build up and potentially harm internal components.
Gather the following tools:
- Canned air (with a narrow nozzle)
- Lint-free microfiber cloth
- Isopropyl alcohol (70% or higher)
- Cotton swabs (preferably foam-tipped)
- Soft-bristle brush (makeup or electronics brush)
- Magnifying glass (optional but helpful)
Do not use paper towels, household cleaners, or water. These can scratch lenses or leave residues that worsen performance.
Step 2: Remove Surface Debris with Compressed Air
The first physical step is eliminating loose particles around the sensor cavity. Hold the can of compressed air upright and spray short bursts at a 45-degree angle toward the sensor opening. Keep the nozzle about 1–2 inches away to avoid forcing debris deeper.
Rotate the mouse slowly while spraying to reach all sides of the recessed sensor housing. Pay attention to corners where lint tends to accumulate. Most modern gaming mice have a protective skirt around the sensor; debris often gets trapped underneath this rim.
If your mouse has removable feet or a base plate, consider taking them off now for better access. Consult your manufacturer’s website for disassembly instructions—some brands like Razer and Corsair provide detailed PDF guides.
After blowing out visible dust, inspect the area with a magnifying glass. If you still see stubborn fibers or grime clinging to the lens, proceed to deep cleaning.
Step 3: Gently Wipe the Sensor Lens and Surrounding Area
This is the most delicate phase. Never touch the sensor lens directly with your fingers—oils from your skin can smear the surface and attract more dirt.
Dampen a corner of the microfiber cloth with a small amount of isopropyl alcohol. Do not soak it; excess liquid can seep into internal circuitry. Alternatively, lightly moisten a foam-tipped swab, which offers more precision than cotton.
With gentle pressure, wipe the glass lens in a circular motion, starting from the center and moving outward. Avoid scrubbing—this could scratch anti-reflective coatings used on high-end sensors.
Use the dry end of the swab or a clean section of the cloth to remove any residue. Then, go over the plastic housing around the sensor with a dry soft brush to eliminate residual dust.
Once cleaned, let the area air-dry for 2–3 minutes before reconnecting the mouse. Alcohol evaporates quickly, so there’s no need to wait longer unless you applied too much.
Do’s and Don’ts of Mouse Sensor Maintenance
| Do’s | Don’ts |
|---|---|
| Use isopropyl alcohol (70%+) for disinfecting and residue-free drying | Use water or window cleaners—they can corrode contacts |
| Clean every 4–6 weeks for optimal performance | Submerge the mouse or expose it to steam |
| Store your mouse on a hard, clean surface when not in use | Tap or blow into the sensor—your breath contains moisture and particles |
| Use canned air regularly to prevent buildup | Use metal tools or sharp objects near the lens |
| Check tracking performance after cleaning | Ignore persistent issues—if problems remain, contact support |
Mini Case Study: From Frustration to Flawless Control
Mark, a competitive CS:2 player from Austin, noticed his crosshair would occasionally jerk sideways mid-match. He assumed his $120 mouse was failing and considered replacing it. Instead, he followed the three-step cleaning process outlined here. After removing a clump of pet hair stuck near the sensor skirt with a soft brush and wiping the lens with alcohol, his tracking stabilized completely.
“I went from missing headshots due to laggy movement to winning clutch rounds,” Mark said. “It took me 10 minutes and cost nothing. I now clean my mouse every month—it’s part of my pre-tournament routine.”
This example underscores a common misconception: poor performance doesn’t always mean hardware failure. Often, it's preventable wear exacerbated by neglect.
How Often Should You Clean Your Gaming Mouse?
Frequency depends on usage and environment:
- Casual users: Every 6–8 weeks
- Daily gamers: Every 3–4 weeks
- Multiplayer/esports players: Every 2–3 weeks
- Pet owners or dusty environments: Weekly inspection, clean as needed
Signs it’s time to clean include:
- Cursor stuttering or freezing briefly
- Need to recalibrate sensitivity frequently
- Visible dirt around the sensor
- Increased double-click registration
Pair regular sensor cleaning with pad maintenance. A dirty mousepad transfers grime back onto your device within hours. Wash fabric pads monthly with mild soap and let them air-dry flat.
Frequently Asked Questions
Can I damage the sensor by cleaning it?
Yes—if done incorrectly. Using abrasive materials, excessive liquid, or poking the lens can cause permanent scratches or internal moisture damage. Stick to soft, approved tools and minimal pressure.
Is it safe to use alcohol on the sensor?
Yes, 70%+ isopropyl alcohol is widely recommended by manufacturers like SteelSeries and HyperX. It evaporates quickly, disinfects, and leaves no film. Avoid lower concentrations, which contain more water.
My mouse still lags after cleaning—what now?
If tracking issues persist, try updating firmware via the manufacturer’s software (e.g., Logitech G Hub, Razer Synapse). Also test on different surfaces. Persistent problems may indicate sensor degradation or internal wiring faults requiring professional repair or replacement.
Final Checklist: Master Your Mouse Maintenance
- Disconnect the mouse and prepare a static-safe workspace
- Gather tools: canned air, microfiber cloth, isopropyl alcohol, foam swabs, soft brush
- Spray compressed air around the sensor to remove loose debris
- Dampen a foam swab or cloth corner with alcohol
- Gently wipe the sensor lens in circular motions
- Clean the surrounding housing with a dry brush
- Allow 2–3 minutes for evaporation before reconnecting
- Test tracking on your usual mousepad
- Schedule the next cleaning session based on usage
Conclusion: Precision Starts with Prevention
Your gaming mouse is a precision instrument, not just a peripheral. Just as athletes maintain their gear, serious players must care for their equipment down to the smallest detail. A clean sensor ensures every flick, drag, and micro-adjustment translates faithfully to the screen—giving you the edge in split-second decisions.
The three steps—power down, blow out debris, and gently wipe the lens—are simple, quick, and effective. No special skills required. By integrating this routine into your gaming hygiene, you protect your investment and enhance performance without relying on upgrades.


 浙公网安备
33010002000092号
浙公网安备
33010002000092号 浙B2-20120091-4
Comments
No comments yet. Why don't you start the discussion?