
Keyboards are among the most frequently touched devices in homes and offices, yet they're often overlooked when it comes to cleaning. Over time, crumbs, dust, oils from fingers, and even bacteria accumulate between the keys. A dirty keyboard not only looks unprofessional but can also affect typing performance and hygiene. The good news? You don’t need specialized tools or expensive cleaners. With a few household items and careful technique, you can restore your keyboard to near-new condition—without loosening keys or damaging internal components.
Why Regular Keyboard Cleaning Matters
Most people spend hours each day typing, making the keyboard one of the germiest surfaces in any workspace. Studies have shown that keyboards can harbor more bacteria than a toilet seat. Beyond health concerns, debris buildup can interfere with key responsiveness, cause sticky keys, or even lead to mechanical failure over time.
Cleaning your keyboard regularly extends its lifespan and ensures a smoother, more hygienic typing experience. However, many users hesitate to clean their keyboards because they fear removing keys incorrectly or using liquids that could short-circuit the electronics. This guide eliminates those concerns by focusing on safe, accessible methods using items already found in most homes.
Essential Household Items for Safe Cleaning
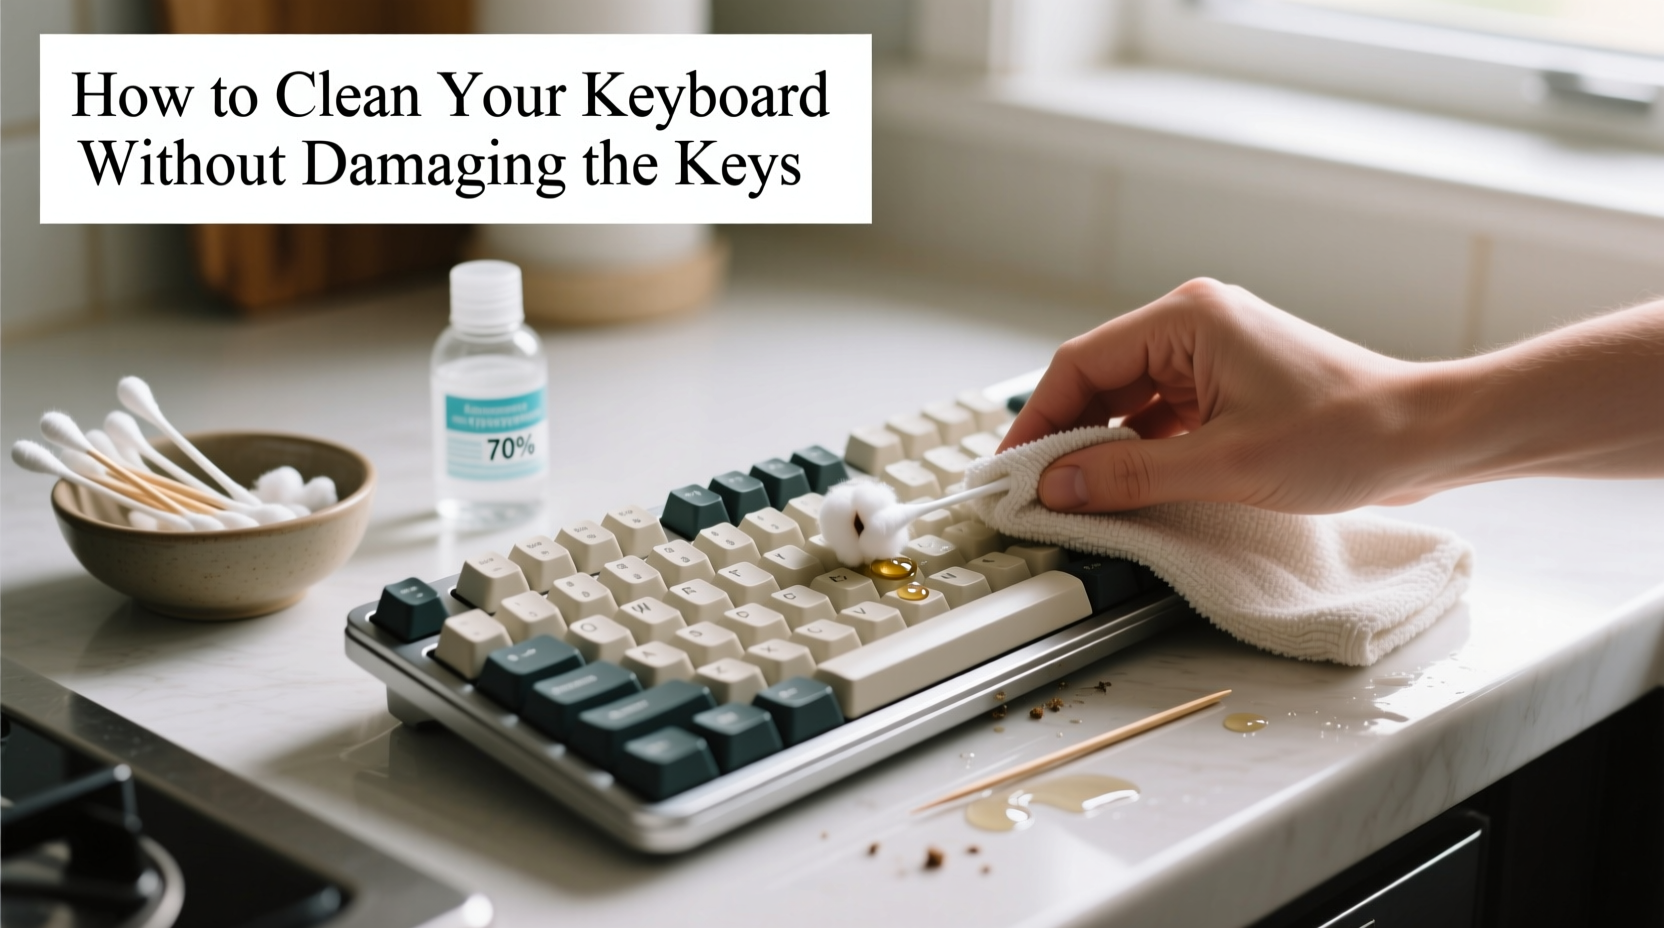
You likely already have everything you need. Avoid harsh chemicals like ammonia or bleach, which can degrade plastic and remove lettering from keys. Instead, rely on gentle, non-abrasive materials:
- Compressed air (or a straw) – For blowing out debris trapped between keys.
- Isopropyl alcohol (70%) – Effective at disinfecting without leaving residue. Diluted with water if needed.
- Cotton swabs (Q-tips) – Ideal for reaching tight spaces around keycaps.
- Soft microfiber cloth – Prevents scratching while wiping surfaces.
- White vinegar and water solution (1:1) – Natural alternative for surface cleaning.
- Toothbrush (soft-bristled) – Helps dislodge grime without damaging plastic.
Avoid paper towels—they can be abrasive—and never pour liquid directly onto the keyboard. Always apply moisture to a cloth or swab first.
Step-by-Step Guide to Deep-Cleaning Your Keyboard
This method works for both wired and wireless keyboards. If you're using a laptop, skip steps involving removal of keycaps unless you're experienced. Most standard desktop keyboards allow for safe maintenance without disassembly.
- Power down and disconnect. Unplug the keyboard or switch off your device. For laptops, shut down completely.
- Shake out loose debris. Hold the keyboard upside down and gently shake it. Tap the back to loosen crumbs.
- Use compressed air. Spray between keys at different angles to lift out dust and particles. No compressed air? Blow through a straw carefully.
- Clean the surface. Dampen a microfiber cloth with isopropyl alcohol or vinegar solution. Wipe each key and the surrounding area. Don’t saturate—just lightly moisten.
- Tackle stubborn grime. Dip a cotton swab in alcohol and clean around the base of each key. Use a soft toothbrush for textured areas.
- Address sticky residues. If a key feels gummy, rub the swab gently around the stem. Let it dry for 5–10 minutes.
- Let it dry completely. Wait at least 15–30 minutes before reconnecting. Moisture inside circuits can cause permanent damage.
- Test functionality. Type a few lines to ensure all keys respond properly.
When (and How) to Remove Keycaps Safely
Some keyboards benefit from deeper cleaning under the keycaps. Mechanical keyboards, in particular, collect more debris due to their exposed switches. While tempting, prying off keys improperly can snap stems or void warranties.
Only remove keycaps if:
- Your keyboard has removable keycaps (most mechanical models do).
- You’re using a keycap puller (a small tool) or plastic tweezers—not metal screwdrivers.
- You plan to clean them individually and let them dry fully before reattaching.
If you decide to proceed:
- Use a keycap puller or gently grip the top two corners of the key with plastic tweezers.
- Pull straight upward with even pressure. Never twist or yank.
- Soak keycaps in warm, soapy water for 15–20 minutes. Add a drop of dish soap.
- Rinse and dry thoroughly on a towel—minimum 2 hours.
- While caps are off, use cotton swabs and alcohol to clean switch housings.
- Reattach keycaps by aligning them properly and pressing down firmly until they click.
Note: Do not remove keycaps from membrane or laptop keyboards unless specified by the manufacturer. These are often designed to stay fixed.
Do’s and Don’ts of Keyboard Cleaning
| Do’s | Don’ts |
|---|---|
| Use isopropyl alcohol (70%) for disinfecting | Use bleach, acetone, or window cleaner |
| Unplug the keyboard before cleaning | Clean while connected or powered on |
| Dampen cloths slightly—never wet | Pour water or cleaner directly onto the keyboard |
| Use soft tools like microfiber or Q-tips | Scrub with abrasive pads or steel wool |
| Wait 15+ minutes after cleaning before use | Resume typing immediately after wiping |
| Store keyboard covered when not in use | Leave it exposed to dust or food particles |
“Regular, gentle cleaning prevents long-term wear and keeps your keyboard responsive. It’s one of the simplest ways to extend your device’s life.” — Dr. Lena Patel, Electronics Maintenance Specialist
Real Example: Reviving a Neglected Office Keyboard
Mark, a freelance writer, used his mechanical keyboard daily for over two years without cleaning it. He began noticing missed keystrokes and a persistent crunching sound when typing. After eating snacks at his desk, he realized crumbs were falling deep into the gaps. Following the steps outlined here, he disconnected the keyboard, shook out debris, and used compressed air followed by alcohol-dipped swabs. He removed the keycaps and soaked them overnight. After reassembling, the keyboard felt crisp again—no stickiness, no noise. “It’s like having a new one,” he said. “I didn’t realize how much performance I’d lost just from neglect.”
This case illustrates how routine maintenance can restore function without costly replacements.
Alternative Methods for Different Keyboard Types
Not all keyboards are created equal. Tailor your approach based on design:
- Laptop Keyboards: Avoid removing keys. Focus on compressed air and damp swabs. Tilt the laptop slightly during cleaning to prevent liquid ingress.
- Membrane Keyboards: Common in budget desktop sets. They lack individual switches but still trap dirt. Clean externally only—no disassembly.
- Wireless Keyboards: Remove batteries before cleaning. Wipe battery compartment with a dry cloth.
- Water-Resistant Models: Some keyboards (e.g., certain Logitech or Apple models) tolerate light moisture. Still, avoid soaking—clean as usual with minimal dampness.
Always consult your user manual before attempting deep cleaning. If unsure, stick to external wiping and air blasts.
Checklist: Quick Reference for Safe Keyboard Cleaning
- ☐ Power off and unplug the device
- ☐ Shake out loose debris
- ☐ Use compressed air between keys
- ☐ Dampen microfiber cloth with alcohol or vinegar solution
- ☐ Wipe each key and surface gently
- ☐ Clean crevices with cotton swabs
- ☐ Allow 15–30 minutes drying time
- ☐ Reconnect and test functionality
- Optional: Remove keycaps (only if safe), clean, dry, and reattach
Frequently Asked Questions
Can I use hand sanitizer to clean my keyboard?
No. Hand sanitizers often contain thickening agents and fragrances that leave sticky residues. Stick to pure isopropyl alcohol (70%) instead, which evaporates cleanly and kills germs effectively.
How often should I clean my keyboard?
For regular users, a light surface wipe every 1–2 weeks and a deeper clean every 4–6 weeks is ideal. If you eat at your desk or share your workspace, consider weekly cleaning to reduce bacterial load.
Will cleaning my keyboard void the warranty?
Generally, no—routine external cleaning does not void warranties. However, removing keycaps or causing liquid damage might. Always follow manufacturer guidelines and avoid invasive methods unless explicitly supported.
Final Thoughts: Make Cleaning Part of Your Routine
A clean keyboard isn't just about appearance—it's about performance, longevity, and personal health. The methods described here require no special purchases, minimize risk, and deliver noticeable results. By incorporating simple habits like weekly wipes and quarterly deep cleans, you protect your investment and improve your daily computing experience.
Start today. Grab a microfiber cloth and a bottle of rubbing alcohol—both likely already in your home—and give your keyboard the care it deserves. A few minutes of effort can add months, even years, to its life.


 浙公网安备
33010002000092号
浙公网安备
33010002000092号 浙B2-20120091-4
Comments
No comments yet. Why don't you start the discussion?