
Cleaning your laptop keyboard isn’t just about aesthetics—it’s essential for performance, hygiene, and longevity. Over time, crumbs, dust, oils from fingers, and even pet hair accumulate between the keys. Left unchecked, this debris can interfere with keystroke responsiveness, attract moisture, or even lead to electrical shorts in extreme cases. But many users hesitate to clean their keyboards, fearing they’ll dislodge keys, damage internal components, or void warranties. The truth is, with the right tools and techniques, you can clean your laptop keyboard thoroughly and safely—without removing a single key.
This guide walks through proven methods that prioritize both effectiveness and safety. Whether you’re using a MacBook, a Windows ultrabook, or a rugged work laptop, these steps apply universally across models and manufacturers.
Why Cleaning Your Keyboard Matters
Your keyboard is one of the most frequently touched parts of your laptop—and one of the dirtiest. Studies have shown that the average keyboard hosts more bacteria than a toilet seat. Beyond germs, physical buildup affects function. Sticky keys, unresponsive buttons, or inconsistent typing are often the result of neglected cleaning.
Moreover, modern laptop designs integrate keyboards tightly into the chassis. Unlike desktop mechanical keyboards, most laptop keys aren’t designed for easy removal or reattachment. Attempting aggressive cleaning methods—like prying off keys or dousing the device in liquid—can lead to permanent damage. That’s why understanding the correct approach is critical.
Essential Tools and Supplies
Before starting, gather the right tools. Using improper materials—like paper towels or household cleaners—can scratch surfaces or leave residue. Here’s what you need:
- Compressed air canister: Removes dust and debris from between keys without contact.
- Microfiber cloth: Soft, lint-free fabric ideal for wiping surfaces safely.
- Isopropyl alcohol (70% concentration): Effective at disinfecting without leaving streaks or residue.
- Cotton swabs (Q-tips): For precision cleaning around stubborn grime.
- Soft-bristled brush (e.g., clean makeup or paintbrush): Gently dislodges particles.
- Tape (low-adhesion, like masking tape): Picks up lint and hair from tight spaces.
Avoid using bleach, ammonia-based cleaners (like Windex), or tap water. These can corrode metal contacts beneath keys or seep into circuits. Also skip abrasive cloths such as paper towels—they scratch plastic finishes over time.
“Improper cleaning is one of the top causes of premature keyboard failure. Most issues arise not from wear, but from moisture ingress or mechanical stress during cleaning.” — David Lin, Senior Technician at TechCare Repair Labs
Step-by-Step Guide to Safe Keyboard Cleaning
Follow this sequence carefully. Each step builds on the previous one to ensure maximum cleanliness with minimal risk.
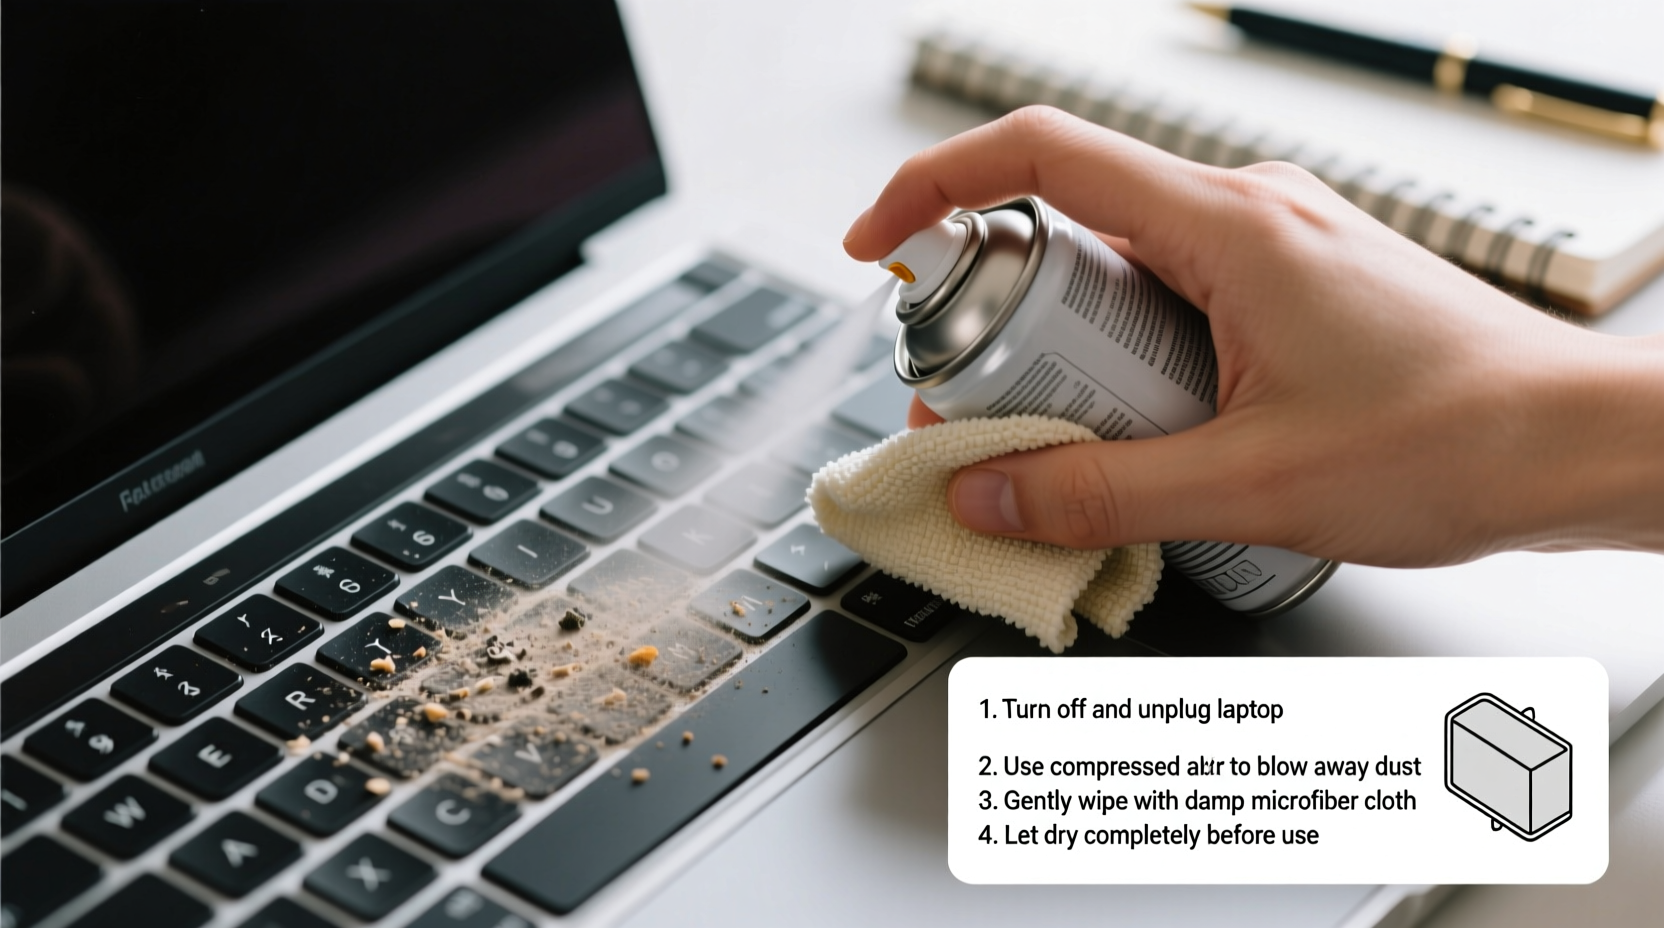
- Power down and unplug: Shut down your laptop completely. If it has a removable battery, take it out. This prevents short circuits and protects sensitive electronics.
- Turn the laptop upside down: Hold it over a trash can or soft surface. Gently shake to dislodge loose debris like crumbs or hair.
- Use compressed air: Hold the can upright and spray in short bursts between keys at a 45-degree angle. Move systematically across rows. Never tilt the can—if liquid propellant sprays out, it can damage components.
- Brush away residual dust: Use a soft-bristled brush to sweep horizontally across the keyboard. This lifts particles loosened by the air.
- Dampen a microfiber cloth with isopropyl alcohol: Wring it until nearly dry—moist, not wet. Wipe each key cap gently, then the spaces between them. Avoid pooling liquid.
- Clean individual keys with cotton swabs: Dip a swab lightly in alcohol, squeeze excess, and rotate it between sticky or visibly dirty keys. Replace swabs when soiled.
- Remove stubborn grime with tape: Roll a small piece of masking tape around your finger, sticky side out. Dab it between keys to lift lint and dried oils.
- Let dry completely: Wait at least 15–20 minutes before powering on. Alcohol evaporates quickly, but patience ensures no moisture remains.
This method works on all common laptop types, including Apple MacBooks, Dell XPS, HP Spectres, Lenovo ThinkPads, and Microsoft Surface devices.
Do’s and Don’ts: What to Avoid When Cleaning
To prevent costly mistakes, follow this clear breakdown of recommended and prohibited actions.
| Do’s | Don’ts |
|---|---|
| Use isopropyl alcohol on a cloth—not sprayed directly | Never pour or spray liquids onto the keyboard |
| Clean regularly to prevent buildup | Wait until keys stop working before cleaning |
| Use compressed air held upright | Tilt the can, risking liquid discharge |
| Wipe downward on keycaps to avoid lifting edges | Scrub aggressively or pry keys upward |
| Store laptop in a covered case when not in use | Eat or drink over the keyboard regularly |
One common misconception is that removing keys makes cleaning easier. While possible on some models, reattaching them incorrectly can cause wobbling, misalignment, or breakage of scissor-switch mechanisms. Unless you’re replacing a key or have experience, leave them intact.
Real-World Example: Recovering a Sticky Keyboard
Sarah, a freelance writer from Portland, noticed her middle row of keys—especially 'E', 'D', and 'F'—had become sluggish after months of working from coffee shops and dining tables. She initially tried wiping with a damp paper towel, which only smeared oils further. After two weeks, some keys stopped registering input entirely.
She followed the method outlined above: powered down her MacBook Air, used compressed air, then wiped with an alcohol-dampened microfiber cloth. A second pass with cotton swabs addressed gummy residue under the 'F' key. Within 30 minutes, full functionality returned. No disassembly was needed, and she avoided a $120 repair quote from the Apple Store.
Sarah now cleans her keyboard monthly and keeps a travel-sized microfiber cloth in her laptop sleeve. “I thought I’d ruined it,” she said. “But gentle, consistent care fixed everything.”
When to Consider Professional Help
While most cleaning can be done at home, certain situations warrant professional service:
- Liquid spill incidents: If coffee, water, or soda soaked into the keyboard, even after drying, internal corrosion may occur.
- Multiple unresponsive keys: Could indicate a damaged ribbon cable or motherboard issue.
- Keys physically detached: Reattachment requires model-specific clips; improper installation leads to poor performance.
- Visible mold or persistent odor: Suggests deep moisture penetration requiring disassembly and sanitization.
In these cases, consult an authorized repair center. They can disassemble the unit safely, replace affected parts, and test functionality post-cleaning.
Frequently Asked Questions
Can I use hand sanitizer to clean my keyboard?
No. While hand sanitizers contain alcohol, they also include fragrances, glycerin, and other additives that leave sticky residues and may degrade plastic over time. Stick to pure isopropyl alcohol (70%) diluted properly or pre-moistened alcohol wipes labeled safe for electronics.
How often should I deep clean my laptop keyboard?
For regular users, a thorough cleaning every 4–6 weeks is ideal. Light surface wiping can be done weekly. If you share your device, eat frequently nearby, or work in high-dust environments (e.g., construction sites, workshops), increase frequency to every 2–3 weeks.
Is it safe to use compressed air on a MacBook?
Yes, as long as you use it correctly. Hold the can upright, use short bursts, and keep the nozzle at least 2 inches from the surface. Apple does not discourage compressed air use for maintenance, though they advise against inserting objects between keys.
Final Checklist: Your Keyboard Cleaning Routine
Keep this checklist printed or saved for quick reference whenever you clean your laptop:
- Shut down the laptop and disconnect power.
- Turn device upside down and gently shake to remove loose debris.
- Use compressed air in short bursts between keys (can upright).
- Brush lightly with a soft-bristled brush to lift remaining dust.
- Dampen microfiber cloth with isopropyl alcohol (wring well).
- Wipe keycaps and gaps gently—no soaking.
- Use cotton swabs for tight spots; replace when dirty.
- Pick up lint with rolled adhesive tape.
- Allow 15–20 minutes for full drying.
- Power on and test keystrokes across all zones.
Repeat this process regularly to maintain optimal performance and hygiene.
Conclusion: Maintain Confidence in Every Keystroke
A clean keyboard isn’t just about appearance—it’s about reliability, health, and extending your laptop’s usable life. With minimal effort and the right supplies, you can keep your device functioning smoothly for years. The methods described here eliminate risks while delivering real results. No guesswork, no damage, just effective, sustainable maintenance.


 浙公网安备
33010002000092号
浙公网安备
33010002000092号 浙B2-20120091-4
Comments
No comments yet. Why don't you start the discussion?