
Over time, laptop screens collect fingerprints, dust, smudges, and oily residues from skin contact. A dirty screen doesn’t just look unprofessional—it can also strain your eyes and reduce visibility. While many people reach for glass cleaners or paper towels, these can damage anti-glare coatings or leave behind frustrating streaks. The good news? You don’t need specialty products to achieve a crystal-clear finish. With a few everyday household items and the right technique, you can clean your laptop screen safely and effectively—without a single streak.
Why Streak-Free Cleaning Matters
A streaky screen defeats the purpose of cleaning. Not only do streaks distract from your work, but they often reappear worse than before if the wrong method is used. Most modern laptop screens use delicate coatings—such as anti-reflective or oleophobic layers—that are easily damaged by harsh chemicals like ammonia, alcohol, or acetone found in common window cleaners.
The goal isn’t just cleanliness, but preservation. A well-maintained screen lasts longer, performs better visually, and contributes to a more comfortable viewing experience. Achieving this doesn’t require expensive sprays or microfiber bundles sold online. In fact, the safest tools are likely already in your home.
“Most screen damage comes not from dirt, but from improper cleaning methods. Gentle materials and water-based solutions are almost always sufficient.” — Dr. Alan Zhou, Display Technology Researcher at MIT Media Lab
What You Can (and Can't) Use from Around the House
Before grabbing any cloth or liquid, it's important to know which household items are safe—and which could cause permanent damage. Below is a breakdown of common items and their suitability for laptop screen cleaning.
| Household Item | Safe for Screens? | Notes |
|---|---|---|
| Distilled Water | ✅ Yes | Best base for DIY solution; free of minerals that cause residue |
| White Vinegar | ⚠️ Diluted Only | Use no more than 1 part vinegar to 3 parts water; never full strength |
| Isopropyl Alcohol (70%) | ⚠️ Use Sparingly | Can degrade coatings over time; best avoided unless dealing with sticky residue |
| Paper Towels | ❌ No | Too abrasive; leaves lint and micro-scratches |
| Tap Water | ❌ Not Recommended | Minerals can leave spots and film over time |
| Cotton T-shirt or Sock (clean) | ✅ Yes | Soft cotton works well if lint-free; avoid textured fabrics |
| Windex or Glass Cleaner | ❌ No | Contains ammonia; damages anti-glare coatings |
Step-by-Step: Clean Your Screen Without Streaks
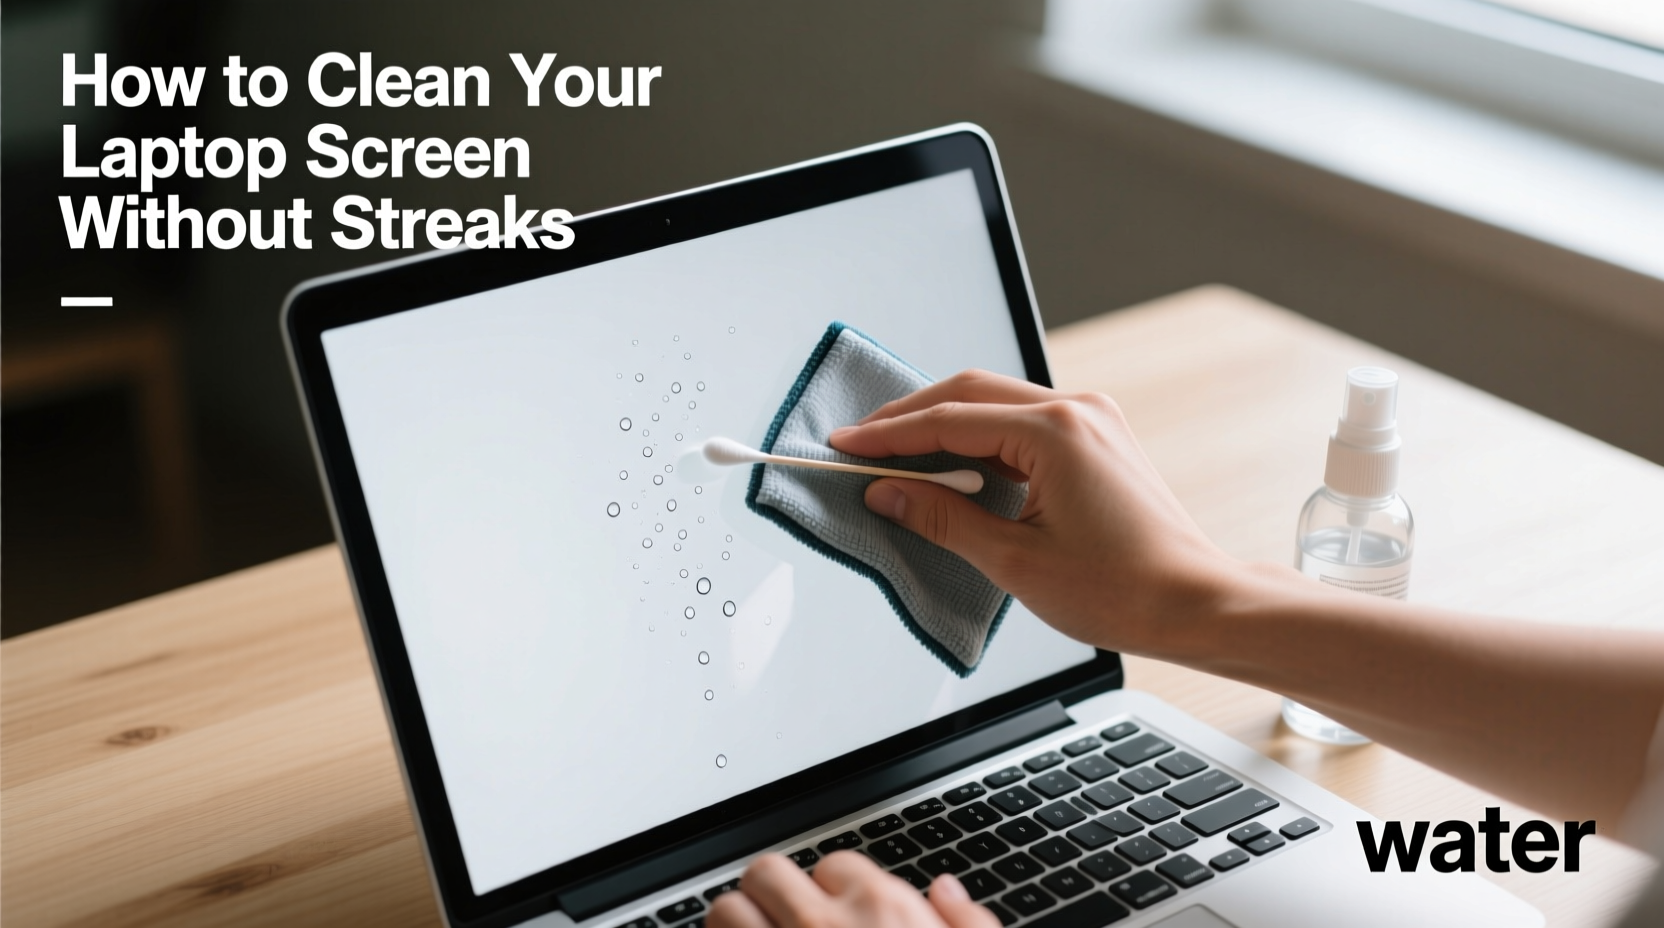
Cleaning your laptop screen properly is less about what you use and more about how you apply it. Follow this detailed process to remove grime while avoiding streaks and damage.
- Power down and disconnect. Shut your laptop completely and unplug it from power. If possible, remove the battery (on older models). This ensures safety and lets you see smudges clearly against a dark background.
- Dust the surface first. Use a dry, soft cloth—like a clean cotton t-shirt or an old eyeglass cleaning cloth—to gently wipe away loose dust and particles. Never scrub; use light, straight-line motions from top to bottom.
- Prepare your cleaning solution. Mix one part distilled water with one part white vinegar in a small spray bottle. Alternatively, use plain distilled water for routine cleaning. Avoid alcohol unless necessary.
- Mist the cloth, not the screen. Lightly spray your cleaning solution onto the cloth—not directly on the screen. Excess moisture can seep into hinges or beneath the display panel, risking internal damage.
- Wipe in one direction. Using the dampened cloth, gently wipe the screen vertically from top to bottom. Do not use circular motions, which tend to spread oils unevenly and create swirls.
- Switch to a dry section of the cloth. Flip the cloth to a dry area or use a second dry cloth to immediately buff the screen. This step removes residual moisture and prevents streaking.
- Let air finish the job. Open your laptop and let it sit for 2–3 minutes before powering back on. This ensures no hidden moisture remains near the bezel or edges.
When to Use Isopropyl Alcohol (and How to Do It Safely)
If your screen has sticky fingerprints or greasy buildup from eating while working, a slightly stronger solution may be needed. In such cases, 70% isopropyl alcohol can be used—but sparingly.
Dampen a corner of your cloth with a small amount of alcohol and gently wipe the affected area. Immediately follow with a dry cloth to remove any residue. Never soak the fabric or apply alcohol repeatedly. Frequent use can degrade screen coatings within weeks.
Real Example: Sarah’s Home Office Transformation
Sarah, a freelance graphic designer in Portland, noticed her laptop screen had become increasingly difficult to work on. Despite wiping it daily with tissues, she was plagued by hazy streaks and persistent oil marks. Her deadlines were suffering because colors looked off during editing.
After reading about proper screen care, she tried the distilled water and vinegar method using an old cotton pillowcase cut into cloths. She powered down her MacBook, dusted the screen, applied the solution to the cloth, and wiped vertically. To her surprise, the screen emerged spotless—no haze, no rainbows, no residue.
She now cleans her screen every two weeks and keeps a dedicated cotton cloth in her desk drawer. “It took five minutes and cost nothing,” she said. “Now I can actually trust what I’m seeing on screen.”
Common Mistakes That Cause Streaks
- Spraying liquid directly on the screen: This leads to pooling at the edges and potential leakage into sensitive components.
- Using circular wiping motions: These redistribute oils in patterns that reflect light unevenly, creating visible swirls.
- Reusing dirty cloths: A cloth that looks clean may still hold grease or dust, reintroducing grime with each use.
- Skipping the dry step: Leaving the screen damp guarantees streaks as water evaporates unevenly.
- Cleaning too aggressively: Pressing hard can damage pixels or delaminate screen layers, especially on older laptops.
DIY Cleaning Kit Checklist
You don’t need to buy anything new. Assemble your cleaning kit from household staples with this checklist:
- ✅ One clean, lint-free cotton cloth (e.g., old t-shirt, baby onesie, or soft sock)
- ✅ Distilled water (available at grocery stores or pharmacies)
- ✅ White vinegar (standard 5% acetic acid)
- ✅ Small spray bottle (reused from old cleaner or travel container)
- ✅ Optional: 70% isopropyl alcohol for tough spots
- ✅ Optional: Q-tip or cotton swab for crevices around the bezel
Store your kit in a drawer or laptop bag so it’s ready when needed. Replace cloths monthly or when they show signs of wear.
Frequently Asked Questions
Can I use baby wipes to clean my laptop screen?
No. Most baby wipes contain moisturizers, fragrances, and mild alcohols that can leave a waxy film or damage screen coatings. Even \"alcohol-free\" versions often include surfactants unsuitable for electronics.
How often should I clean my laptop screen?
For most users, cleaning every 2–3 weeks is sufficient. If you eat at your desk, touch the screen frequently, or live in a dusty environment, weekly cleaning may be necessary. Daily dusting with a dry cloth helps maintain clarity between deep cleanings.
What if streaks remain after cleaning?
Residual streaks usually mean either too much moisture was used or the drying step was skipped. Try again with a drier cloth, using minimal solution. Wipe vertically, then immediately buff with a dry section. If streaks persist, your cloth may be contaminated—wash it with fragrance-free detergent and retry.
Final Tips for Long-Term Screen Care
Maintaining a streak-free screen is an ongoing practice, not a one-time fix. Incorporate these habits into your routine to keep your display looking pristine:
- Wash your hands before prolonged laptop use to minimize oil transfer.
- Avoid eating directly over the keyboard and screen.
- Close your laptop gently to prevent debris from grinding into the display.
- Keep your laptop in a covered case when traveling.
- Never use pens, fingernails, or sharp objects near the screen—even for tapping.
Take Action Today for a Clearer Tomorrow
Your laptop screen is one of the most-used surfaces in your digital life—yet it’s often the most neglected. A few minutes of proper care can restore clarity, improve comfort, and extend the lifespan of your device. You don’t need special tools or expensive kits. With distilled water, vinegar, and a soft cotton cloth, you already have everything required for a professional-quality clean.
Don’t wait until smudges interfere with your work or eye strain sets in. Take action now: power down your laptop, mix a simple solution, and give your screen the attention it deserves. Once you see the difference a streak-free display makes, you’ll wonder why you waited so long.


 浙公网安备
33010002000092号
浙公网安备
33010002000092号 浙B2-20120091-4
Comments
No comments yet. Why don't you start the discussion?