
Mechanical keyboards are prized for their tactile feedback, durability, and customization options. Over time, however, dust, crumbs, oils from fingers, and environmental debris accumulate under the keycaps and inside the switch housings. This buildup can lead to inconsistent keystrokes, ghosting, or even complete switch failure. While many guides recommend fully disassembling the keyboard—removing every switch and cleaning them individually—that’s not always practical or safe for beginners. The good news is you can maintain excellent switch performance without ever desoldering a single component. With the right tools and techniques, deep cleaning is possible while keeping your keyboard intact.
Why Avoid Full Disassembly?
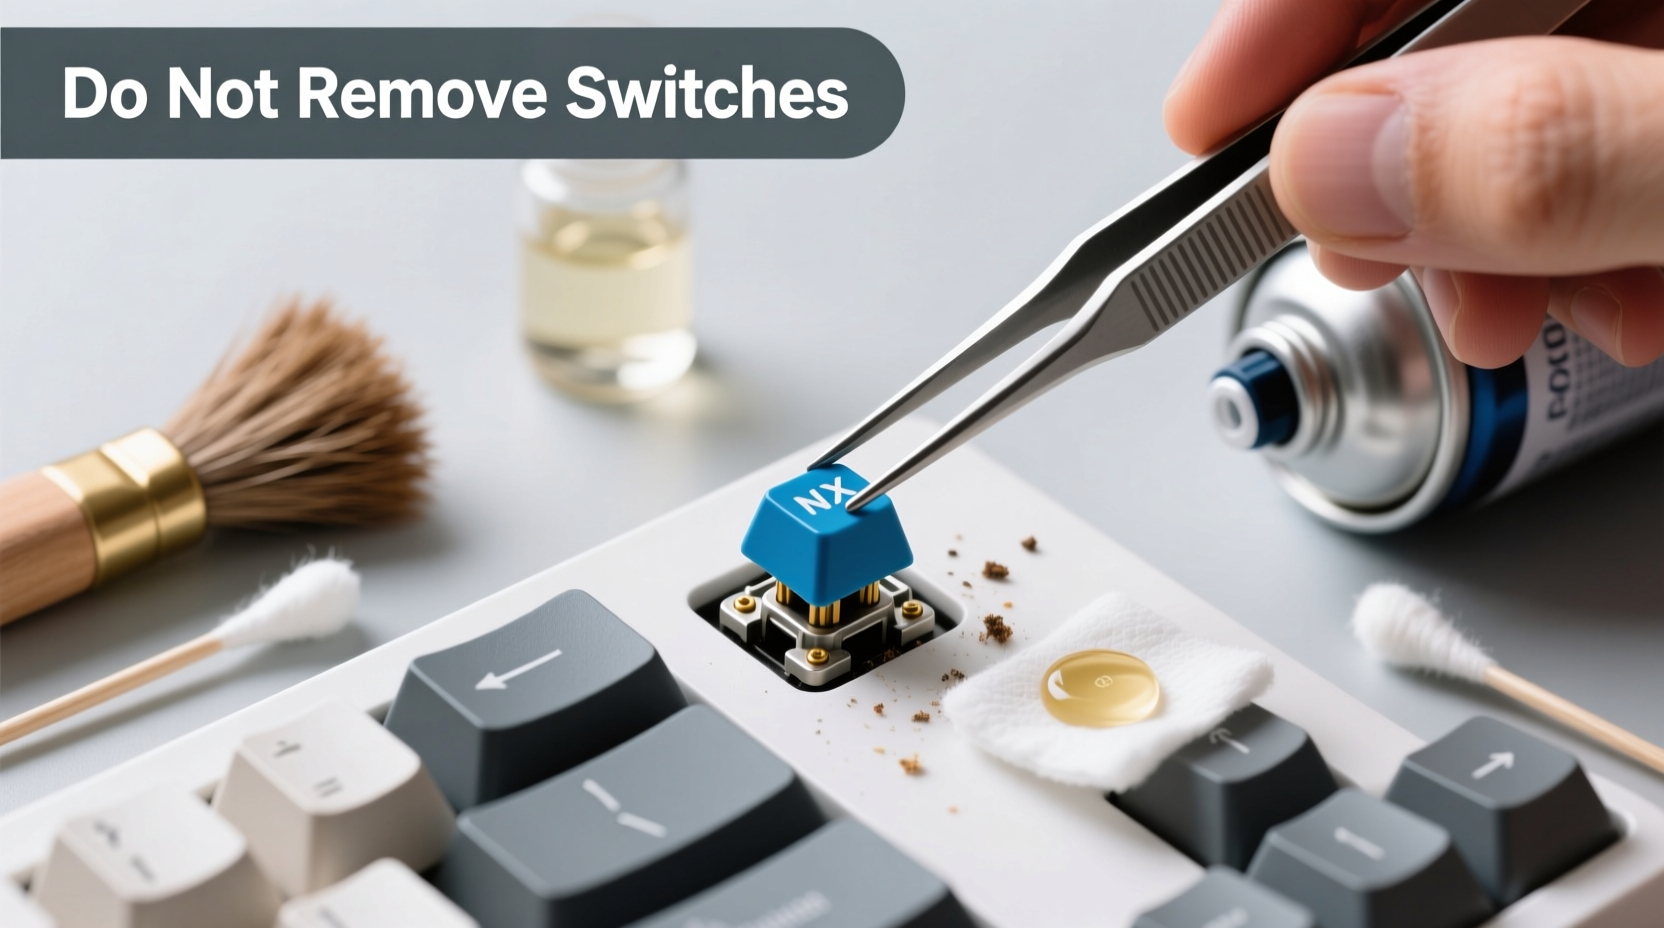
Removing switches requires either desoldering (for soldered boards) or careful use of a switch puller (on hot-swappable models). Both carry risks: accidental PCB damage, bent pins, lost components, or misalignment during reassembly. For most users, especially those with non-hot-swap keyboards, full teardown isn’t worth the effort or risk. Instead, targeted external and semi-invasive cleaning methods offer a safer, faster alternative that still delivers noticeable improvements in responsiveness and feel.
“Most mechanical keyboard issues stem from surface contamination rather than internal switch failure. Proper non-invasive cleaning resolves over 80% of performance complaints.” — Jordan Lee, Keyboard Technician at KeyMech Labs
Essential Tools and Supplies
Cleaning without disassembly relies on precision tools that reach beneath keycaps and into switch mechanisms. You don’t need expensive gear—many items are already in your home. Here’s what to gather before starting:
- Compressed air (canned or electric)
- Soft-bristle brush (clean makeup or paintbrush works)
- Isopropyl alcohol (70% minimum, 90%+ preferred)
- Cotton swabs (preferably foam-tipped)
- Microfiber cloth
- Keycap puller (plastic recommended)
- Tweezers with fine tips
- Lint-free paper towels
Step-by-Step Cleaning Process
Follow this timeline-based approach to ensure thorough yet safe cleaning. Allow at least 30–45 minutes depending on keyboard size and grime level.
- Power down and unplug: Disconnect the keyboard from your computer. If wireless, turn it off and remove batteries if possible.
- Remove keycaps: Use a plastic keycap puller to gently lift keys starting from the top row. Place them in a labeled container or tray to avoid mixing up layouts.
- Dry debris removal: Tilt the keyboard at a 45-degree angle and use short bursts of compressed air between switches. Hold the can upright to prevent propellant leakage.
- Brush out particles: Gently sweep a soft brush across the switch stems and plate area to loosen stuck-on dust. Focus on high-use zones like WASD and spacebar.
- Targeted alcohol cleaning: Dip a cotton swab in isopropyl alcohol, wring it until nearly dry, and carefully wipe around each switch stem. Rotate the swab frequently to avoid redepositing dirt.
- Tackle sticky spots: For keys that feel gummy or inconsistent, apply a small drop of 90%+ IPA directly onto the switch stem. Press the key several times to work the liquid inside. Wait 5–10 minutes for evaporation.
- Final wipe-down: Use a microfiber cloth dampened slightly with alcohol to clean the case and any exposed PCB edges.
- Reattach keycaps: Once everything is completely dry (wait at least 20 minutes), snap the keycaps back on firmly but gently.
- Test functionality: Reconnect the keyboard and open a text editor. Type across all rows and test modifier keys. Listen for smooth actuation.
Do’s and Don’ts: Cleaning Comparison Table
| Do | Don’t |
|---|---|
| Use 90%+ isopropyl alcohol – evaporates quickly, disinfects, leaves no residue. | Use water or glass cleaner – conducts electricity, promotes corrosion. |
| Hold canned air upright – prevents liquid propellant from spraying into switches. | Shake or tilt the can aggressively – risks freezing switch components. |
| Use foam-tipped swabs – less likely to shed fibers inside switches. | Use metal tools near contacts – may scratch or short circuit traces. |
| Let alcohol dry completely – ensures no conductivity issues on power-up. | Reconnect while damp – could cause permanent damage. |
| Store in low-dust environments – reduces future contamination. | Eat or drink over the keyboard – invites spills and crumbs. |
Real Example: A Writer’s Weekend Fix
Alex, a freelance writer based in Portland, noticed his spacebar began registering double presses after six months of daily use. He worked from coffee shops and often typed while eating toast, so crumb accumulation was likely. Rather than sending the board in for service, he followed the non-disassembly method. After removing the spacebar and adjacent keys, he used compressed air followed by a lightly alcohol-dampened foam swab around the MX Brown switch stems. He let it sit for ten minutes, then tested. The stuttering stopped immediately. “I expected I’d need to replace the switch,” he said later, “but five minutes and $3 worth of supplies fixed it. I now clean it monthly.”
Advanced Techniques Without Opening the Case
For stubborn contamination—especially in high-humidity areas or after liquid exposure—additional steps can enhance results without opening the case:
- Gravity-assisted flushing: Tilt the keyboard vertically and apply a few drops of high-concentration IPA between affected switches. Let gravity draw the liquid down through the housing, capturing debris as it exits below.
- Heat acceleration: Use a hairdryer on cool setting to speed up drying time after alcohol application. Keep it at least 12 inches away to avoid melting plastic.
- Vacuum-assist suction: Pair compressed air with a handheld vacuum nozzle held close (but not touching) opposite side. Blow debris loose, then suck it out before it resettles.
- UV-C sanitizing (optional): Some users report success using UV-C wands to reduce microbial growth inside switches, though effectiveness varies by design.
“Even sealed switches aren’t immune to lateral particle entry. Regular maintenance beats reactive repair every time.” — Mariko Tanaka, Hardware Engineer at Typewise Dynamics
Checklist: Non-Invasive Switch Cleaning Routine
✅ Pre-Cleaning Setup
- Unplug or power off keyboard
- Gather tools: air canister, brush, IPA, swabs, microfiber
- Clear workspace and lay down cloth
✅ Keycap Removal
- Use plastic keycap puller
- Place keys in labeled tray
- Inspect keycaps for wear or clouding
✅ Debris Extraction
- Blast between switches with compressed air
- Brush loosened particles away
- Use tweezers for visible lint or hair
✅ Deep Cleaning
- Dampen swab with 90%+ IPA
- Clean around each switch stem
- Spot-treat sticky or inconsistent keys
✅ Final Steps
- Wipe down case and stabilizers
- Wait 15–20 minutes for full drying
- Replace keycaps and test function
Frequently Asked Questions
Can I clean optical switches the same way?
Yes. Optical switches rely on infrared beams rather than metal contacts, making them more resistant to oxidation. However, debris blocking the light path can still cause misses. The same non-invasive cleaning process applies—especially important for clearing obstructions inside the optical chamber.
Will alcohol damage my PBT or ABS keycaps?
No. Isopropyl alcohol does not degrade PBT or ABS plastics when used properly. Avoid prolonged soaking, but wiping or brief contact during cleaning poses no risk. Do not use acetone or nail polish remover, which can cloud or weaken plastic.
What if my keys still feel gritty after cleaning?
If tactile roughness persists, the issue may be deeper contamination or lubricant breakdown within the switch. For Cherry-style clones or hot-swap boards, consider eventual switch replacement. But try a second round of IPA flushing first—sometimes multiple passes are needed after long-term neglect.
Conclusion: Maintain Performance Without Risk
Your mechanical keyboard doesn’t need surgery to feel like new again. With regular upkeep and smart cleaning habits, you can preserve switch integrity, extend lifespan, and enjoy consistent typing performance—all without unscrewing a single panel. The methods outlined here are trusted by enthusiasts, remote workers, and IT professionals who value reliability over complexity. By investing less than an hour every few months, you protect a tool that may serve you for a decade or more.


 浙公网安备
33010002000092号
浙公网安备
33010002000092号 浙B2-20120091-4
Comments
No comments yet. Why don't you start the discussion?