
Mechanical keyboards are prized for their durability, tactile feedback, and long-term performance. But over time, dust, crumbs, oils from fingertips, and pet hair accumulate between the switches and keycaps, affecting both hygiene and functionality. While cleaning seems like a straightforward fix, many users hesitate—fearing they might accidentally void their warranty or lose tiny components in the process. The good news: you can deep-clean your mechanical keyboard thoroughly and safely, preserving both its lifespan and manufacturer coverage.
The key lies in understanding your keyboard’s construction, respecting the boundaries of your warranty, and following a methodical, low-risk cleaning process. This guide walks through every step with precision, offering real-world insights, expert-backed strategies, and clear warnings about common pitfalls.
Know Your Keyboard Before You Clean It
Not all mechanical keyboards are built the same. Some have removable keycaps supported by hot-swappable switches; others integrate components more permanently. Your first task is to identify what kind of keyboard you own—and what limitations that imposes on cleaning.
Check the manufacturer’s website or user manual for details on:
- Whether keycaps are removable
- If the case can be opened (and whether doing so voids the warranty)
- Water resistance ratings (e.g., IP56, splash-proof design)
- Recommended maintenance procedures
Many warranties are invalidated only when internal seals are broken or unauthorized repairs attempted. Simply removing keycaps—with care—is almost always permitted and expected. As Bryan Johnson, senior technician at KeyMech Labs, explains:
“Manufacturers anticipate regular user maintenance like keycap removal and surface cleaning. What voids warranties is prying open sealed PCB compartments or using conductive liquids near circuits.” — Bryan Johnson, Senior Hardware Technician
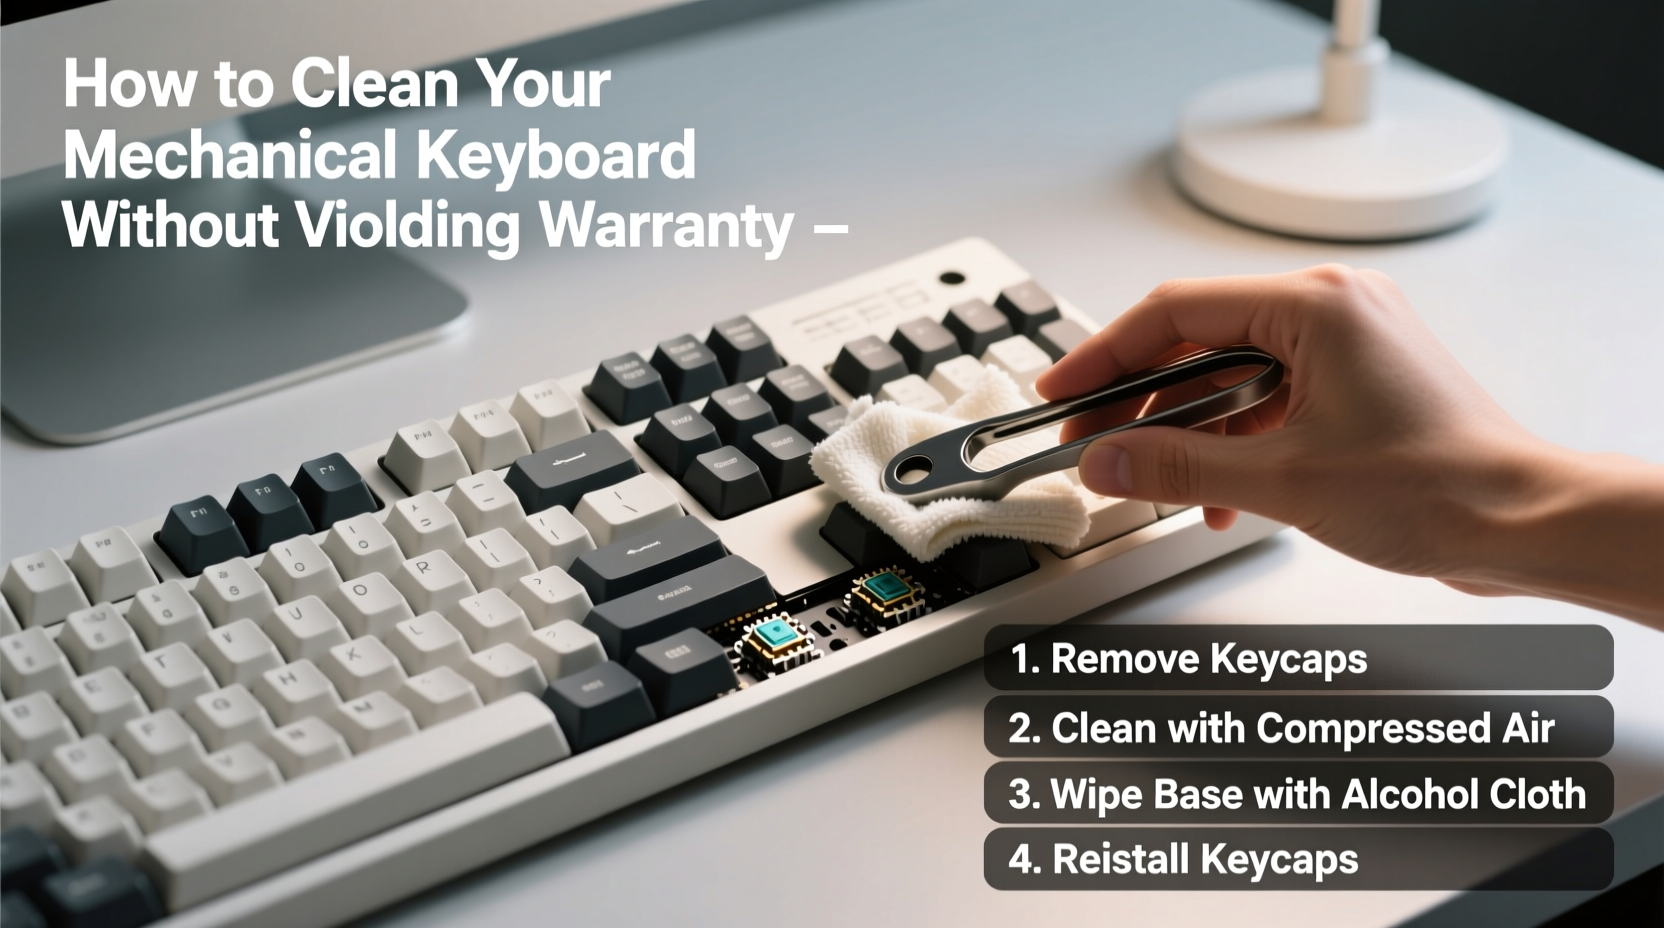
Step-by-Step Cleaning Process (Safe & Warranty-Friendly)
Cleaning your mechanical keyboard doesn’t require disassembling the entire unit. Follow this timeline-tested sequence to maintain cleanliness without compromising structural integrity.
- Power down and disconnect – Unplug the keyboard or turn off wireless mode. Never clean a powered device.
- Flip and shake gently – Turn the keyboard upside down over a trash can and tap the back to dislodge loose debris.
- Use compressed air – Hold cans upright and spray between switches at a 45-degree angle. Avoid shaking or tilting, which can release liquid propellant.
- Remove keycaps carefully – Use a plastic keycap puller. Start from the edges and work inward. Don’t yank straight up—lift evenly to avoid stem damage.
- Soak keycaps (optional) – Place removed caps in lukewarm water with mild dish soap. Soak for 15–30 minutes. Do not use boiling water or harsh detergents.
- Clean switch area – Dampen a microfiber cloth with >70% isopropyl alcohol. Wipe around each switch base. Never pour liquid directly onto the board.
- Dry completely – Let keycaps air-dry for at least 4 hours. Ensure no moisture remains before reattaching.
- Reattach keycaps – Align stems properly and press down gently until they click. Refer to your earlier photo if unsure.
This routine removes grime effectively while avoiding actions that trigger warranty exclusions—such as submerging the PCB or using metal tools inside switch housings.
Do’s and Don’ts: Protecting Warranty and Components
To reinforce best practices, here’s a concise comparison of recommended versus risky behaviors.
| Do’s | Don’ts |
|---|---|
| Use a soft-bristled brush for stubborn debris | Use sharp objects like toothpicks or knives |
| Wipe surfaces with alcohol-dampened cloths | Pour cleaning solutions directly onto the keyboard |
| Remove keycaps with proper tools | Peel caps off with fingernails or pliers |
| Store keyboard covered when not in use | Leave it exposed to pets or food particles |
| Follow manufacturer-recommended intervals | Disassemble internal layers without guidance |
One often-overlooked risk is static electricity. Always ground yourself before handling internal components—even if just wiping near switches. A simple touch to a grounded metal object reduces ESD (electrostatic discharge) risks significantly.
A Real-World Example: Sarah’s Coffee Spill Recovery
Sarah, a freelance writer in Portland, spilled herbal tea near her WASD key during a late-night editing session. Panicked, she immediately unplugged her Ducky One 3 and flipped it upside down. Instead of panicking or dismantling the unit, she followed online advice tailored to spill-safe models.
She used compressed air to push liquid outward, then wiped visible areas with an alcohol wipe. Over the next 24 hours, she left the keyboard tilted at 60 degrees in a dry room with a fan nearby—never applying heat. After ensuring complete dryness, she reconnected it. All keys responded normally.
When she contacted customer support for reassurance, the representative confirmed that because she hadn’t opened the case or used water immersion, her two-year warranty remained intact. “I thought I’d ruined it,” Sarah said later. “But sticking to safe methods saved both my keyboard and my peace of mind.”
Essential Cleaning Checklist
Before starting your next cleaning session, verify you’ve prepared correctly. Use this checklist to ensure thoroughness and safety.
- ✅ Unplugged the keyboard or disabled Bluetooth connection
- ✅ Gathered supplies: keycap puller, microfiber cloth, compressed air, isopropyl alcohol
- ✅ Found a well-lit, clutter-free workspace
- ✅ Taken reference photos of key layout
- ✅ Checked manufacturer guidelines for cleaning restrictions
- ✅ Allowed ample drying time (minimum 4 hours for soaked parts)
- ✅ Verified all keycaps are fully seated after reattachment
This checklist minimizes human error—the leading cause of accidental damage during home maintenance.
Frequently Asked Questions
Will removing keycaps void my warranty?
No, not in nearly all cases. Keycap removal is considered routine maintenance. Most manufacturers assume users will clean or customize their boards. However, damaging switch stems during removal may fall outside warranty coverage, so always use proper tools and technique.
Can I wash my entire keyboard in the sink?
Only if explicitly rated for full immersion—and even then, only if the manufacturer provides instructions. Most mechanical keyboards lack full waterproofing. Submerging them risks short-circuiting the PCB, corroding traces, and triggering immediate warranty denial.
How often should I clean my mechanical keyboard?
Surface cleaning every 2–4 weeks keeps build-up minimal. Deep cleaning—removing and washing keycaps—should occur every 3–6 months, depending on usage environment. Gamers, typists, and those eating near their desks may benefit from monthly attention.
Alternative Methods: When Full Disassembly Isn't an Option
If your keyboard has a sealed design (common in compact or travel-friendly models), avoid attempting internal access. Instead, rely on external techniques:
- Lint rollers – Gently roll over gaps to pick up hair and fibers.
- Double-sided tape – Fold a small strip and dab between keys to lift sticky residue.
- Mini vacuum with brush attachment – Use low suction to extract debris without disturbing switch alignment.
For sticky keys, apply one drop of >90% isopropyl alcohol to a cotton swab and lightly rotate it around the stem. Let evaporate completely before use. These non-invasive tactics keep your device functional and protected under warranty terms.
Final Thoughts: Maintenance That Lasts
Your mechanical keyboard is an investment in comfort, speed, and precision. Treating it with care doesn’t mean avoiding necessary upkeep—it means performing that upkeep intelligently. By adhering to manufacturer guidelines, using appropriate tools, and respecting the physical limits of your device, you preserve both performance and warranty protection.
Regular cleaning prevents long-term degradation caused by abrasive particles grinding into switch mechanisms or conductive gunk altering electrical contact. More importantly, it maintains hygiene in a device that touches your hands thousands of times daily.
Start small: clean once using the steps outlined here. Build confidence. Soon, maintenance becomes second nature—just another part of owning high-quality gear responsibly.


 浙公网安备
33010002000092号
浙公网安备
33010002000092号 浙B2-20120091-4
Comments
No comments yet. Why don't you start the discussion?