
Selling your old Android phone can be a smart way to upgrade or earn extra cash. But before handing it over, one critical step must not be skipped: completely wiping the device. A factory reset isn’t always enough—residual data can linger, and skilled individuals may recover personal information like photos, messages, passwords, and financial details. This comprehensive guide walks you through every essential action to ensure your Android phone is truly clean, secure, and ready for its next owner.
Why a Simple Factory Reset Isn't Enough
Many users assume that selecting “Factory Reset” in settings erases everything. In reality, this process often only removes file system pointers to your data, leaving the actual information intact on the storage until overwritten. With the right tools, someone could use data recovery software to retrieve sensitive files. This risk is especially high if encryption hasn’t been properly enabled or if the device uses older storage technology.
Modern Android devices (running Android 6.0 and later) use full-disk or file-based encryption by default when a lock screen is set. This means your data is encrypted with a key tied to your PIN, password, or biometric input. When you perform a factory reset, the encryption key is destroyed—making the data effectively inaccessible. However, best practices go beyond relying solely on this mechanism.
“Even with encryption, a layered approach to data wiping ensures maximum protection against future forensic recovery.” — Dr. Lena Patel, Cybersecurity Researcher at MobileTrust Labs
Step-by-Step Guide to Securely Wipe Your Android Phone
Follow this sequence carefully. Skipping even one step could leave traces of your digital life behind.
- Back Up Important Data
Before erasing anything, ensure all essential files are safely backed up. Use Google Drive, a computer, or an external drive to save contacts, photos, messages, app data, and documents. Enable Google Backup via Settings > System > Backup to sync app data and settings automatically. - Sign Out of All Accounts
Go to Settings > Accounts and remove your Google account, Samsung account (if applicable), iCloud (if used), and any other linked services. Simply signing out is not enough—tap each account and select “Remove Account.” This prevents activation lock issues for the new owner and protects your cloud-stored data. - Revoke App Permissions and Authorizations
Some apps retain access tokens even after uninstallation. Visit Settings > Apps, review permissions for banking, social media, email, and cloud storage apps, and manually clear data where necessary. For extra security, revoke third-party app access via your Google Account online under Security > Third-party apps with account access. - Encrypt the Device (If Not Already Done)
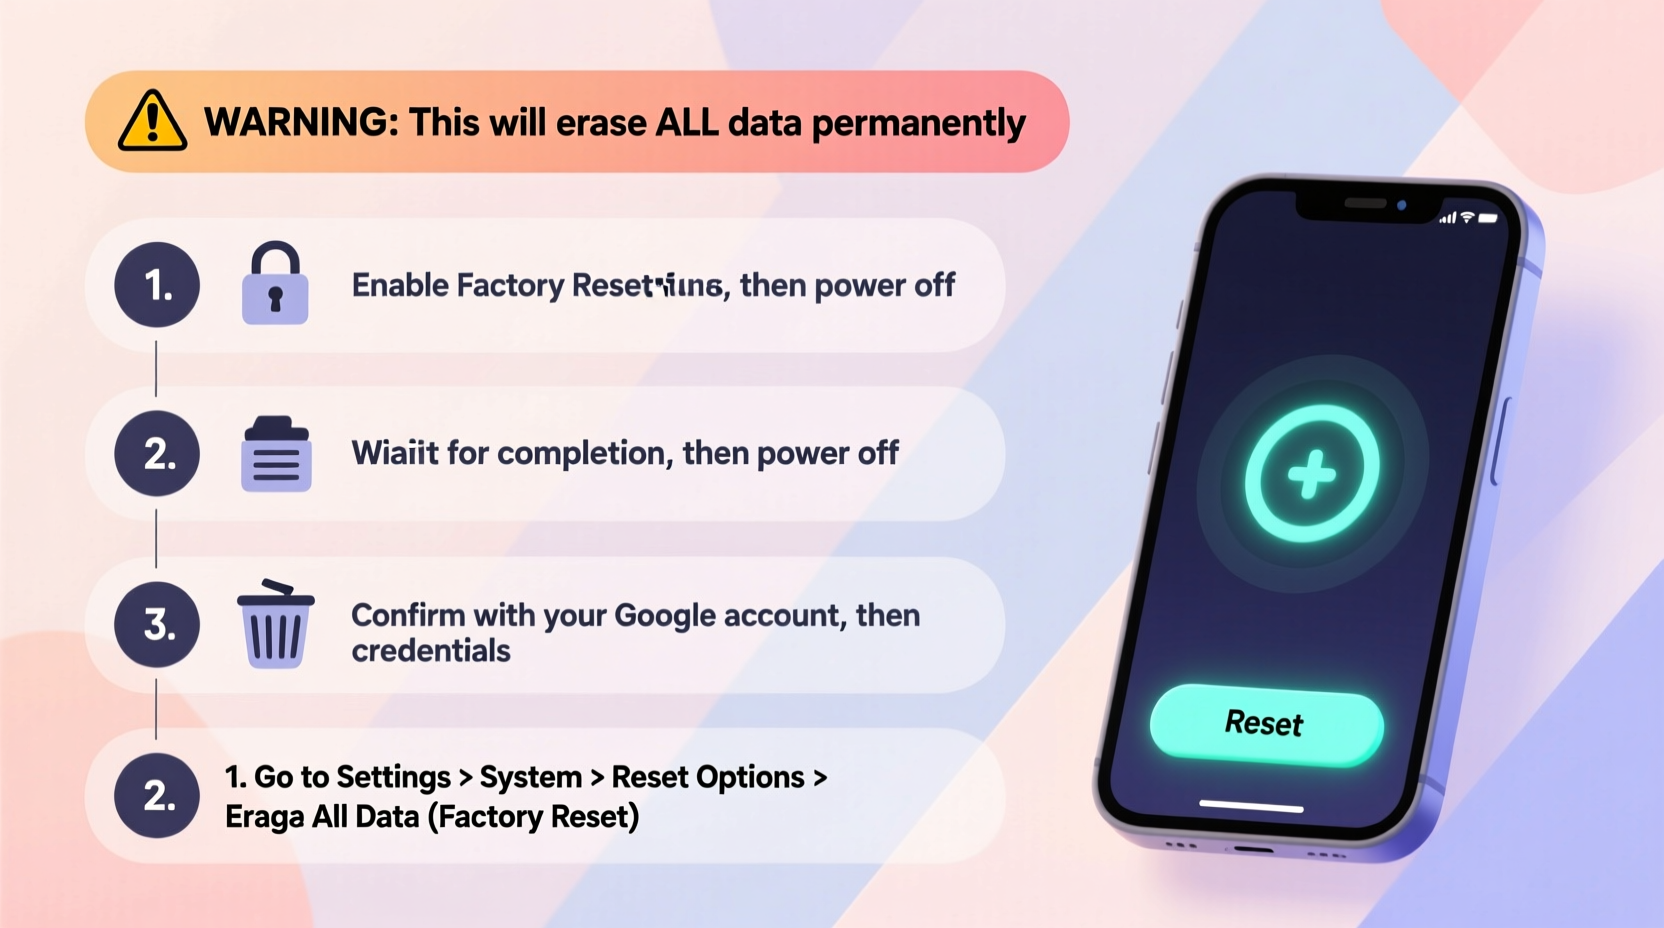
Most modern Android phones encrypt by default when a PIN or password is set. To verify, go to Settings > Security > Encryption. If encryption isn’t enabled, do so now. Note: This may take 30 minutes to several hours, depending on data volume. - Perform a Factory Reset via Settings
Navigate to Settings > System > Reset options > Erase all data (factory reset). Confirm the action. The phone will reboot and begin wiping internal storage. This process typically takes 10–20 minutes. - Fill Storage with Junk Data (Optional but Recommended)
To further reduce recovery chances, fill the phone’s storage with dummy files before resetting. Download large videos or create dummy text files totaling several gigabytes. After copying them, delete everything and perform another factory reset. This increases the likelihood that old data blocks are overwritten. - Remove SIM Card and MicroSD Card
These components are not erased during a factory reset. Physically eject both. The microSD card, in particular, may contain photos, downloads, and app data. Either format it separately using a computer or keep it for reuse. - Boot into Recovery Mode and Wipe Cache Partition
Power off the device. Press and hold Power + Volume Up (varies by brand) to enter recovery mode. Use volume keys to navigate to “Wipe cache partition,” confirm, then reboot. This clears temporary system files that might contain residual traces.
Device-Specific Considerations by Brand
While core steps remain consistent, interface layouts vary across manufacturers. Here's how to locate reset options on major brands:
| Brand | Path to Factory Reset | Recovery Mode Key Combo | Additional Notes |
|---|---|---|---|
| Google Pixel | Settings > System > Reset > Erase all data | Power + Vol Down | Fastboot mode accessible; no OEM locks by default |
| Samsung Galaxy | Settings > General Management > Reset > Factory data reset | Power + Vol Up + Bixby | Ensure Samsung account is removed to avoid FRP lock |
| OnePlus | Settings > System > Reset > Erase all data | Power + Vol Up | Some models require unlocking bootloader first |
| Xiaomi | Settings > About phone > Reset options > Erase all data | Power + Vol Up | Mi Account must be unlinked online before reset |
| Motorola | Settings > System > Reset > Erase all data | Power + Vol Down | Simple stock Android experience; minimal bloat |
Checklist: Pre-Sale Android Wipe Verification
Use this checklist to confirm your phone is fully sanitized before handing it over:
- ✅ Backed up all important data to cloud or external drive
- ✅ Removed Google account and other synced accounts
- ✅ Signed out of Gmail, YouTube, Chrome, and Play Store
- ✅ Revoked third-party app access in Google Account settings
- ✅ Confirmed device encryption is active
- ✅ Performed factory reset through settings
- ✅ Wiped cache partition via recovery mode
- ✅ Ejected SIM and microSD cards
- ✅ Verified no personal data remains on boot-up screen
- ✅ Ensured device boots to initial setup wizard (not locked by FRP)
Real-World Example: The Risk of Skipping Steps
In 2021, a secondhand electronics dealer in Manchester purchased 50 used Android phones from various sellers. Using basic forensic tools, technicians recovered login credentials, private photos, and even bank app sessions from five devices—despite all showing “factory reset” had been performed. One phone still contained two-factor authentication codes and recent location history. The cause? Users signed out of accounts but failed to remove them entirely, and none filled storage with junk data prior to reset. This case underscores how incomplete wiping exposes real privacy risks—even on seemingly clean devices.
Advanced Option: Physical Destruction for Maximum Security
For users handling highly sensitive data—such as journalists, legal professionals, or corporate executives—a software reset may not suffice. In such cases, physical destruction of the storage chip offers ultimate assurance. Specialized services use industrial shredders or degaussing equipment to destroy NAND flash memory. While impractical for resale, this method guarantees zero data recovery possibility. Alternatively, consider donating or recycling devices through certified e-waste handlers who provide data destruction certificates.
Frequently Asked Questions
Will a factory reset remove malware?
Yes, a proper factory reset deletes apps and associated malware from internal storage. However, some advanced rootkits can persist in system partitions or firmware. For suspected infections, flashing a clean stock ROM via fastboot or Odin (for Samsung) is more reliable.
Can I track my phone after wiping it?
No. Once the Google account is removed and the device is wiped, Find My Device loses the ability to locate it. Ensure you’ve located the phone and disabled any anti-theft features before wiping.
What if my phone won’t turn on? Can I still wipe it?
If the device is non-functional, physical data extraction becomes difficult. In most cases, the data remains protected if the phone was encrypted and the screen locked. For complete assurance, professional data destruction or secure recycling is recommended.
Final Steps Before Handing Over the Device
After completing the wipe, power the phone on and observe the startup sequence. It should display the initial setup screen in the default language, asking to connect to Wi-Fi and add an account. If it prompts for a previous Google or Samsung account (FRP lock), the removal process failed. Return to settings and ensure all accounts were deleted prior to reset.
Clean the exterior with a soft, dry cloth. Avoid liquid cleaners near ports. Inspect for damage and disclose any issues honestly to the buyer. Include original accessories if available, but never reuse chargers or cables from unknown sources.
Conclusion: Take Control of Your Digital Legacy
Your Android phone holds years of personal history—messages, locations, photos, and financial habits. Selling it without proper sanitization is like handing over the keys to your digital life. By following these verified steps, you protect your identity, maintain privacy, and ensure ethical device transfer. Don’t rely on assumptions or shortcuts. Invest the time to wipe thoroughly, verify completely, and sell confidently.


 浙公网安备
33010002000092号
浙公网安备
33010002000092号 浙B2-20120091-4
Comments
No comments yet. Why don't you start the discussion?