
Outdoor trees can become stunning focal points at night when illuminated from within their base. While commercial landscape lighting exists, few options offer the personalized touch, energy efficiency, and cost savings of a DIY solution. By converting a standard household lamp into a custom tree base light with adjustable brightness, you gain full control over ambiance, reduce energy use, and create a unique garden feature tailored to your space. This guide walks through the entire process—from selecting components to final installation—with practical advice, safety considerations, and real-world applications.
Why Convert a Lamp Instead of Buying Landscape Lighting?
Most off-the-shelf outdoor tree lights are designed for broad appeal, not specific aesthetics or flexibility. They often come with fixed brightness, limited color temperature options, and rigid mounting systems. In contrast, repurposing an indoor lamp allows you to:
- Use higher-quality materials already in your home
- Customize beam angle and direction for optimal tree highlighting
- Incorporate dimming functionality without extra expense
- Reuse existing electronics responsibly, reducing waste
- Adapt the design to fit tight or irregular spaces around tree trunks
This project is ideal for homeowners who want subtle, elegant nighttime illumination without the glare or uniformity of mass-produced fixtures.
Materials and Tools Required
The success of this conversion hinges on selecting compatible, weather-resistant components. Not all lamps can be safely modified for outdoor use, so careful planning is essential.
Core Components
- Standard lamp (preferably floor or torchiere style) – Must have accessible wiring and a removable bulb socket.
- LED retrofit bulb with dimmable capability – Look for warm white (2700K–3000K) for natural ambiance.
- Weatherproof electrical enclosure – To protect switch mechanisms and wire connections from moisture.
- Dimmable LED driver or inline dimmer module – Allows brightness adjustment without replacing the entire circuit.
- Outdoor-rated extension cord or hardwired junction box – For safe power delivery.
- Stainless steel clamps or flexible conduit straps – To secure the lamp body to uneven bark or roots.
- Silicone sealant and heat shrink tubing – For waterproofing exposed joints.
Essential Tools
- Wire strippers and crimpers
- Screwdrivers (Phillips and flathead)
- Multimeter (for continuity and voltage checks)
- Drill with metal-cutting bit (if modifying housing)
- Utility knife and electrical tape
“Repurposing household lighting for outdoor use requires attention to insulation, grounding, and moisture barriers. One unprotected connection can lead to failure—or worse, a hazard.” — Marcus Lin, Residential Electrical Systems Consultant
Step-by-Step Conversion Process
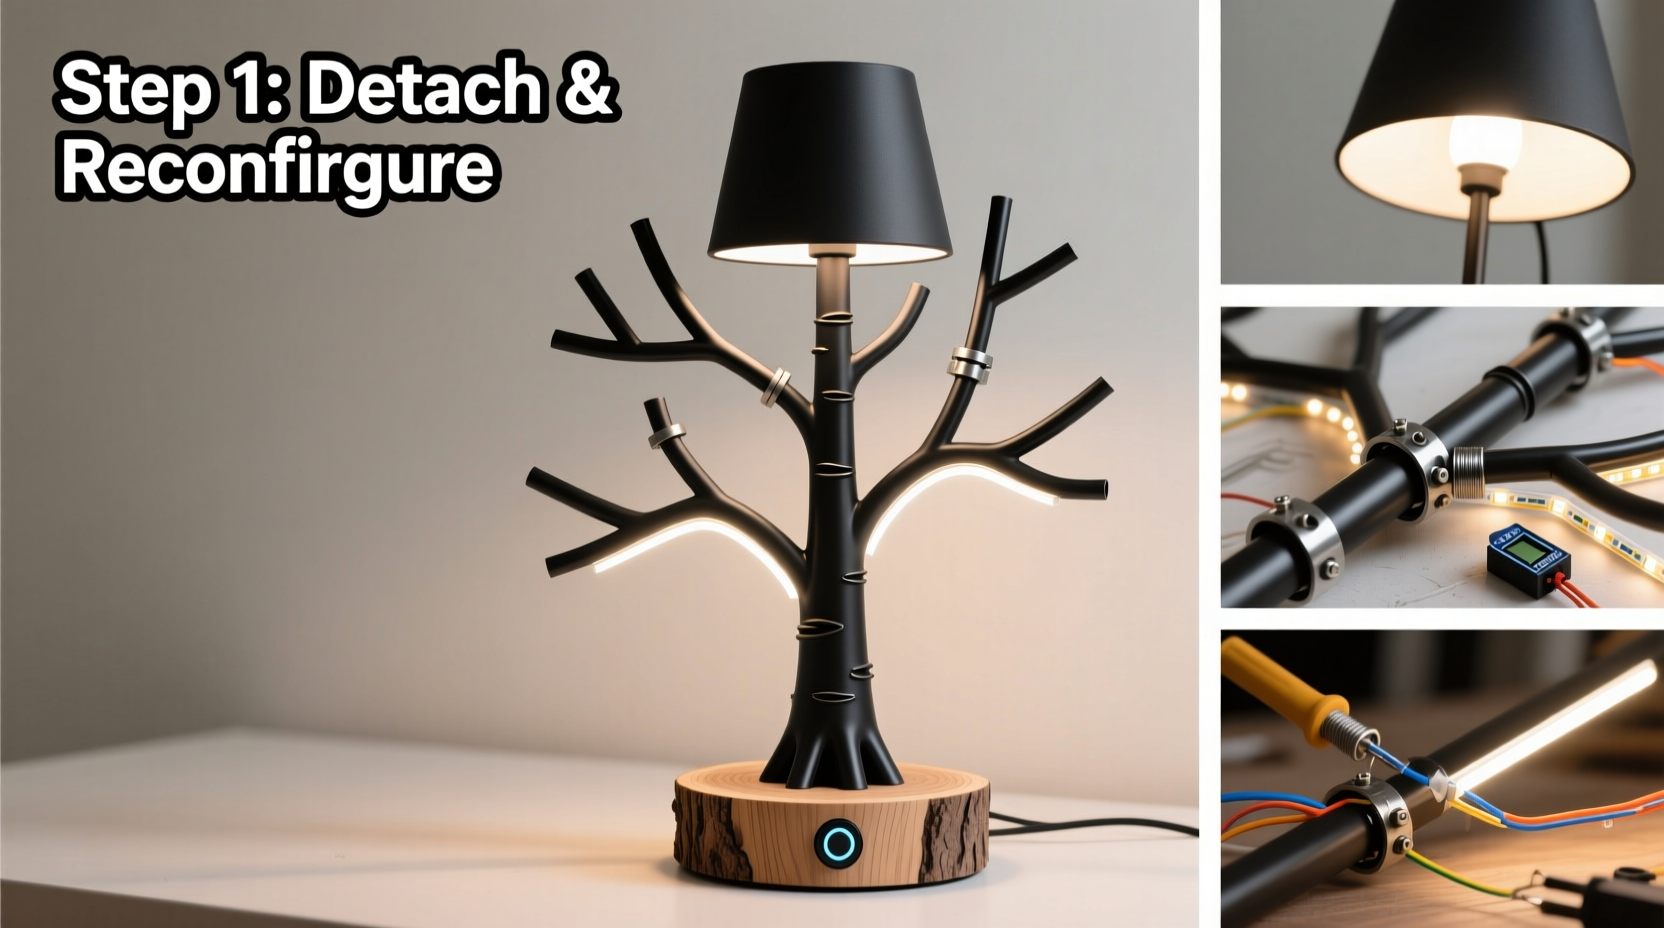
1. Assess and Disassemble the Lamp
Begin by unplugging the lamp and removing the bulb. Examine the internal structure: most standard lamps have a threaded rod running through the center, with wires routed internally. Remove the harp, shade, and socket assembly. Take note of how the switch is wired—is it a pull-chain, foot switch, or wall-cord type? The goal is to isolate the hot, neutral, and ground wires for reconfiguration.
2. Replace Bulb with Dimmable LED Equivalent
Install a high-lumen, dimmable LED bulb rated for enclosed fixtures if your lamp has a closed base. A 60W-equivalent (800 lumens) LED draws only 9–10 watts, minimizing heat buildup and energy use. Ensure the base type matches (typically E26).
3. Install an Inline Dimmer Module
Cut the lamp’s power cord about 12 inches from the plug end. Strip both ends of the cut wires. Connect one side to the input terminals of a UL-listed inline dimmer module; connect the other to the output. Secure all connections with wire nuts or screw terminals, then enclose the module in a weatherproof case mounted near the base.
Test the dimmer indoors before outdoor installation. Some low-cost modules cause flickering with certain LEDs—swap if needed.
4. Weatherproof All Connections
Any exposed wiring must be sealed against rain and pests. Wrap splices in self-amalgamating silicone tape, then cover with heat shrink tubing. Place the dimmer and any junctions inside a gasketed PVC electrical box. Drill entry holes and use cord grips to prevent strain.
5. Modify Mounting for Tree Attachment
Floor lamps aren’t designed to wrap around trees. You’ll need to adapt the base. If the lamp has a wide circular base, drill holes and attach stainless steel U-bolts to anchor it to the ground beside the trunk. For slimmer designs, use heavy-duty nylon zip ties or custom-fabricated aluminum brackets to hug the tree gently without damaging bark.
6. Run Power Safely to the Site
Never daisy-chain extension cords outdoors. Use a single, grounded, outdoor-rated extension cord (14 AWG minimum) running from a GFCI-protected outlet. Bury the cord in a shallow trench (6 inches deep) or route it along fence lines to avoid tripping hazards. If permanent, consult an electrician to install a dedicated low-voltage line or junction box nearby.
7. Final Installation and Testing
Position the lamp so its light radiates upward along the trunk. Aim for 30–45 degrees from vertical to emphasize texture without casting sharp shadows. Turn on the system at dusk and test multiple brightness levels. Adjust the aim and dimmer settings until the glow feels balanced and inviting.
Do’s and Don’ts: Outdoor Lighting Safety Checklist
| Action | Recommended? | Reason |
|---|---|---|
| Use indoor-only lamps without sealing connections | No | Moisture ingress causes shorts and corrosion |
| Install a GFCI-protected circuit | Yes | Prevents shock in wet conditions |
| Bury non-rated extension cords | No | Standard cords degrade underground |
| Use LED bulbs with low heat output | Yes | Reduces fire risk near dry foliage |
| Paint or coat metal parts for rust resistance | Yes | Extends lifespan in humid climates |
| Leave wires dangling near lawn equipment | No | Risk of cuts, tripping, or mower damage |
Real Example: Transforming a Backyard Oak in Portland, OR
Jessica R., a homeowner in Portland, wanted to highlight a century-old oak without installing visible fixtures. She repurposed a tall brass torchiere lamp she no longer used indoors. After removing the upper shade, she installed a dimmable 9W PAR30 LED and routed the cord through flexible conduit buried alongside her patio.
She mounted the base using two stainless steel pipe clamps anchored into wooden stakes driven into the soil. An inline rotary dimmer was housed in a locked weatherproof box mounted on a nearby post. Now, she adjusts brightness seasonally—brighter during winter gatherings, softer in spring for ambient mood lighting.
“It looks like the tree glows from within,” she said. “And I didn’t spend more than $40 beyond what I already had.”
Tips for Long-Term Performance and Maintenance
A converted lamp can last for years with proper care. Consider these long-term strategies:
- Inspect connections twice a year – Especially after storms or freezing temperatures.
- Clean the bulb and reflector every 3–4 months – Dust and spider webs reduce output significantly.
- Check for pest nesting – Rodents sometimes chew insulation; use deterrent sprays or mesh guards if needed.
- Store during extreme weather – In regions with heavy snow or hurricanes, disassemble and store the lamp indoors during off-seasons.
- Upgrade to solar in the future – Once the design is proven, consider adding a small solar panel and battery pack for complete grid independence.
Frequently Asked Questions
Can I use a smart bulb for remote brightness control?
Yes, but with caveats. Smart bulbs require constant Wi-Fi or Bluetooth connectivity, which may not reach outdoor locations reliably. Additionally, enclosing a smart bulb in a damp environment increases failure risk. A better option is to pair a standard dimmable LED with a smart plug at the outlet—this keeps sensitive electronics indoors while still allowing app or voice control.
Is it safe to leave the modified lamp outside year-round?
If all connections are properly sealed and the power source is GFCI-protected, yes. However, longevity depends on climate. In coastal or high-humidity areas, inspect monthly for corrosion. Applying dielectric grease to metal contacts can help prevent oxidation.
Will this setup attract insects or wildlife?
All artificial lighting attracts some insects, but warm white LEDs (below 3000K) are less disruptive than cool or blue-rich lights. Avoid motion sensors unless desired, as sudden activation may disturb nocturnal animals. Position the fixture to minimize upward spill into canopy zones where bats or birds roost.
Conclusion: Illuminate Thoughtfully, Customize Fully
Converting a standard lamp into a custom tree base light merges sustainability, personal expression, and functional design. With careful planning and attention to electrical safety, you can transform overlooked household items into striking landscape features. Adjustable brightness ensures versatility across seasons and occasions, while LED efficiency keeps energy costs minimal.
This project proves that impactful outdoor lighting doesn’t require expensive kits or professional installation. It starts with observation—seeing how light interacts with your trees—and ends with innovation, using accessible tools to craft something uniquely yours.


 浙公网安备
33010002000092号
浙公网安备
33010002000092号 浙B2-20120091-4
Comments
No comments yet. Why don't you start the discussion?