
Cosplay is more than dressing up—it’s storytelling through costume, craftsmanship, and performance. For many fans, the challenge isn’t creativity but cost. High-quality wigs, custom armor, and imported fabrics can quickly turn a dream costume into a financial burden. Yet, some of the most accurate and memorable cosplays come from resourceful builders who prioritize precision over price tags. With strategic planning, creative problem-solving, and access to affordable tools, it’s entirely possible to craft an authentic-looking cosplay on a tight budget.
The key lies in redefining what “accuracy” means. It’s not about buying every piece from a specialty retailer; it’s about visual fidelity—how closely your final look matches the source material from a reasonable viewing distance. This article breaks down practical, proven methods to build high-impact, screen-accurate costumes while keeping expenses low.
1. Start with Smart Character Selection
Not all characters are created equal when it comes to budget-friendly cosplay. Some require intricate armor, rare textiles, or specialized electronics. Choosing wisely at the outset can eliminate unnecessary costs before you even begin.
Consider these factors when selecting a character:
- Outfit complexity: A simple school uniform is easier and cheaper to replicate than a layered battle suit with glowing parts.
- Color palette: Neutral tones and basic colors are easier to match with off-the-rack clothing.
- Availability of reference images: The more angles and close-ups you have, the better you can plan accurate details without guesswork.
- Wig requirements: Characters with natural hair colors or short styles often need less expensive wigs—or none at all.
Examples of budget-friendly yet highly recognizable characters include:
- Rick Grimes (The Walking Dead) – cargo pants, button-up shirt, holster
- Megumin (Konosuba) – black robe, staff, mage hat (all DIY-friendly)
- Link (The Legend of Zelda) – green tunic and cap, which can be modified from thrifted items
2. Master the Art of Thrifting and Repurposing
One of the most effective ways to cut costs is to avoid buying new. Secondhand stores, online marketplaces, and even your own closet are goldmines for base garments.
Visit thrift shops with a clear idea of your character’s color scheme and silhouette. Look for clothing that matches in shape or fabric, even if the color is off—you can always dye it. A $5 blazer can become a villain’s coat with black fabric paint and added lapel pins.
“Over 70% of my con-ready cosplays start in a thrift store. You’d be surprised how much you can transform a $3 dress with scissors and iron-on trim.” — Lila Chen, competitive cosplayer and YouTube tutorial creator
Dyeing fabric is a powerful, low-cost technique. Rit Dye and Dylon offer affordable options for cotton, polyester blends, and wool. Always test on a swatch first, and use salt or vinegar as fixatives depending on the fiber type.
| Fabric Type | Best Dye Method | Average Cost (per batch) |
|---|---|---|
| Cotton | Direct dye with salt | $3–$5 |
| Polyester | Disperse dye with heat | $6–$8 |
| Wool/Silk | Acid dye with vinegar | $5–$7 |
Shoes and accessories are also prime candidates for modification. Use paint, felt, or 3D-printed clips to alter existing footwear. A pair of brown boots becomes space marine gear with black spray paint and glued-on plastic piping.
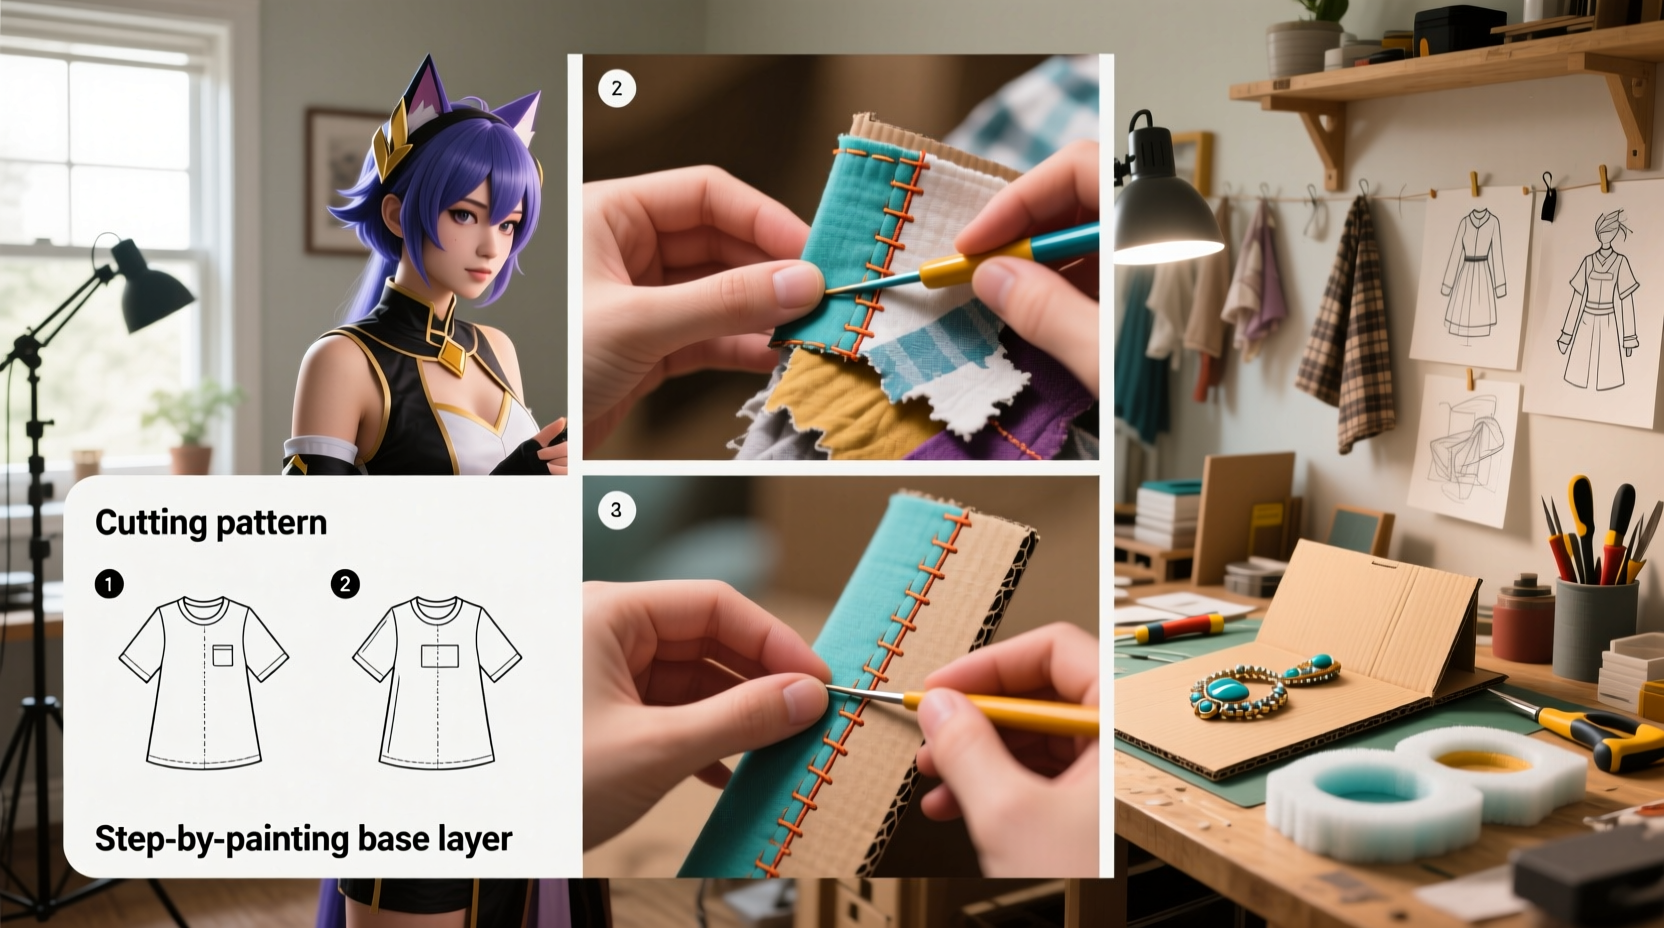
3. Build Armor and Props with Low-Cost Materials
Armor doesn’t need fiberglass or CNC-cut plastic to look real. Affordable alternatives can mimic high-end finishes when handled correctly.
EVA foam—commonly sold as interlocking floor tiles at hardware stores—is the go-to material for lightweight, detailed props. A single $15 mat can yield multiple helmets, gauntlets, or chest plates. Cut with a utility knife, shape with heat from a hairdryer, and seal with Mod Podge or Plasti Dip for durability.
For rigid components like swords or shields, consider:
- Cardboard + paper mache: Lightweight and free if sourced from packaging.
- Worbla alternatives: While real Worbla runs $20+/lb, DIY versions using gel glue and chalk can be made for under $5 per batch.
- 3D printing at libraries: Many public libraries offer free or low-cost 3D printing services—ideal for small accessories like buckles or emblems.
Painting is where realism emerges. Use acrylic craft paints for base coats, then dry-brush metallic shades for worn effects. A $10 airbrush kit from Amazon can elevate texture and blending, especially for gradients or weathering.
4. Sew Smarter, Not Harder
Sewing intimidates many beginners, but you don’t need advanced skills to achieve clean results. Focus on visible areas and fake the rest.
For example, lining a jacket may add authenticity, but if it won’t be seen during wear, skip it. Use iron-on interfacing to stabilize collars and cuffs instead of complex tailoring. Elastic waistbands, snap closures, and Velcro eliminate the need for zippers and precise fitting.
If you lack a sewing machine, hand-sewing with a backstitch is durable enough for lightweight fabrics. Thicker materials like canvas or faux leather benefit from upholstery thread and a heavy-duty needle.
- Trace patterns from existing clothes that fit well.
- Use old garments as mock-ups before cutting good fabric.
- Pin extensively before stitching to avoid shifting.
- Finish seams with zigzag stitch or fray check to prevent unraveling.
Free digital patterns are available on sites like Simplicity and McCall’s (during promotions), and cosplay-specific forums often share user-made templates for popular costumes.
5. Strategic Purchasing: When to Buy vs. Make
Some elements are more cost-effective to buy than to make from scratch. The trick is knowing which ones.
Wigs, for instance, are notoriously difficult to style convincingly without experience. A $25 synthetic wig from Arda Wigs or Epic Cosplay is often worth the investment over attempting to dye and style human hair poorly.
Likewise, mass-produced accessories like belts, gloves, or glasses can be found on Amazon, Etsy, or AliExpress for under $15. Compare the time and material cost of building them versus buying. If making a belt takes three hours and $10 in supplies, but a similar one sells for $12, buying saves effort and ensures consistency.
| Item | Buy? | Make? | Recommendation |
|---|---|---|---|
| Wig | Yes | No | Buy pre-styled for accuracy |
| EVA Foam Helmet | No | Yes | DIY for full customization |
| Basic T-Shirt Base | Yes | No | Thrift or buy plain |
| Jewelry/Emblems | Sometimes | Sometimes | Buy if detailed; 3D print if unique |
Always search for sales, bundle deals, and coupon codes before purchasing. Signing up for newsletters from cosplay retailers often grants first-time discounts.
Mini Case Study: From $40 to Con-Ready Sailor Moon
Jessica, a college student in Austin, wanted to cosplay as Sailor Moon for her first convention. With only $40 and no sewing machine, she began by finding a yellow pleated skirt at Goodwill for $8. She dyed a white blouse to match the anime’s exact shade using yellow and blue fabric dye ($6). The red bow was crafted from leftover fabric and hot-glued to a headband.
For the boots, she painted a pair of secondhand black ankle boots with red puff paint and added white trim using craft foam. Her wand was made from a dowel rod, aluminum foil, and epoxy clay shaped into the crescent moon ($7 total).
The entire build took 12 hours over two weekends. At the con, attendees assumed she had spent hundreds. Her secret? Attention to color accuracy and clean finishing touches like sealed edges and consistent paint layers.
Essential Budget Cosplay Checklist
Follow this step-by-step guide to stay on track:
- ✅ Choose a character with manageable construction needs
- ✅ Gather high-resolution reference images from multiple angles
- ✅ Break down the costume into components (top, bottom, shoes, props, etc.)
- ✅ Identify which pieces can be thrifted or modified
- ✅ Source base materials from dollar stores, hardware shops, or recycled items
- ✅ Prioritize visible details (color, shape, texture) over internal construction
- ✅ Test dyes, paints, and adhesives on scraps first
- ✅ Assemble in stages, photographing progress for adjustments
- ✅ Do a full wear-test before the event to catch flaws
Frequently Asked Questions
Can I make a realistic-looking prop without power tools?
Absolutely. Cardboard, craft foam, and hot glue can produce convincing weapons and armor. Sand edges smooth and use multiple paint layers to simulate depth and wear. Detailing matters more than material thickness.
How do I match exact colors on a budget?
Use a color picker tool (available in free apps like Pixlr or GIMP) on official artwork to identify RGB values. Then mix acrylic paints incrementally until you match the swatch. Test on paper first, then on your material.
What if I don’t have time to build everything?
Focus on the silhouette and key identifiers. A Jedi might only need a robe, belt, and lightsaber to be instantly recognizable. Accuracy in major features outweighs perfection in minor ones.
Conclusion: Accuracy Is Achievable—No Matter Your Budget
Cosplay should be accessible, not exclusive. The most impactful costumes aren’t defined by their price tags but by the passion behind them. By leveraging thrifted goods, mastering affordable materials like EVA foam, and focusing on visual precision, you can create stunning, accurate representations of your favorite characters without draining your wallet.
Every stitch, brushstroke, and spray-painted detail is a testament to your dedication. Whether you’re attending your first local meetup or a major convention, remember that creativity trumps cost every time.


 浙公网安备
33010002000092号
浙公网安备
33010002000092号 浙B2-20120091-4
Comments
No comments yet. Why don't you start the discussion?