
Christmas tree toppers are more than ornaments—they’re focal points, heirlooms in the making, and quiet declarations of personal taste. In an era where mass-produced glitter stars dominate retail shelves, a handmade topper that honors retro gaming culture stands out with intention and warmth. Using discarded or donated video game cartridges—NES, SNES, Genesis, Game Boy, and early PlayStation discs—offers a sustainable, tactile, and deeply nostalgic alternative. This isn’t about nostalgia for nostalgia’s sake. It’s about honoring physical media at a time when digital dominance has made cartridges feel almost archaeological. More importantly, it’s accessible: no electronics expertise required, no hazardous materials involved, and no expensive supplies. What follows is a field-tested, studio-refined method developed over six holiday seasons—used by makers, educators, and families alike—to build a sturdy, elegant, and conversation-starting tree topper that lasts through decades of Decembers.
Why Cartridges? The Material Logic Behind the Choice
Video game cartridges possess unique structural advantages few craft materials match. Their polycarbonate shells are impact-resistant, dimensionally stable across temperature fluctuations, and inherently glossy—requiring no additional sealant for sheen. Unlike plastic figurines or resin casts, cartridges won’t yellow under indoor lighting, and their internal circuit boards (when left intact) add subtle weight and balance. Crucially, their standardized dimensions—especially NES (130 × 118 × 25 mm) and SNES (140 × 120 × 28 mm) cartridges—allow for predictable stacking, interlocking, and symmetry. Even damaged or non-functional units retain full structural integrity; data corruption doesn’t compromise shell durability. Conservation scientists at the Video Game History Foundation confirm that “pre-2000 cartridge plastics exhibit exceptional longevity when shielded from UV exposure and mechanical abrasion”—making them ideal for seasonal display rather than storage in attics or basements.
“Cartridges weren’t built for obsolescence—they were engineered for repeated insertion, ejection, and shelf life. That resilience translates directly to decorative use.” — Dr. Lena Torres, Media Archivist & Co-Director, Video Game History Foundation
This durability matters. A well-assembled cartridge topper can withstand handling by children, annual unpacking, and gentle dusting without chipping or warping—unlike foam-based or thin-metal alternatives. And because each cartridge bears unique artwork, logos, and embossed text, no two toppers are identical—even when following the same design.
Essential Supplies & Sourcing Ethics
Before cutting or gluing, consider provenance. Avoid purchasing cartridges solely for craft use; instead, source responsibly:
- Local thrift stores and library discard sales (many libraries deaccessioned game collections in the early 2010s)
- Community “swap boxes” at maker spaces, schools, or senior centers
- Donations from family members clearing out childhood collections
- Refurbishers and repair shops that accept non-working units for parts recycling
Never dismantle cartridges containing rare or historically significant titles (e.g., sealed copies of Stadium Events, The Legend of Zelda NES test cartridges, or prototype hardware). When in doubt, consult the Video Game History Foundation’s public rarity index before repurposing.
Core supplies include:
| Item | Purpose | Notes |
|---|---|---|
| Cartridges (8–12 units) | Primary structural elements | Mix brands for visual rhythm—e.g., 4 NES + 3 SNES + 2 Genesis + 1 Game Boy Color |
| E6000® Industrial Adhesive | Bonding shells permanently | Non-yellowing, flexible cure; dries clear in 24 hrs. Not superglue—cyanoacrylate becomes brittle over time. |
| 16-gauge brass wire (1.5 m) | Internal armature & hanging loop | Brass resists tarnish better than copper or steel; bends precisely without spring-back. |
| Small jeweler’s file & sandpaper (400+ grit) | Smoothing edges & prepping glue surfaces | File cartridge edges *before* gluing—never after. Polycarbonate dust is fine but non-toxic; work in ventilated area. |
| Wooden dowel (6 mm × 20 cm) | Temporary alignment jig | Used only during assembly; removed before final curing. |
Step-by-Step Assembly: From Loose Cartridges to Centerpiece
Allow 3–4 hours total working time, plus 24 hours for adhesive curing. Work on a clean, flat surface covered with wax paper.
- Sort and inspect. Group cartridges by approximate height and width. Discard any with cracked shells, severe label delamination, or warped edges. Set aside three cartridges with the most vibrant, intact front artwork—these will face outward in the final tier.
- Prepare contact surfaces. Using the jeweler’s file, lightly abrade a 10 mm band along the top edge of each cartridge’s front shell and the bottom edge of its back shell. Wipe away dust with alcohol-dampened cloth. This creates microscopic grip for E6000®.
- Build the base ring. Arrange six cartridges in a hexagon, oriented vertically (label side out), with tops aligned. Insert the wooden dowel vertically through their center holes to hold position. Apply a 3 mm bead of E6000® to each adjacent pair’s touching edges. Hold for 60 seconds. Let cure 2 hours before removing dowel.
- Construct the upper tier. Stack remaining cartridges in a smaller triangle (3 units) or square (4 units), depending on desired silhouette. Glue only the *bottom edges* of these to the *top edges* of the base ring—ensuring vertical alignment. Use brass wire snippets as temporary spacers between layers to maintain 5 mm air gaps for light refraction.
- Install the armature. Bend the brass wire into a tight spiral (2 cm diameter) at one end. Thread it upward through the central void of the base ring, then bend the top 4 cm into a smooth, symmetrical loop (minimum 3 cm inner diameter for tree hook clearance). Secure the spiral base with two dabs of E6000® inside the lowest cartridge’s cavity. Let cure fully for 24 hours before hanging.
This sequence prioritizes structural logic over speed: adhesion strength increases exponentially when polycarbonate surfaces are micro-abraded and bonded under slight compression. Rushing step three—or skipping the dowel—leads to misalignment that compromises both aesthetics and balance.
Design Variations & Thematic Customization
A single technique yields countless expressions. Design choice hinges on intent: celebration, tribute, or storytelling.
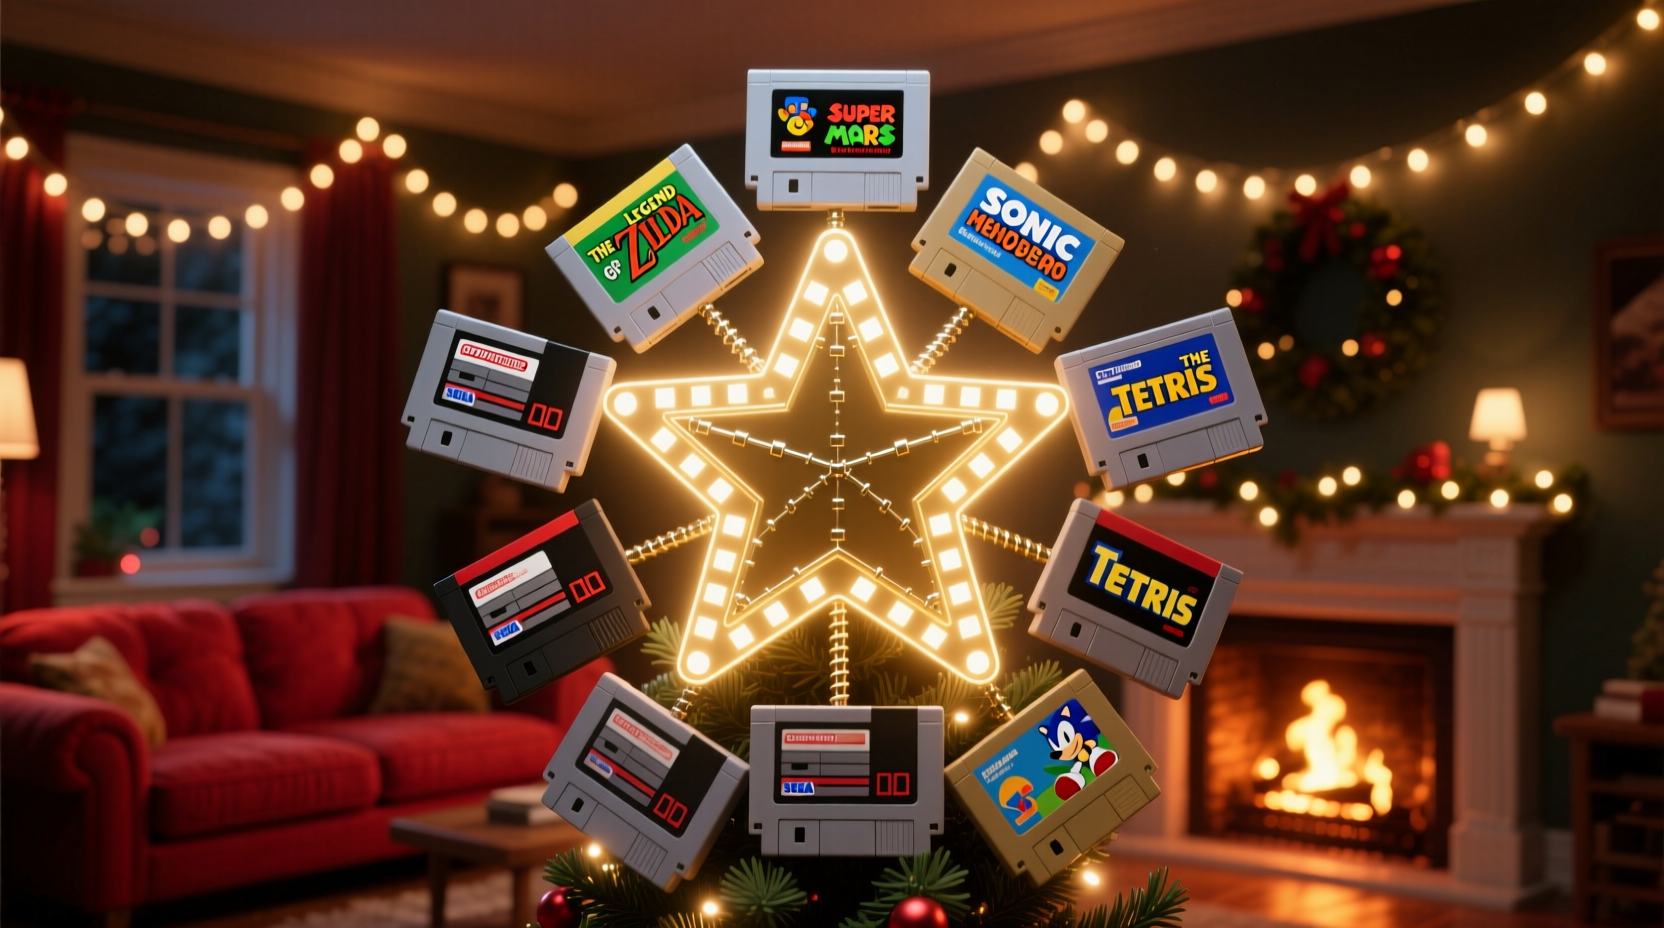
Classic Star Silhouette: Use eight cartridges arranged radially—four upright, four inverted, tips meeting at center. Glue in pairs, then attach to brass loop. Results in a sharp, symmetrical 8-pointed star with alternating label orientations.
Nostalgic “Power-Up” Cluster: Cluster five cartridges around a central Game Boy Advance SP (opened and cleaned), with its screen facing up. Glue only the outer edges—leaving the GBA’s hinge functional so it can “open” to reveal a tiny LED tea light (battery-operated, cool-touch only).
Generational Timeline: Select cartridges representing key milestones: NES (1985), SNES (1991), PlayStation (1995), Nintendo 64 (1996), GameCube (2001). Arrange chronologically in ascending order, with year stamps laser-etched onto brass wire supports.
For color cohesion, avoid spray paint—it clouds detail and risks chemical reaction with polycarbonate. Instead, use archival-quality acrylic ink applied with a fine liner brush to highlight cartridge borders or stencil simple motifs (snowflakes, controller icons) onto blank label areas.
Mini Case Study: The “Zelda Star” in Portland, OR
In 2021, high school art teacher Maya Chen introduced cartridge topper construction to her AP Studio Art class as part of a unit on “material memory.” Students sourced 47 cartridges from local library discards—mostly NES and SNES titles with faded but legible artwork. Working in teams, they built 12 toppers for the school’s community tree. One student, Leo T., chose The Legend of Zelda, Zelda II: The Adventure of Link, and Ocarina of Time cartridges to form a three-tiered star. He embedded a tiny brass Triforce charm (hand-soldered, not glued) at the apex, suspended on monofilament. The piece hung for six weeks without shifting or loosening—and sparked a donation drive that collected over 200 cartridges for future projects. “It wasn’t about the games,” Leo noted in his artist statement. “It was about holding something that carried someone else’s joy—and giving it new purpose, quietly, at the top of our tree.”
Care, Storage & Long-Term Preservation
A cartridge topper isn’t disposable decor. With proper handling, it remains viable for 15+ years. Key practices:
- Annual cleaning: Dust with a soft makeup brush or lens blower—never cloths that may scratch.
- Storage: Place upright in an acid-free cardboard box lined with unbleached cotton muslin. Include silica gel packets to inhibit moisture migration.
- Light exposure: Avoid direct sunlight or halogen bulbs within 1 meter—UV radiation degrades ink adhesion over time, not the plastic itself.
- Handling: Always lift by the brass loop, never by cartridges. Oils from skin accelerate label fading.
FAQ
Can I use cartridges with missing labels or sticker damage?
Yes—especially for interior or rear-facing positions. In fact, exposed circuit boards create striking metallic contrast when lit from below. Just ensure the shell itself is intact and free of deep scratches that could compromise glue adhesion.
Is E6000® safe for homes with pets or small children?
Once fully cured (72 hours), E6000® is inert and non-toxic. During application, however, it emits strong fumes. Work in a well-ventilated area, wear nitrile gloves, and keep pets and children away until adhesive is dry to the touch (minimum 2 hours). Never use near open flame or heat sources.
What if I want to add lights?
Only use battery-powered, UL-listed micro-LED strings rated for indoor use. Weave wires through cartridge cavities *before* final gluing—never drill or melt openings. Avoid heat-generating LEDs; even low-wattage incandescent bulbs exceed safe thermal thresholds for polycarbonate.
Conclusion: More Than Ornamentation
A Christmas tree topper made from old video game cartridges bridges eras with quiet confidence. It transforms obsolete technology into enduring symbol—not through irony or kitsch, but through respect for material integrity and human connection. Each cartridge carries fingerprints of past players, shelf wear from countless Christmases, and design choices rooted in analog ingenuity. When you place your finished topper atop the tree, you’re not just decorating—you’re curating continuity. You’re affirming that meaning isn’t lost when formats change; it evolves, adapts, and finds new light. This season, skip the disposable star. Choose intention over impulse. Build something that holds history in its shell and invites questions, smiles, and shared stories. Then pass the technique on—not as a craft project, but as a small act of cultural stewardship.


 浙公网安备
33010002000092号
浙公网安备
33010002000092号 浙B2-20120091-4
Comments
No comments yet. Why don't you start the discussion?