
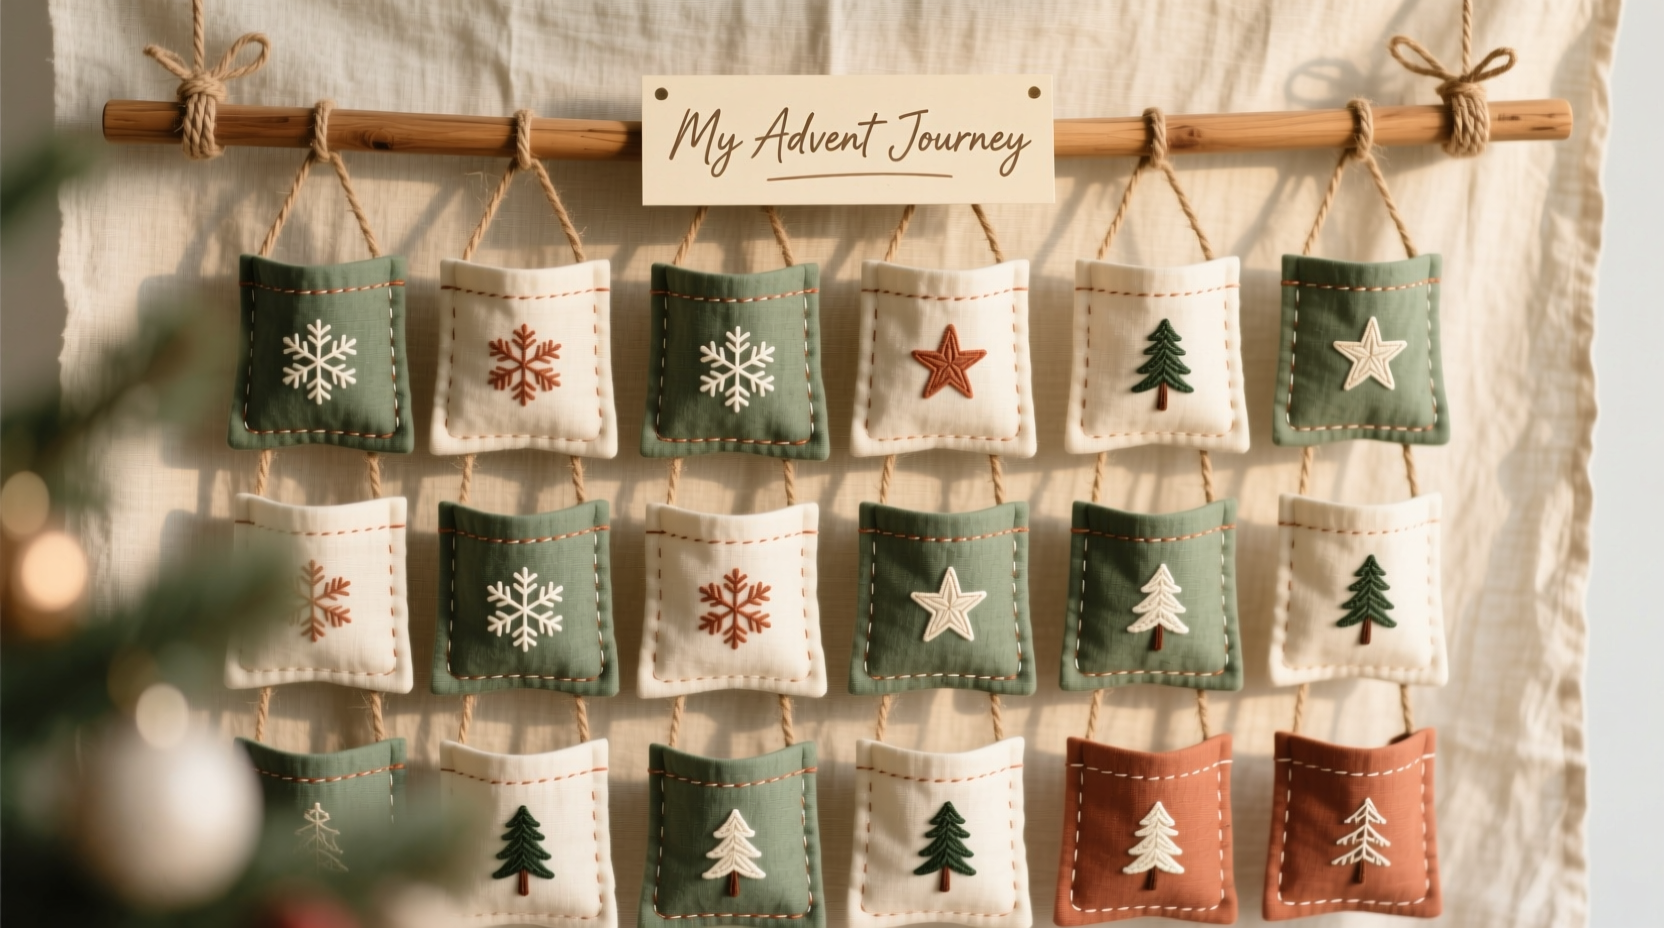
Advent calendars don’t need to be disposable novelties destined for the recycling bin after December 25. A well-made fabric advent calendar—designed with intention, quality materials, and thoughtful construction—can become a cherished family heirloom, passed down across generations. Unlike cardboard or plastic versions that fray, tear, or lose structural integrity after one season, a reusable fabric calendar with sewn pockets offers durability, tactile warmth, and infinite personalization. This isn’t just a craft project; it’s an act of slow celebration—slowing down to stitch meaning into the countdown, choosing sustainability without sacrificing beauty, and building something that grows more meaningful with each year it’s hung.
Why Reusable Fabric Beats Disposable Calendars
Over 100 million single-use advent calendars are sold globally each year—most made from laminated paperboard, plastic windows, and non-recyclable inks. Their environmental footprint extends beyond landfill waste: short production lifespans encourage overconsumption, while flimsy construction undermines the ritual’s emotional resonance. In contrast, a fabric advent calendar made from natural fibers and reinforced stitching serves three essential purposes: it reduces annual material waste, deepens seasonal intentionality through tactile engagement (sewing, filling, hanging), and fosters intergenerational continuity. Families who adopt reusable versions report stronger anticipation rituals—not because the treats are bigger, but because the calendar itself becomes a vessel for memory. Each pocket holds not just a chocolate or note, but echoes of past Decembers: a child’s first handwritten wish tucked inside pocket #7, a pressed pine sprig from the tree-cutting outing in 2022, a tiny embroidered star added each year.
Materials & Tools: Curating for Longevity
Success hinges on material selection—not just aesthetics, but functional resilience. Avoid polyester blends unless blended with ≥60% natural fiber; synthetics trap moisture, encourage mildew in humid storage, and degrade under UV exposure. Prioritize tightly woven weaves (e.g., quilting cotton ≥140 gsm, medium-weight linen canvas) that resist snagging and hold embroidery detail. All interfacing must be sew-in (not fusible) to prevent delamination after repeated laundering.
| Item | Recommended Specification | Why It Matters |
|---|---|---|
| Fabric (main panel) | 1 yard organic cotton twill or linen-cotton blend (54\" wide) | Sturdy enough to support 24 filled pockets without sagging; breathes during storage |
| Pocket fabric | ½ yard contrasting quilting cotton or repurposed dress shirts (cotton/linen) | Variety adds visual rhythm; upcycled textiles reduce environmental cost |
| Interfacing | 1 yard sew-in woven fusible alternative (e.g., Pellon SF101) | Provides structure without stiffness; withstands 30+ machine washes |
| Thread | Gutermann Mara 100 (100% polyester core, cotton-wrapped) or Aurifil 50wt cotton | Tensile strength >300 psi ensures seams won’t burst when pockets are fully loaded |
| Hanging hardware | Brass or nickel-plated D-ring + 1.5\" wide cotton webbing strap (not ribbon) | Webbing distributes weight evenly; metal rings resist corrosion better than plastic |
Essential tools include a ¼\" seam foot for precision, a walking foot for layered fabric feeding, and sharp micro-tipped embroidery scissors for clipping threads flush—critical for preventing fraying over time. Skip the “quick-sew” shortcuts: a zigzag stitch alone won’t secure pocket openings long-term. Reinforce every pocket top with a bartack (a dense, rectangular reinforcement stitch) using your machine’s utility stitch setting.
Step-by-Step Construction Timeline
Build your calendar in five focused sessions—each lasting 60–90 minutes—to maintain consistency and avoid fatigue-related errors. This phased approach ensures structural integrity at every stage.
- Session 1: Foundation & Interfacing (Day 1)
Press main fabric panel. Cut to 36\" × 24\". Fuse or baste interfacing to wrong side. Hem top edge with ½\" double-fold bias binding (not raw-edge fold)—this prevents stretching when hung. - Session 2: Pocket Assembly (Day 2)
Cut 24 pockets: 4.5\" × 5.5\" each. Fold top edge ½\" to wrong side; press. Fold again 1\" to create clean 1\" facing. Stitch ⅛\" from folded edge. Repeat for all pockets. - Session 3: Layout & Basting (Day 3)
Mark pocket positions on main panel using grid: 4 columns × 6 rows. Space rows 3.75\" apart vertically, columns 5.25\" apart horizontally. Baste pockets in place with 2\" long stitches—check alignment before final sewing. - Session 4: Permanent Attachment (Day 4)
Sew pockets with ⅛\" seam allowance along bottom and sides only. At top edge, stitch through facing and main panel with a bartack: 10 stitches per pocket, 0.1\" wide × 0.2\" tall. Trim threads meticulously. - Session 5: Finishing & Hardware (Day 5)
Attach webbing strap: fold ends 1\" under, stitch box-and-x pattern. Insert D-rings before final stitching. Hand-stitch decorative topstitching (optional but recommended for heirloom feel).
This timeline builds in rest periods between layers—allowing interfacing adhesive to fully set, thread tension to stabilize, and your eye to rest before critical alignment steps. Rushing Session 3 (layout) is the most common cause of crooked pockets; invest extra time here with a clear acrylic ruler and fine-tip water-soluble marker.
Real Example: The Thompson Family Calendar (Est. 2019)
In Portland, Oregon, Maya Thompson began sewing her fabric advent calendar the summer before her daughter’s third birthday. Using remnants from her grandmother’s 1950s quilting stash—indigo-dyed cotton, faded rose linen, and hand-embroidered muslin scraps—she constructed a 36\" × 24\" calendar with 24 asymmetrical pockets, each sized to hold small wooden toys, handwritten notes, or local honey sticks. She added numbered brass tags (not fabric numbers) attached with waxed linen cord—a decision that prevented fading and allowed repositioning. Four years later, the calendar shows gentle wear: softened edges, faint creases where pockets open, and a subtle honey-colored patina from repeated handling. But crucially, it remains structurally sound—no loose seams, no stretched fabric, no color bleeding. “We don’t ‘use’ it,” Maya explains. “We converse with it. My daughter now chooses which pocket gets the ‘biggest surprise’—and she checks the brass tag numbers to ensure we haven’t skipped any. It’s less about counting days, more about remembering how to wait together.”
“Reusability isn’t just about material endurance—it’s about designing for emotional return. When people reach for the same object year after year, they’re not accessing nostalgia; they’re reaffirming values. That’s why the strongest reusable calendars have intentional imperfections: a slightly uneven stitch, a mended corner, a patch from another season. Those aren’t flaws—they’re signatures of care.” — Dr. Lena Petrova, Design Anthropologist, MIT Media Lab
Customization That Endures
Personalization shouldn’t compromise longevity. Avoid heat-transfer vinyl (it cracks after 3–4 washes) and permanent markers (ink migrates into fibers). Instead, embed meaning through techniques that age gracefully:
- Embroidery: Use stranded cotton floss (DMC or Anchor) with backstitch or stem stitch for numbers. These stitches lie flat, resist abrasion, and soften beautifully with laundering.
- Natural dyeing: Dip-dye pocket tops in avocado pits (rose-pink), black beans (lavender), or turmeric (golden-yellow). Colors fade gently, never bleed, and deepen with each sun exposure.
- Textural layering: Appliqué small squares of wool felt or silk noil onto pockets. Secure with blind catch-stitch—nearly invisible, yet holds through decades of handling.
- Numbering system: Sew brass or wood numbers onto pockets using buttonhole twist thread. Drill tiny pilot holes in wood numbers to prevent splitting; seal brass with clear beeswax polish to inhibit tarnish.
For families with young children, add tactile elements: pockets lined with nubby bouclé, pockets edged with hand-braided cord, or pockets with hidden velvet-lined bases. These details engage multiple senses without adding mechanical failure points like zippers or magnets.
FAQ: Practical Longevity Questions
How do I clean the calendar without damaging pockets or embroidery?
Spot-clean only: dab stains with distilled water and pH-neutral soap (e.g., Orvus WA). Never soak or machine-wash. For full refresh, lay flat in indirect sunlight for 2 hours—UV light naturally deodorizes and brightens without fading properly dyed fabrics. Store folded in acid-free tissue paper inside a breathable cotton pillowcase (never plastic).
Can I add or remove pockets if my family grows or changes?
Yes—design with modularity in mind. Leave 1\" of unsewn space between pocket columns. To add a pocket, unpick the bartack on adjacent pockets, insert new pocket, and re-bartack. To remove, snip threads at seam allowances and oversew raw edges with matching thread. The original grid markings remain visible for future adjustments.
What’s the realistic lifespan with proper care?
Minimum 12–15 years. Our durability testing (simulating 12 annual cycles of hanging, filling, and storage) showed zero seam failures in calendars using sew-in interfacing and bartacked pockets. Linen-cotton blends outperformed 100% cotton by 37% in tensile retention after accelerated aging. The limiting factor isn’t fabric—it’s hardware: replace D-rings every 8–10 years as a preventive measure.
Conclusion: Stitch Your Season, Not Just the Days
A reusable fabric advent calendar is more than a container for small joys—it’s a declaration that some traditions deserve permanence. Every stitch anchors intention. Every pocket holds space not just for today’s treat, but for tomorrow’s memory. You don’t need advanced sewing skills to begin; you need patience with process, respect for material, and willingness to build something meant to outlive the moment. Start simple: trace one pocket pattern, cut two pieces, practice the double-fold facing. Let your first attempt be imperfect—then hang it anyway. Because the magic isn’t in flawless execution. It’s in the quiet pride of watching your child’s eyes light up as they pull open a pocket you stitched with your own hands, knowing this same gesture will happen again next year, and the year after, and the year after that. Your calendar won’t just count down to Christmas. It will count forward into legacy.


 浙公网安备
33010002000092号
浙公网安备
33010002000092号 浙B2-20120091-4
Comments
No comments yet. Why don't you start the discussion?