
Most people assume that achieving a mesmerizing, rhythm-synchronized, color-shifting light display requires investing in smart bulbs, proprietary controllers, or expensive programmable LED strips. That assumption is outdated—and unnecessarily costly. With the right understanding of electrical fundamentals, accessible components, and clever repurposing, you can breathe new life into existing light strings—whether they’re vintage incandescent mini-lights from your attic, leftover holiday LEDs, or even a worn-out strand from last year’s patio setup. This isn’t about hacking firmware or soldering microchips blind. It’s about working *with* what you already own: identifying compatible strings, applying low-risk modifications, and layering simple control logic to produce rich, evolving light sequences. The results rival commercial systems—but with full creative ownership, zero subscription fees, and deep educational value.
Understanding Your Existing Light Strings: Compatibility First
Before reaching for a screwdriver or multimeter, pause to diagnose what you’re actually working with. Not all strings behave the same way electrically—and misidentifying your type can lead to flickering, dimming, or component failure. There are three primary categories of common light strings:
- Incandescent (AC-powered, non-dimmable): Typically 120V, wired in series (so one bulb out kills the whole strand), with resistive filaments. These respond predictably to phase-cut dimming but cannot change color on their own—they require external RGB color filters or synchronized projection.
- Standard DC LED strings (2–12V, often battery- or adapter-powered): Usually wired in parallel with built-in current-limiting resistors. Many include a basic IC chip for fixed patterns (twinkle, chase, fade). These are prime candidates for reprogramming—if the controller is accessible and replaceable.
- “Smart-ready” or addressable-adjacent strings: Some older “multi-function” strands use WS2811 or similar driver chips embedded in the plug or inline controller—even if they shipped with only 3–5 preset modes. These chips are programmable via UART or DMX signals, but rarely exploited by end users.
The critical insight? Color change isn’t about the bulbs—it’s about controlling voltage timing, current polarity, and signal sequencing. A red, green, and blue LED will only emit its respective hue when powered correctly. So your goal shifts from “replacing bulbs” to “orchestrating power delivery.”
Four Low-Cost, High-Impact Modification Paths
You don’t need to buy new lights—but you may need one or two inexpensive, reusable components. Below are four proven pathways, ranked by complexity and required tools. All assume you’re starting with functional, intact strings—not damaged or corroded wiring.
Path 1: The Dimmer + Gel Filter Method (Beginner, $0–$8)
For incandescent strings: attach theatrical color gels (e.g., Rosco or Lee Filters) over individual bulbs or clusters using heat-resistant tape. Then install a standard wall-mount AC dimmer switch (like Lutron Diva) between the outlet and string. By manually or remotely varying brightness, you shift perceived color temperature—dimmed warm white appears amber/orange; slightly brighter yields soft yellow; full brightness delivers crisp white. Add a second string behind the first with blue gel, and alternate dimming between them to simulate cyan-to-amber transitions. This method costs nothing if you reuse gels from old stage kits—or under $8 for a starter pack and dimmer.
Path 2: The Arduino Nano + Relay Shield Upgrade (Intermediate, $12–$18)
For DC-powered LED strings (especially those with separate red/green/blue wire leads or identifiable anode/cathode groups): disconnect the original controller and wire the positive leads to a 5V relay shield connected to an Arduino Nano ($4–$6). Program the Nano using free Arduino IDE to pulse each channel at different duty cycles and frequencies. For example: ramp red up while green holds steady, then fade green down as blue ramps up—creating smooth RGB transitions. This approach gives full waveform control without altering bulb hardware.
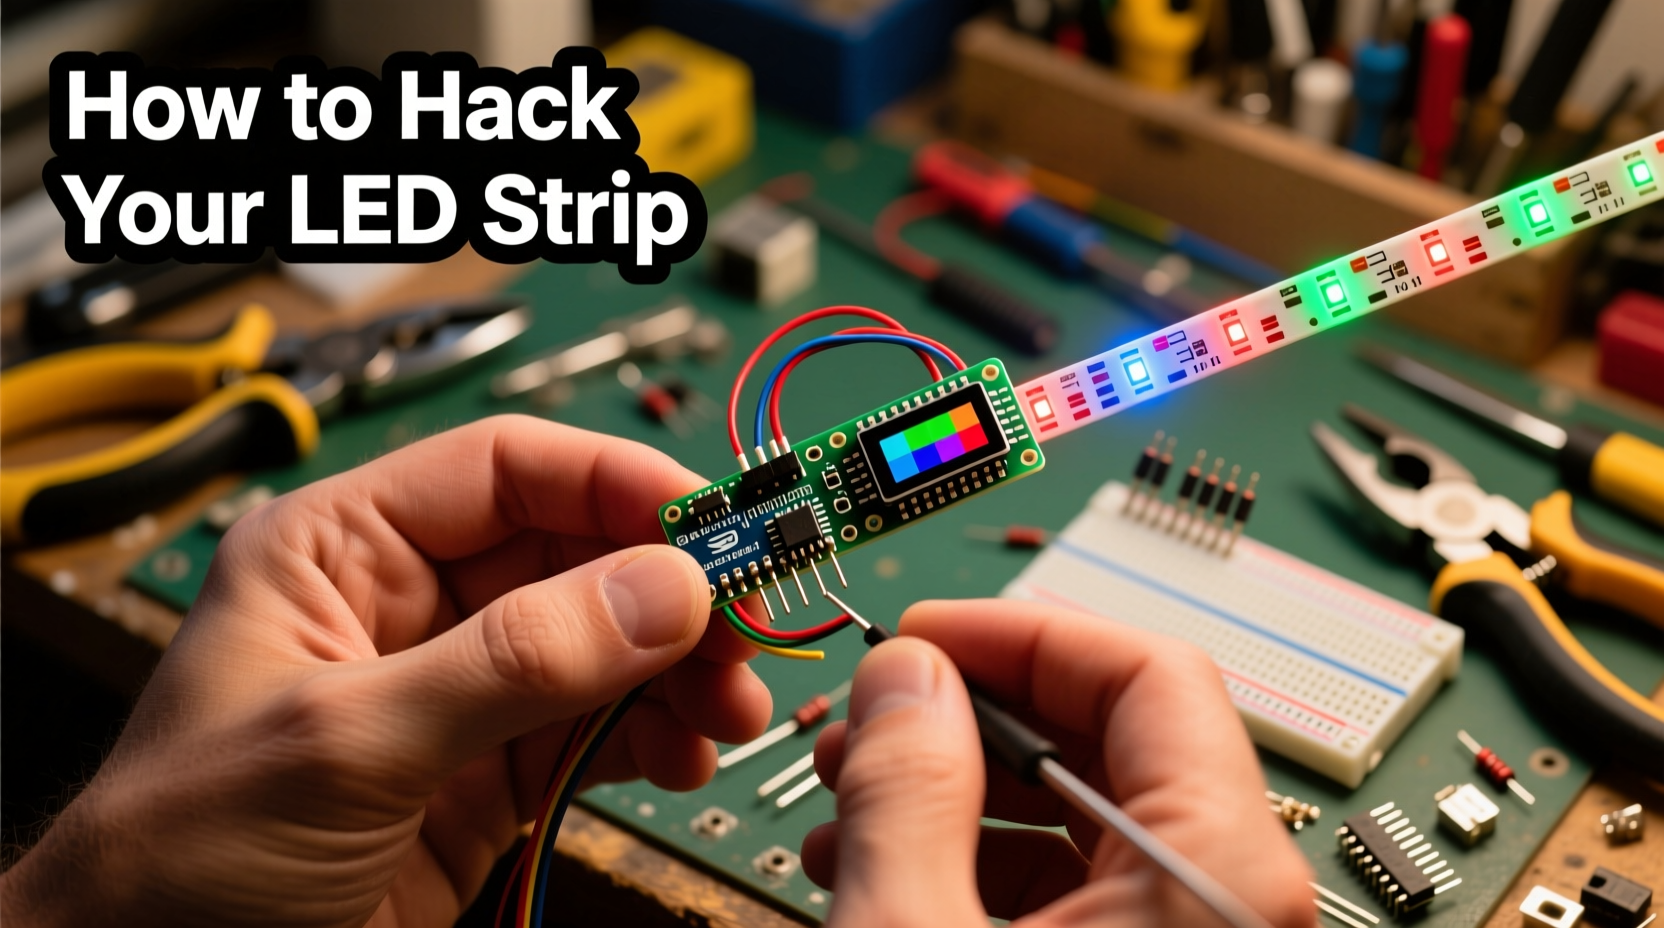
Path 3: The ESP32 Wi-Fi Controller Swap (Advanced DIY, $10–$15)
If your string has a removable controller box (common in 2015–2020 “multi-mode” LED sets), open it carefully. Locate the output traces going to the lights and identify VCC, GND, and signal lines. Replace the stock IC with an ESP32 DevKit ($7–$9) running WLED firmware—a free, open-source platform supporting over 50 effect types, music-reactive modes, and smartphone/web control. WLED auto-detects most common LED protocols (including analog PWM and digital WS281x), and its web UI lets you design custom palettes and speed curves. No soldering required if you use pre-crimped JST connectors.
Path 4: The Audio-Reactive Passive Circuit (No Microcontroller, $3–$5)
For any string powered by a 12V DC adapter: build a passive audio-reactive circuit using an LM386 amplifier IC, a few capacitors, and photoresistors (LDRs) wired across colored LED segments. Mount LDRs near small RGB LEDs (or filtered white LEDs); as ambient sound increases, the LDR resistance drops, allowing more current to flow through corresponding color channels. Mount the entire assembly inside a darkened enclosure with directional openings aimed at your light string. The result? Lights that gently pulse and shift hue in response to bass, vocals, or instrument timbre—no coding, no Wi-Fi, just elegant analog responsiveness.
Step-by-Step: Reprogramming a Standard Multi-Mode LED String Using WLED
This timeline assumes you’ve selected Path 3 above and confirmed your string has a removable controller with accessible output terminals. Follow precisely to avoid short circuits.
- Power off and unplug the string. Wait 30 seconds for capacitor discharge.
- Open the controller housing using a precision screwdriver. Note wire colors and positions before disconnecting anything.
- Identify the output wires: Most have three—VCC (red or +), GND (black or –), and DATA (green, yellow, or white). If only two wires exist, your string is analog (non-addressable) and requires a relay-based solution instead.
- Solder header pins to matching pads on the ESP32 DevKit (GND → GND, 5V → VCC, GPIO3 → DATA). Use heat-shrink tubing for insulation.
- Flash WLED firmware: Download the latest .bin file from wled.me/releases. Install ESP32 board support in Arduino IDE, select “WLED” from the examples menu, verify, and upload.
- Reconnect wires: Match ESP32’s GND/VCC/DATA to your string’s terminals. Double-check polarity—reversing VCC/GND will damage the ESP32.
- Power on and connect: The ESP32 creates its own Wi-Fi network named “WLED-XXXX”. Join it from your phone or laptop, navigate to 192.168.4.1, and configure your LED count, strip type, and effects.
Within five minutes, your formerly static string displays rainbows, fire animations, and beat-synced gradients—all using hardware you already owned, plus a $9 microcontroller.
Do’s and Don’ts: Safety, Longevity & Performance
Missteps in lighting modification carry real risks: overheating, voltage spikes, fire hazards, or permanent controller damage. Respect these boundaries.
| Action | Do | Don’t |
|---|---|---|
| Power Supply Matching | Measure your string’s input voltage and current draw with a multimeter; match or slightly exceed with your replacement supply (e.g., 12V/2A string → use 12V/3A supply). | Use a 5V supply on a 12V string—or daisy-chain multiple strings to a single undersized adapter. |
| Heat Management | Mount controllers in ventilated enclosures; add aluminum heatsinks to relays handling >1A loads. | Enclose active electronics in sealed plastic boxes or tape over ventilation slots. |
| Signal Integrity | Keep DATA wires under 1m long for analog PWM; use twisted-pair cable for longer runs. | Run DATA alongside AC power cables—causing electromagnetic interference and erratic behavior. |
| Water Exposure | Apply dielectric grease to outdoor connections; use IP65-rated junction boxes. | Leave exposed solder joints or bare wires outside—even under eaves. |
“The biggest misconception is that ‘smart lighting’ means buying new. In reality, 70% of legacy LED strings contain programmable silicon—just hidden behind opaque plastic and locked firmware. Unlocking them isn’t magic; it’s methodical reverse engineering.” — Dr. Lena Torres, Embedded Systems Researcher, MIT Media Lab
Real-World Example: The Porch Revival Project
In Portland, Oregon, homeowner Marcus Chen inherited 12 tangled strands of 2012-era “Twinkle Magic” LED lights from his late grandmother. They’d been stored in a garage for eight years—dusty, brittle, and limited to three dull modes. Rather than discard them, he spent $14 on two ESP32 boards, WLED firmware, and weatherproof junction boxes. He discovered each string had a removable controller with clearly labeled +12V, GND, and DATA pins. After flashing both boards and configuring synchronized “Ocean Wave” and “Sunset Gradient” effects via the WLED app, he mounted them along his porch railing and connected them to a $20 smart plug. Now, every evening at dusk, the lights transition from cool blue to coral to deep amber—matching local sunset times pulled from the WLED NTP sync. Neighbors ask where he bought “those amazing new lights.” He smiles and says, “They’re Grandma’s. I just taught them to remember how to dream.”
FAQ
Can I do this with Christmas lights that plug directly into a wall outlet?
Yes—but only if they’re low-voltage DC strings with an external power adapter (look for a brick or wall-wart). True 120V AC strings require isolation transformers or professional-grade dimmers rated for inductive loads. Never cut or splice 120V wiring unless certified.
Will modifying my lights void the warranty or safety certification?
Technically yes—UL/ETL marks apply only to the original configuration. However, nearly all consumer light strings are Class III (double-insulated) and operate below hazardous energy thresholds. As long as you retain proper grounding, use certified power supplies, and avoid exposed conductors, risk remains extremely low. Document your changes for future reference.
How do I make multiple strings change color in sync?
Use WLED’s “Sync Groups” feature: assign all ESP32 controllers to the same group ID and enable “Sync Mode.” They’ll share effect state, speed, and palette in real time over Wi-Fi—no master-slave wiring needed. For analog setups, drive all relay shields from a single Arduino’s PWM pins using transistors for current amplification.
Conclusion
You don’t need to replace what works—you need to reinterpret it. Every light string you already own contains latent potential: dormant circuits waiting for new instructions, stable platforms ready for layered control, and physical form factors perfectly suited to your space. The techniques outlined here—filtering, microcontroller swaps, passive audio coupling, and intelligent firmware—aren’t shortcuts. They’re invitations to engage deeply with the objects around you, to see infrastructure as malleable, and to reclaim creativity from planned obsolescence. Whether you spend 20 minutes installing theatrical gels or invest a weekend mastering WLED’s JSON API, the reward is tangible: light that moves with intention, responds to your environment, and carries your personal signature. Your next sequence isn’t in a shopping cart. It’s coiled in a drawer, wrapped in faded packaging, humming quietly beneath layers of dust and assumption.


 浙公网安备
33010002000092号
浙公网安备
33010002000092号 浙B2-20120091-4
Comments
No comments yet. Why don't you start the discussion?