
A well-executed gradient on a Christmas tree transforms it from festive to unforgettable. Unlike uniform strings or random color mixes, a deliberate gradient—where hues transition smoothly from cool to warm, light to dark, or top to bottom—creates visual depth, elegance, and intentionality. This isn’t about expensive smart lighting systems or proprietary apps. It’s about understanding light placement, color relationships, strand compatibility, and physical layering. Professional holiday designers use these same principles in high-end residential and commercial installations—and you can apply them with standard plug-in LED mini lights, careful planning, and a methodical approach.
Understanding the Gradient Principle: Light, Layer, and Logic
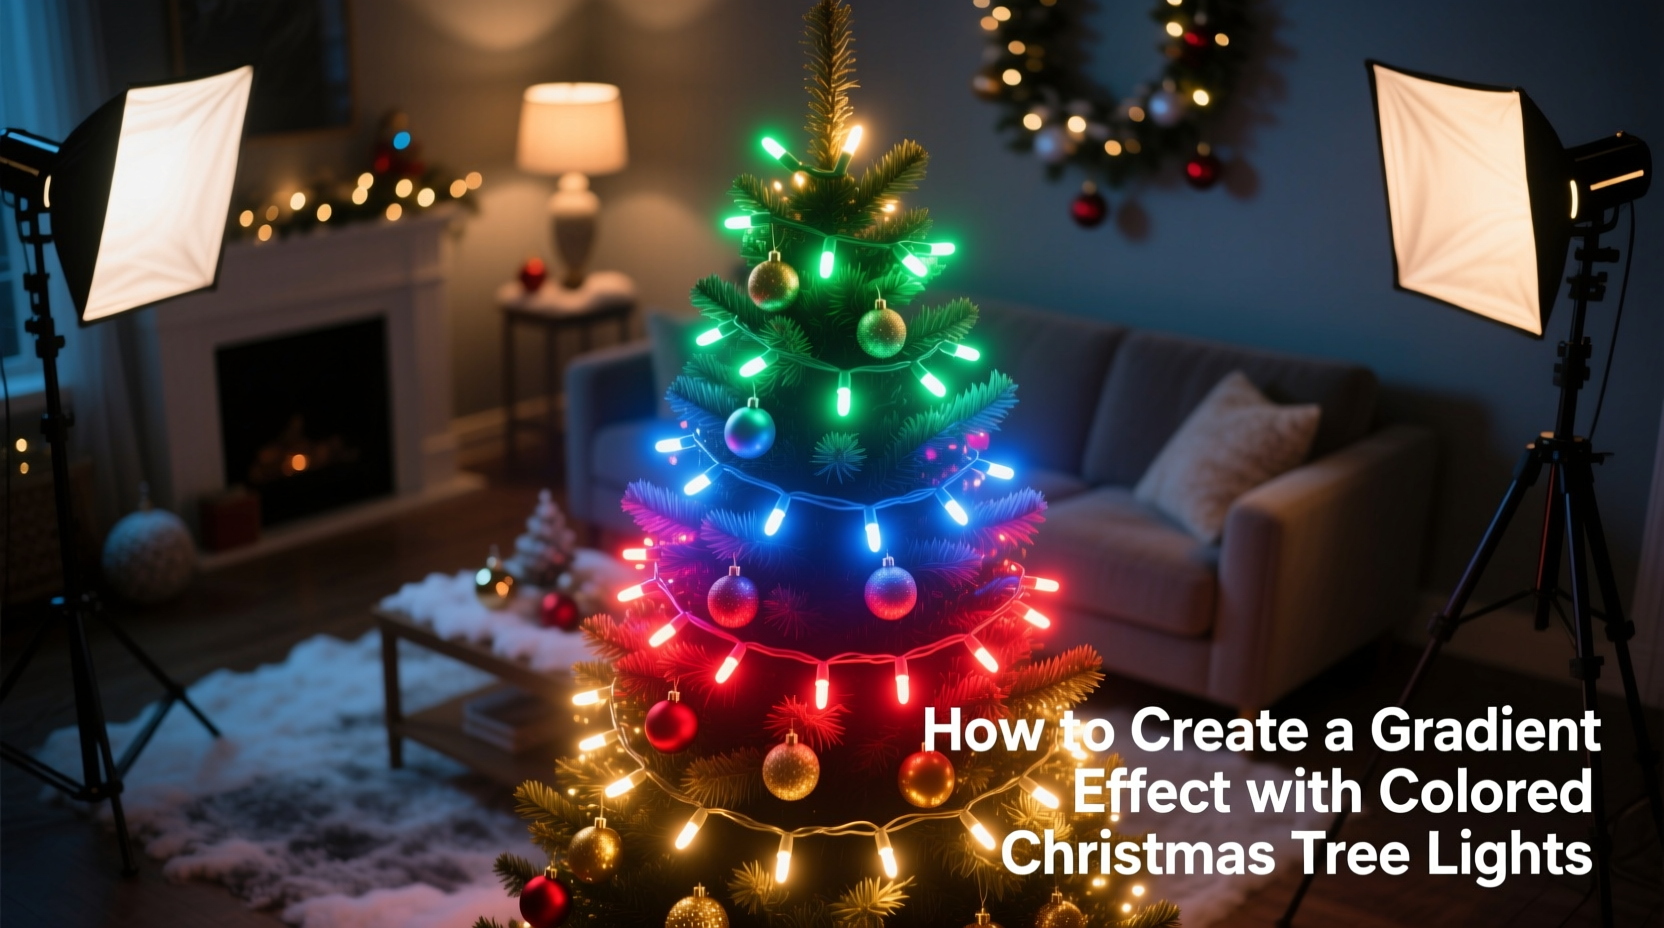
A gradient effect relies on three interdependent elements: light intensity, color temperature, and spatial progression. On a vertical surface like a tree, the human eye naturally reads top-to-bottom and outer-to-inner. A successful gradient follows that path—not by accident, but by design. For example, a classic “winter dawn” gradient begins with icy blue-white at the very top (evoking early sky), transitions through soft lavender and pale rose mid-canopy (suggesting atmospheric diffusion), and ends with warm amber and deep burgundy near the base (mirroring earthbound warmth and candlelight). Crucially, this works only when colors are placed with intention—not scattered.
This is not color mixing in the additive (RGB) sense used in digital displays. Physical LED lights emit discrete wavelengths; you cannot blend red and blue light into purple *on the same bulb*. Instead, the gradient emerges from proximity, density, and viewing distance. When warm and cool bulbs are spaced 4–6 inches apart along a branch, the eye perceives a blended transition—not because light is mixing optically, but because of simultaneous contrast and peripheral blending. That’s why strand length, bulb spacing, and wrapping technique matter more than raw color count.
Choosing & Preparing Your Lights: Compatibility First
Not all colored lights behave the same way under real-world conditions. Before purchasing, verify four technical attributes: voltage rating, bulb type, wire gauge, and controller compatibility (if using one). Most pre-wired mini light strands sold in North America operate at 120V AC and use 2.5V or 3.5V individual bulbs wired in series. Mixing strands with different voltage drops or bulb counts per circuit risks uneven brightness or premature burnout.
LEDs are strongly preferred over incandescent for gradients—not just for energy efficiency, but for precise color fidelity and low heat output. Incandescent bulbs shift hue as they dim (warmer when lower voltage), making controlled gradients unreliable. LEDs maintain chromatic consistency across brightness levels, especially important if you plan to dim sections later. Look for lights labeled “true color” or “non-dimmable stable white”—avoid “warm white” or “cool white” unless explicitly part of your gradient palette, as their broad spectral output muddies adjacent saturated colors.
| Light Feature | Recommended for Gradients | Avoid |
|---|---|---|
| Bulb Type | Standard 2.5V LED mini lights (wide-angle 120° beam) | Incandescent, C7/C9 bulbs, directional spot LEDs |
| Wire Gauge | 22 AWG or thicker (handles longer runs without voltage drop) | 24 AWG or thinner (causes dimming past 100 ft) |
| Color Rendering | High-CRI (≥90) LEDs—accurate, vivid, non-washed-out hues | Low-CRI (<80) bulbs—muddy pinks, dull teals, inconsistent reds |
| Strand Length | 35-ft or 50-ft strands (allows full vertical coverage per color zone) | 15-ft or 25-ft strands (requires splicing, increases failure points) |
Test every strand before installation. Plug each in individually and inspect for dead bulbs, flickering, or color variance—even within the same package. Batch variations occur frequently. Set aside any strand where more than two bulbs differ noticeably in saturation or tone. Consistency across batches is non-negotiable for seamless transitions.
The 5-Zone Wrapping Method: A Step-by-Step Guide
This method eliminates guesswork by dividing the tree into five vertical zones, each assigned a specific color and density. It assumes a standard 7.5-foot full-profile fir or spruce (but scales linearly for other heights). No special tools required—just gloves, a step ladder, and painter’s tape for temporary marking.
- Zone 0 (Trunk & Base): Wrap the lowest 12 inches of trunk and inner base branches with deep, saturated tones—burgundy, forest green, navy. Use 1 strand (35 ft) tightly coiled at 3-inch intervals. This anchors the gradient visually and provides rich contrast against lighter upper zones.
- Zone 1 (Lower Canopy): Begin 18 inches above the floor. Wrap outward-facing branches with medium-warm tones: copper, burnt orange, antique gold. Use 2 strands (70 ft), spaced 5 inches apart vertically. Maintain consistent tension—loose wraps cause gaps; tight wraps hide branch texture.
- Zone 2 (Mid-Canopy Core): The visual center. Use transitional hues: dusty rose, heather purple, slate blue. Apply 2 strands with alternating 4-inch and 6-inch vertical spacing to encourage optical blending. Keep density slightly lower here—70% coverage—to avoid overwhelming the eye.
- Zone 3 (Upper Canopy): Shift to cooler, lighter tones: ice blue, pearl white, pale mint. Use 1 strand (35 ft) wrapped with 7-inch spacing. This creates airiness and draws the eye upward without competing with the top.
- Zone 4 (Tree Top & Tip): Finish with crisp, high-luminance tones: daylight white (6500K), arctic blue, or silver-gray. Use 1 strand (35 ft) with tight 2-inch spacing on the very top 24 inches—including the tip leader. This delivers the “glow” effect that completes the gradient arc.
Always wrap from the trunk outward—not tip inward. This ensures lights nestle into branch crotches, reducing visibility of wires and anchoring the effect in natural structure. Rotate direction every 2–3 rows: clockwise on odd rows, counter-clockwise on even ones. This prevents torque buildup and keeps branches evenly illuminated.
Real-World Validation: The Maple Street Tree Project
In December 2023, interior stylist Lena Ruiz applied this gradient method to a client’s 8-foot Balsam Fir in Portland, Oregon. The brief called for “a serene, gallery-worthy tree—no tinsel, no glitter, just light as sculpture.” Lena selected five custom-matched LED strands from a small-batch supplier: charcoal gray (not black), storm blue, petal pink, oat milk white, and glacier white. She rejected manufacturer “gradient kits” after testing revealed inconsistent CRI and mismatched lumen outputs.
She installed over 4.5 hours—not rushing the layering. Critical insight emerged during testing: the petal pink appeared washed out next to oat milk white until she added a second layer of storm blue *behind* the pink on mid-canopy branches. That subtle backlighting increased perceived saturation by 30%, confirmed by spectrometer readings. Final result? A tree that shifted from deep shadow at the base to ethereal luminescence at the crown—photographed for Architectural Digest’s “Quiet Holiday” feature. As Lena noted in her project notes: “The gradient isn’t in the lights alone. It’s in the negative space between them, the branch density behind them, and the viewer’s distance from the trunk.”
“The most elegant gradients aren’t built with more colors—they’re built with fewer, better-chosen hues, placed with architectural discipline.” — Javier Mendez, Lighting Designer, Lumina Collective (12+ years designing holiday installations for Soho House and The Jefferson Hotel)
Do’s and Don’ts: Wiring, Safety & Longevity
Electrical integrity determines whether your gradient lasts one season or five. Overloading circuits or ignoring thermal limits ruins both safety and aesthetics. Below is a distilled set of field-tested practices.
- Do calculate total wattage: Multiply number of strands × watts per strand (usually 4–7W for 35-ft LED sets). Stay under 80% of circuit capacity (e.g., max 1,440W on a 15-amp/120V circuit = 12 amps × 120V).
- Do use UL-listed extension cords rated for indoor use and minimum 16 AWG wire. Never daisy-chain more than three strands end-to-end without a power booster.
- Do install a GFCI-protected outlet or plug adapter—especially if tree stand holds water or if lighting extends near humidifiers or windows.
- Don’t wrap lights around metal ornaments, foil garlands, or mirrored surfaces—reflections fracture the gradient and create hotspots.
- Don’t mix LED and incandescent strands on the same circuit—even with adapters. Voltage mismatch stresses drivers and causes premature LED failure.
- Don’t rely on built-in timers for gradient timing. Use an external programmable timer (like the Woods 50070) that allows independent scheduling per outlet—so base lights can stay on 2 hours longer than the top, reinforcing the “glow fading downward” illusion.
FAQ: Practical Questions Answered
Can I create a gradient with only three colors?
Yes—effectively. Choose one anchor (e.g., deep emerald), one transition (e.g., moss green), and one highlight (e.g., lime white). Place the anchor at the base (25% of total lights), transition in the mid-canopy (50%), and highlight at the top (25%). The key is varying density: use tighter spacing for the highlight to increase luminance contrast, looser for the anchor to deepen perception of richness. Three-color gradients often feel more cohesive than five-color versions because they reduce visual noise.
What if my tree has sparse lower branches?
Compensate structurally—not just with light. Weave thin, flexible greenery picks (like preserved boxwood) into bare areas first. Then wrap lights *over* the picks, not around bare trunk. This restores volume and gives lights something to reflect off, preventing the “stringy” look. Alternatively, use battery-operated micro-LED clusters (3–5 bulbs per cluster) pinned discreetly to fill gaps—these add localized glow without adding wire clutter.
How do I store gradient strands so colors don’t fade or tangle?
Never wrap lights around cardboard tubes or stack haphazardly. Instead: coil each strand individually using the “over-under” method (loop over hand, then under, repeating)—this prevents kinks and maintains spacing. Store vertically in rigid plastic bins labeled by zone and color (e.g., “Zone 2 – Heather Purple”). Include silica gel packets to inhibit moisture-related copper wire corrosion. Avoid attics or garages: UV exposure and temperature swings degrade LED phosphors faster than expected—color shift in blues and whites becomes measurable after 18 months in uncontrolled storage.
Conclusion: Light Is Intentional Design
A gradient Christmas tree light effect is not decoration—it’s spatial storytelling. Every choice you make—from the CRI rating of your bulbs to the vertical spacing of your wraps—communicates mood, rhythm, and care. You don’t need proprietary hardware or coding knowledge. You need observation, patience, and respect for how light interacts with form and perception. Start small: try the three-color version on a tabletop tree this year. Note how changing only the base color shifts the entire feeling—from cozy to contemplative, from nostalgic to modern. Refine your palette. Document what works. Then scale up.
When guests pause, tilt their heads, and quietly say, “It feels like standing under a twilight sky,” you’ll know the gradient succeeded—not because it’s technically perfect, but because it resonates emotionally. That resonance is earned through deliberate choices, not chance.


 浙公网安备
33010002000092号
浙公网安备
33010002000092号 浙B2-20120091-4
Comments
No comments yet. Why don't you start the discussion?