
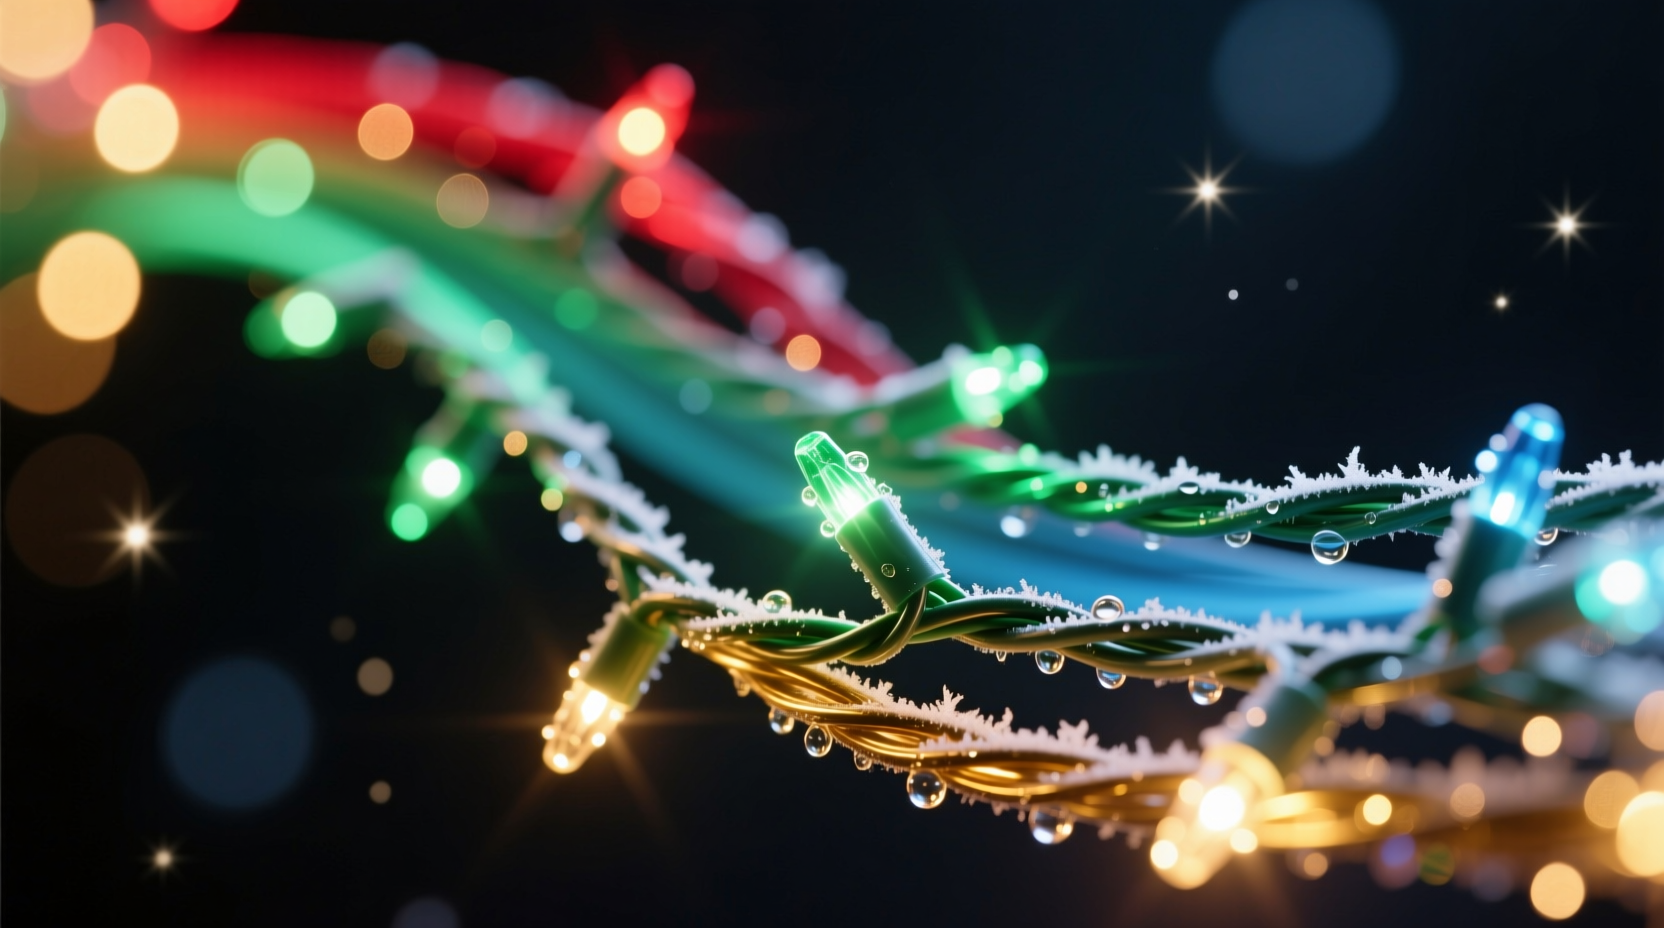
Transforming ordinary multicolor Christmas lights into a cohesive, visually striking gradient display elevates your holiday decor from chaotic to curated. While traditional strands often feature random color sequences—red, green, blue, yellow, purple—their beauty can be harnessed through intentional arrangement. A gradient effect guides the eye smoothly across a spectrum of hues, creating rhythm and harmony in your lighting design. Whether you're decorating a tree, wrapping a staircase, or outlining eaves, mastering this technique brings sophistication to seasonal setups without requiring expensive gear or advanced tools.
The key lies not in replacing your existing lights, but in rethinking their placement. With careful planning and a bit of patience, even standard C7 or mini-light sets can produce professional-grade results. This guide walks through the principles, methods, and insider strategies for achieving seamless color transitions that impress guests and enhance curb appeal.
Understanding Color Theory for Light Displays
Before manipulating physical wires and sockets, it’s essential to understand how colors interact when illuminated. Unlike paint or fabric, colored lights emit rather than reflect light, which affects perception—especially at night. The human eye interprets brightness, saturation, and proximity differently under low ambient conditions, so choosing the right sequence matters.
A successful gradient follows a logical progression along the visible spectrum: red → orange → yellow → green → blue → violet (or purple). Some designs extend into warm white or cool white as transitional tones. Avoid jumping between unrelated shades—such as placing purple next to yellow—without intermediate steps, as this creates visual dissonance.
Consider temperature contrast. Warm colors (reds, oranges, yellows) feel closer and more energetic; cool colors (blues, purples, greens) recede and calm. A well-designed gradient uses this psychological depth to add dimensionality. For example, starting with deep reds at the base of a tree and fading into icy blues at the top mimics natural sunset gradients in the sky.
“Light is directional emotion. When you sequence colors thoughtfully, you’re not just illuminating—you’re storytelling.” — Daniel Reeves, Lighting Designer & Holiday Display Consultant
Step-by-Step Guide to Building a Gradient Effect
Creating a gradient isn’t about buying new lights—it’s about curating what you have. Follow this structured approach to transform standard multicolor strands into an intentional flow.
- Inventory Your Light Strands: Lay out all your light sets and note the repeating color pattern. Identify whether they follow a fixed sequence (e.g., R-G-B-Y-P) or are randomly arranged. Most budget-friendly multicolor strings repeat every 5–6 bulbs.
- Select Compatible Sets: Use only strands with identical color orders and bulb spacing. Mixing different sequences will break the gradient. If necessary, purchase additional matching strands for continuity.
- Determine Display Path: Map where the lights will go—tree spiral, railing run, window frame—and decide on a start and end point. Typically, gradients begin with warm tones and transition to cool ones, though reverse schemes work for dramatic effect.
- Test the Sequence: Before installation, plug in one strand and trace the color order manually. Mark the first bulb’s color with tape. Repeat with adjacent strands to ensure alignment when connected.
- Align Connections Carefully: When linking multiple strands, match the final color of one set to the first color of the next. For example, if Set 1 ends in purple, Set 2 should begin with red *only* if red naturally follows purple in your sequence—or insert a bridging color if needed.
- Install in Sections: Work in small segments, stepping back frequently to assess visual flow. Use clips or ties to allow minor adjustments post-installation.
- Add Transition Lights (Optional): To smooth abrupt shifts, intersperse single-color LED bulbs between sets. These act as “color bridges,” easing the eye from one tone to the next.
Checklist: Preparing for a Seamless Gradient Display
- ☐ Inventory all multicolor light strands and identify repeating patterns
- ☐ Confirm all strands have the same voltage, plug type, and color order
- ☐ Choose a direction for the gradient (warm-to-cool or reverse)
- ☐ Test connectivity by linking two strands and checking color continuity
- ☐ Plan anchor points: Where does the first color start? Where does the last land?
- ☐ Prepare non-damaging mounting hardware (e.g., gutter clips, twist ties)
- ☐ Allow extra length for routing around corners or obstacles
- ☐ Schedule a final review at dusk to evaluate true color blending
Do’s and Don’ts: Common Pitfalls and Best Practices
| Do | Don’t |
|---|---|
| Use strands with identical color sequences | Mix different color orders or bulb types |
| Plan your layout before installing | Start hanging without knowing the color start/end points |
| Group similar-toned areas together (e.g., red/orange cluster) | Allow jarring jumps like yellow next to deep blue |
| Use dimmable controllers to adjust intensity per zone | Run all sections at maximum brightness regardless of hue |
| Include a fade-in/fade-out period if using timers | Turn lights on/off abruptly every night |
Real Example: Transforming a Front Porch Gradient
Sarah Thompson, a homeowner in Portland, Oregon, wanted to upgrade her front porch display using three existing 50-bulb multicolor C7 strands. Each strand followed the sequence: Red, Green, Blue, Yellow, Purple—repeating every five bulbs. Initially, she simply linked them end-to-end, resulting in a jumbled appearance where green often touched yellow and blue neighbored red.
After researching gradient techniques, she laid out the strands on her driveway and mapped the color path. She realized that connecting the end of one strand (purple) directly to the start of the next (red) created a natural transition within the spectrum. However, green-to-blue was too sharp, so she rotated the middle strand backward by two bulbs, starting it with blue instead. This adjustment allowed the previous strand’s green to lead into yellow, then red, maintaining a smoother visual journey.
She installed the lights along the porch railing, beginning with red at the left post and ending with purple on the right. By staggering the connection points beneath the rail, the color flow appeared uninterrupted. Neighbors commented on the “professional” look, unaware she used off-the-shelf products and no special equipment.
Sarah’s project took four hours over two evenings—one for planning, one for execution—but has become her annual tradition. “It looks like a rainbow unfolding,” she says. “And it cost nothing extra.”
Advanced Techniques for Greater Impact
Once comfortable with basic gradients, consider enhancing the effect with layered strategies.
Zoning by Intensity: Not all colors carry equal visual weight. Reds and yellows appear brighter than blues and purples. Compensate by grouping two cooler-toned bulbs for every one warm-toned one, balancing perceived luminosity across the span.
Incorporating White Lights: Insert warm white LEDs between color segments to create breathing room. These serve as neutral pauses, preventing color fatigue and highlighting transitions. Place them at structural breaks—corners, columns, or tree branches.
Directional Layering: On trees, wrap lights in a spiral from bottom to top, progressing from red to violet. On horizontal runs (like rooflines), center the warmest tones and fade outward in both directions. This radial gradient draws attention to focal points.
Smart Controller Syncing: Use Wi-Fi-enabled light controllers to program slow color chases that mimic the gradient movement. Instead of blinking randomly, lights pulse sequentially—red advances to orange, then yellow—simulating a wave-like motion.
Frequently Asked Questions
Can I create a gradient with pre-lit artificial trees?
Yes, but options are limited. Most pre-lit multicolor trees use randomized or alternating patterns unsuitable for gradients. However, some premium models offer sectioned lighting where you can control zones individually. In such cases, turn off conflicting sections and focus on contiguous bands of compatible colors. Alternatively, drape additional custom-wired strands over the built-in lights to achieve the desired flow.
What if my strand doesn’t follow the ideal spectrum order?
You have two choices: adapt or augment. If your strand goes Red → Blue → Green → Yellow → Purple, accept the inherent jump from red to blue and minimize disruption by shortening the run or using distance. Alternatively, splice in single-color replacement bulbs to fill missing transitions. Many online retailers sell individual LED bulbs compatible with common string types.
Are there tools to help visualize the gradient before installing?
Yes. Use digital mockup apps like LightShow Pro or DIY sketch templates. Draw your structure (e.g., roofline, tree outline) and assign colors segment by segment. Some users print paper strips with colored blocks representing each bulb, then physically arrange them on a table to simulate connections. This low-tech method prevents costly mistakes during installation.
Conclusion: Turn Chaos into Cohesion
A gradient effect with multicolor Christmas lights is more than decoration—it’s design. It transforms randomness into rhythm, clutter into clarity. With thoughtful sequencing, strategic connections, and attention to visual flow, even modest light sets can produce gallery-worthy results. The effort pays dividends in admiration, atmosphere, and lasting joy.
Start small. Try one section of railing or a single tree branch. Refine your method, document what works, and scale up next season. Over time, you’ll develop an intuitive sense for color pacing and spatial harmony. Share your progress, inspire neighbors, and redefine what’s possible with a simple string of lights.


 浙公网安备
33010002000092号
浙公网安备
33010002000092号 浙B2-20120091-4
Comments
No comments yet. Why don't you start the discussion?