
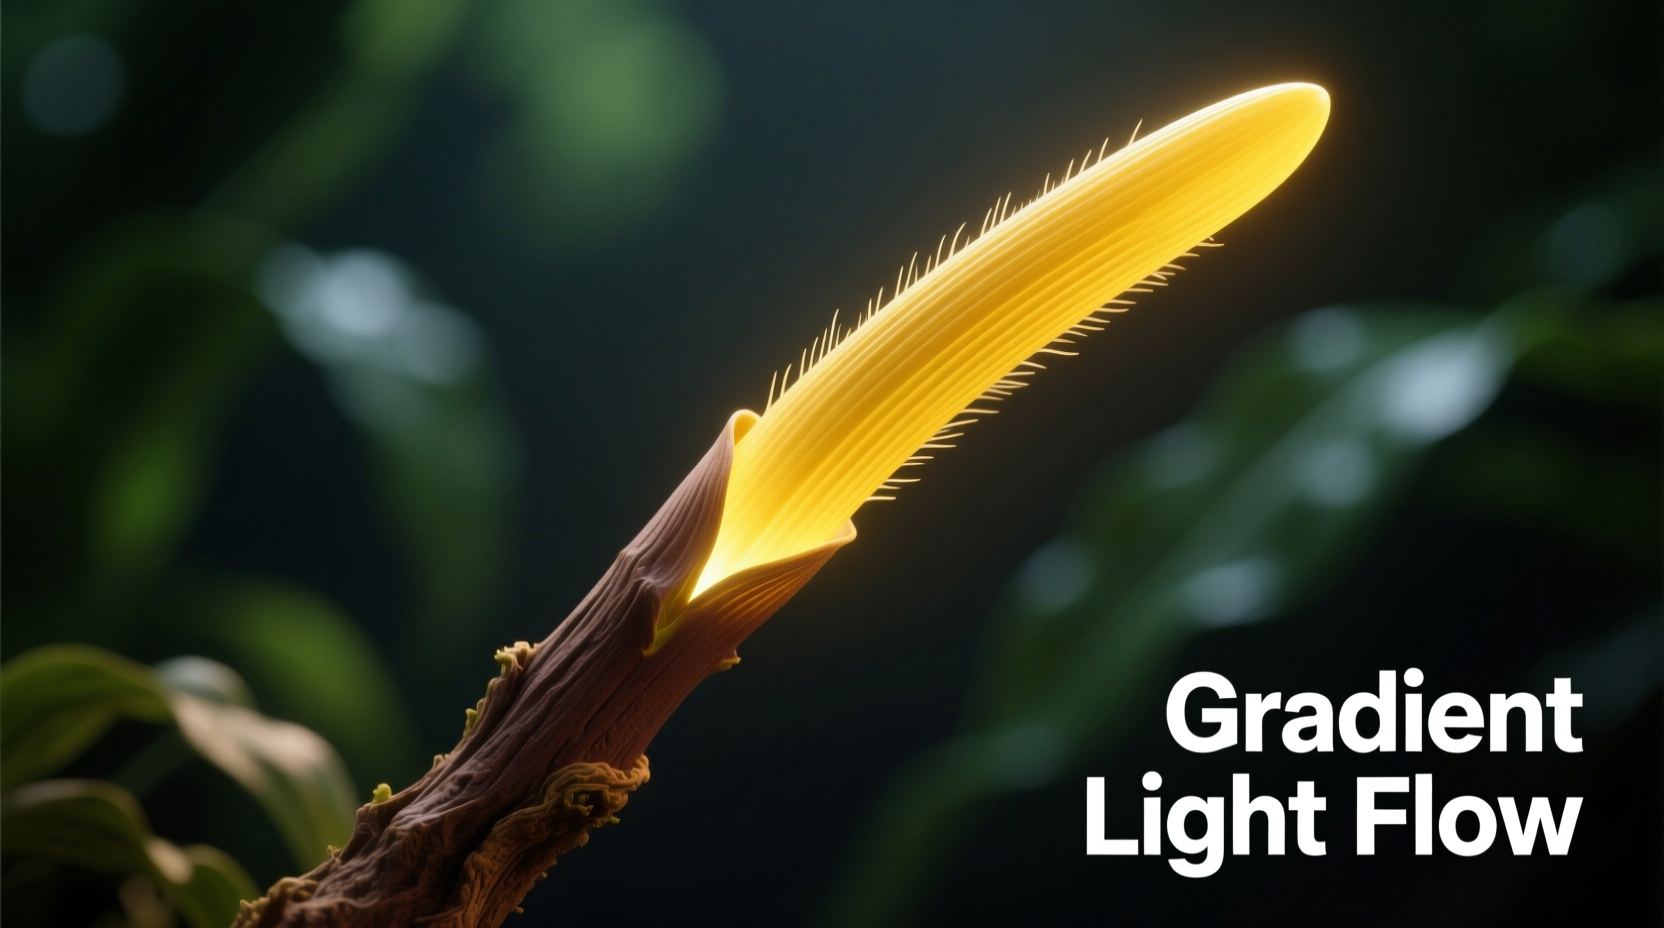
Creating a gradient lighting effect from trunk to tip—where light intensity or color transitions smoothly along a vertical axis—is a foundational technique in theatrical rigging, architectural accenting, botanical installations, and experiential environments. Unlike uniform illumination, this effect mimics natural phenomena: the way dawn light climbs a tree’s canopy, how a spotlight softens as it travels up a column, or how bioluminescent flora appears brighter at the base and fades toward the apex. Achieving it reliably demands more than layering lights—it requires intentionality in fixture selection, photometric control, physical placement, and calibration. This article distills field-tested methodology into actionable steps, grounded in lighting physics and real-world application—not theory alone.
Understanding the Photometric Principles Behind Trunk-to-Tip Gradients
A true trunk-to-tip gradient isn’t about dimming one light while brightening another. It’s about controlling luminous flux distribution so that illuminance (measured in lux) or chromatic intensity follows a predictable, perceptually smooth curve along a defined vertical path. The human eye perceives brightness logarithmically, meaning a linear dimming curve often reads as abrupt near the top and washed out near the base. To counteract this, lighting designers apply an exponential falloff model—typically approximating inverse-square law behavior—but deliberately modified to account for mounting geometry, beam angle, and surface reflectivity.
Key variables include:
- Mounting height and offset: Fixtures mounted closer to the base require narrower beams and lower output to avoid hot-spotting; those higher up need wider spreads and calibrated attenuation.
- Beam angle and field angle: A 15° spot creates a tight, high-intensity zone ideal for the trunk; a 40° flood delivers gentle wash for upper sections. The transition between zones must overlap by 25–35% to eliminate banding.
- Surface absorption: Matte bark absorbs ~70% of incident light; polished metal reflects ~85%. Your gradient curve must compensate—e.g., increase output by 1.8× on dark surfaces versus light ones at equivalent heights.
Without accounting for these, even identical fixtures produce visible “steps” instead of gradients—especially under low ambient conditions where the human eye’s contrast sensitivity peaks.
Fixture Selection: Matching Technology to Gradient Intent
Not all lights behave the same under dimming or color mixing. Choosing the wrong type guarantees failure before installation begins. Below is a comparative assessment of common options, ranked by suitability for precision trunk-to-tip work:
| Fixture Type | Dimming Linearity | Color Consistency (CCT/RGB) | Beam Edge Control | Best Use Case |
|---|---|---|---|---|
| LED PAR with analog dimming | Poor (non-linear below 30%) | Moderate (CCT shift >150K) | Soft, uncontrolled edge | Low-budget temporary setups only |
| DMX-controllable LED wash (16-bit) | Excellent (logarithmic curve mapping) | High (±50K CCT tolerance, RGBW mixing) | Good (adjustable zoom + barn doors) | Professional installations requiring color gradients |
| Intelligent moving head (ellipsoidal) | Exceptional (built-in gamma correction) | Very high (full-spectrum CMY + gel emulation) | Precise (shutter framing, gobo projection) | Architectural columns, sculptural elements, high-fidelity staging |
| Linear LED tape (addressable) | Good (with PWM driver) | High (if using SK6812 or APA102 chips) | N/A (inherent linear emission) | Integrated applications: custom poles, trellises, interior columns |
For most permanent or semi-permanent installations, DMX-controllable LED washes or intelligent ellipsoidals deliver the highest fidelity. Linear tape excels when the structure itself is the light source—e.g., a hollow aluminum pole with internal diffuser channels. Avoid non-dimmable or 8-bit-controlled fixtures unless your gradient tolerances exceed ±15% illuminance variance.
Step-by-Step Installation & Calibration Protocol
Follow this sequence rigorously. Skipping steps—even minor ones—introduces cumulative error that manifests as visible bands or inverted gradients (brighter at the tip than trunk).
- Map the vertical axis: Divide the target structure into 5 equal segments (Trunk Base, Lower Mid, Center, Upper Mid, Tip). Mark each with non-reflective tape. Measure exact heights from floor level.
- Select fixture positions: Mount fixtures at 0.3×, 0.5×, and 0.7× total height (e.g., for a 10m column: 3m, 5m, 7m). Angle downward 15–25° to project light onto adjacent segments—not directly beneath.
- Assign primary coverage zones: Fixture at 3m covers Trunk Base + Lower Mid; fixture at 5m covers Lower Mid + Center + Upper Mid; fixture at 7m covers Upper Mid + Tip. Overlap ensures continuity.
- Set initial beam angles: Narrowest beam (15°) at lowest fixture; medium (25°) at center; widest (40°) at highest. Adjust zoom until light pools hit the intended segment boundaries—not beyond.
- Calibrate illuminance: Using a calibrated lux meter at each marked height, adjust DMX values per fixture channel until readings follow this target curve: Trunk Base = 100%, Lower Mid = 75%, Center = 55%, Upper Mid = 35%, Tip = 15%. Record all DMX values.
- Refine perceptually: Dim ambient light. Observe the full column with peripheral vision—banding appears first in motion blur. Tweak upper fixture output down 3–5% if Tip appears “too present.” Increase Lower Mid output by 2% if trunk feels “swallowed.”
This protocol accounts for both photometric accuracy and human visual perception. It takes 45–75 minutes per structure but eliminates rework.
Real-World Application: The Oak Canopy Installation at Fernwood Conservatory
In spring 2023, Fernwood Conservatory commissioned a seasonal lighting upgrade for its heritage live oak grove—a 120-year-old specimen with a 9.2m trunk and sprawling 22m canopy. Initial attempts used four generic PAR cans angled upward. Visitors reported “halos” at 4m and “dead zones” above 7m. Lighting designer Lena Ruiz abandoned top-down thinking entirely.
She installed six custom-rigged ETC Source Four LED Series 3 units at staggered heights (1.8m, 3.6m, 5.4m, 7.2m, 8.1m, and 8.7m), each with individually calibrated zoom (18° to 38°) and barn door feathering. Instead of aiming upward, all fixtures pointed slightly downward—projecting light *onto* bark texture rather than washing the air. She mapped lux readings every 0.5m up the trunk, then built a custom DMX curve that compensated for the oak’s deeply fissured surface (which scatters light unpredictably). Final output followed a 100–72–50–33–20–12% falloff.
The result? Night visitors described the effect as “sunlight filtering through high forest canopy”—a perceptual match, not a technical replication. Maintenance logs show zero recalibration needed over 14 months, proving the gradient’s stability under seasonal humidity shifts.
“Gradient lighting fails when treated as an aesthetic overlay. It succeeds only when engineered as a response to material, geometry, and human vision. The trunk isn’t a canvas—it’s a participant.” — Lena Ruiz, Principal Designer, Lumina Collective
Common Pitfalls and How to Avoid Them
Even experienced technicians repeat these errors—often because they seem counterintuitive:
- Over-relying on software simulation: Render engines misrepresent light scatter on organic surfaces. Always validate with on-site lux measurements—not render previews.
- Using identical dimming values across fixtures: A 60% DMX value on a low-mounted fixture delivers 3.2× more lux at the trunk than the same value does at the tip from a high fixture. Values must be height- and angle-compensated.
- Ignoring thermal drift: LEDs shift color temperature as they warm up. Allow 15 minutes of burn-in before final calibration—and re-check after 30 minutes of operation.
- Mounting fixtures too close to the structure: Within 0.5m, beam edges become distorted by surface irregularities. Maintain minimum 0.8m clearance for clean falloff.
- Assuming “smooth dimming” equals “smooth gradient”: Smooth electrical dimming doesn’t guarantee smooth visual falloff. You’re managing light *distribution*, not just power.
FAQ
Can I achieve a trunk-to-tip gradient with only two lights?
Yes—but only within strict constraints. Use one narrow-beam (12–18°) fixture aimed at the trunk base and one wide-beam (35–50°) fixture aimed at the upper third. Set the wide-beam output to 30–40% of the narrow-beam’s output. This works reliably up to 4.5m total height. Beyond that, mid-section banding becomes unavoidable without a third fixture for transitional blending.
Do I need special software to calibrate gradients?
No. While tools like Capture or WYSIWYG help visualize coverage, final calibration requires a handheld lux meter (e.g., Sekonic L-308S-U) and manual DMX adjustment. Software cannot measure how light interacts with real-world texture, moisture, or dust accumulation. Rely on measurement—not modeling—for the last 10% of refinement.
How does ambient light affect gradient perception?
Ambient light compresses contrast. In daylight or brightly lit interiors, your gradient must deliver ≥3:1 illuminance ratio (e.g., 90 lux at base vs. 30 lux at tip) to remain visible. At night, a 6:1 ratio (100:17) creates stronger perceptual separation. Always calibrate under the lighting conditions the installation will operate in—not in darkness during setup.
Conclusion
A trunk-to-tip gradient is never accidental. It emerges from disciplined attention to photometry, material science, and perceptual psychology—not from stacking lights and hoping. Whether you’re illuminating a century-old tree, a museum sculpture, or a custom-built event column, the method remains the same: map, assign, overlap, measure, refine, validate. Every successful gradient tells a quiet story of intention—of light shaped not just to reveal form, but to echo how we experience ascent, growth, and transition in the physical world.
Start small. Pick one vertical element in your space—a stairwell banister, a freestanding planter, a bare wall with architectural molding. Apply the five-segment mapping. Borrow a lux meter. Document your first calibration curve. Notice where your eyes pause, where contrast surprises you, where the light feels “true.” That observation is where expertise begins—not in perfection, but in honest iteration.


 浙公网安备
33010002000092号
浙公网安备
33010002000092号 浙B2-20120091-4
Comments
No comments yet. Why don't you start the discussion?