
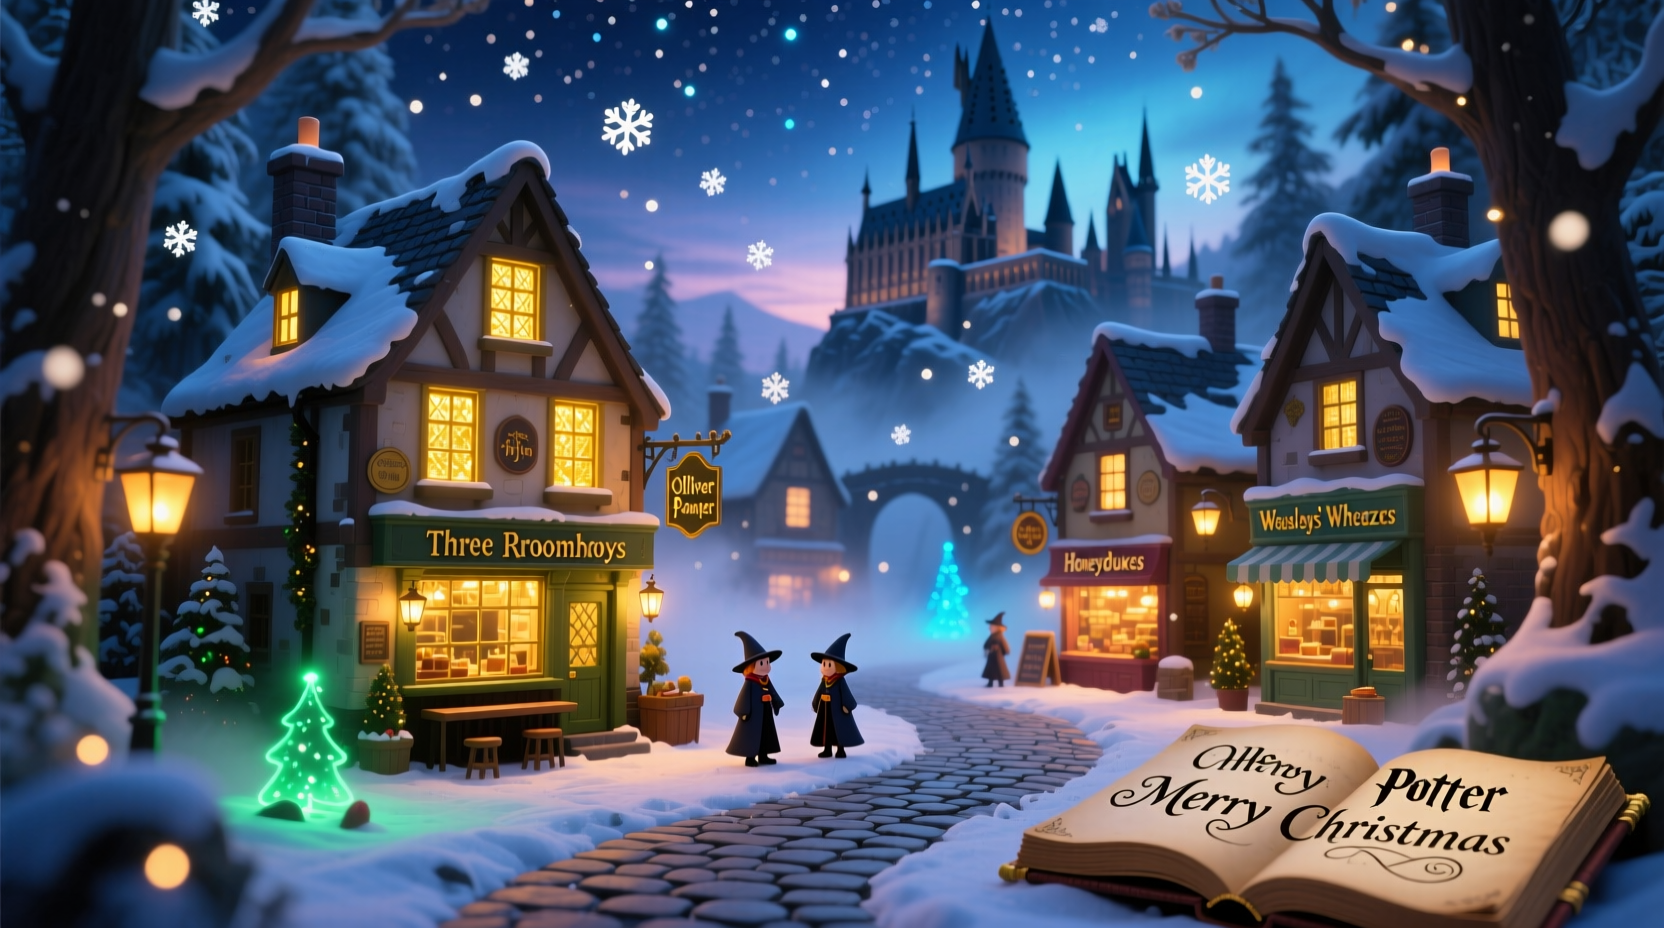
There’s a quiet magic in transforming a corner of your home into a miniature wizarding world during the holidays—a place where snow-dusted rooftops glow with warm candlelight, the Three Broomsticks’ sign flickers softly, and faint golden light spills from the windows of Hogwarts Castle. A Harry Potter Christmas village isn’t just décor; it’s storytelling in three dimensions. But achieving that enchanting, immersive atmosphere hinges on one often-overlooked element: ambient lighting. Poorly executed lights can flatten the scene, create harsh glare, or even pose safety risks. Done right—layered, diffused, and intentionally placed—they evoke moonlit Hogsmeade nights, the gentle hum of the Great Hall at Yule Ball, or the cozy warmth of the Burrow’s kitchen. This guide distills over a decade of seasonal display craftsmanship—including insights from professional model railroaders, theatrical lighting designers, and award-winning holiday artisans—into a practical, scalable system anyone can implement safely and beautifully.
Understanding Ambient Lighting vs. Accent Lighting
Ambient lighting is the foundational layer—the soft, all-encompassing illumination that defines the mood and spatial depth of your display. It’s what makes your village feel like a living, breathing place at dusk, not a brightly lit diorama under a spotlight. In contrast, accent lighting highlights specific features: a glowing wand in Harry’s hand, the pulsing red of the Weasleys’ clock, or the shimmer of the Mirror of Erised. For a Harry Potter village, ambient light must feel organic—not clinical or artificial. Think of how light behaves in the books: lanterns casting gentle halos on cobblestones, firelight dancing behind frosted glass, distant castle windows glowing like captured stars. That realism comes from controlling intensity, color temperature, diffusion, and directionality—not from adding more bulbs.
Essential Materials & Safety-First Sourcing
Building a safe, long-lasting display begins with material selection—not aesthetics alone. Electrical safety is non-negotiable when combining low-voltage lighting with delicate paper, wood, and resin structures. Below is a vetted list of components used by professional display builders, including why each choice matters:
| Component | Recommended Specification | Why It Matters |
|---|---|---|
| LED Strips | 24V DC, 30 LEDs/meter, silicone-coated, IP65-rated | Lower voltage reduces fire risk; silicone coating prevents moisture damage if using faux snow or mist effects; IP65 ensures dust/water resistance for year-round storage. |
| Power Supply | UL-listed, regulated, with 20% headroom capacity | Overloading transformers causes overheating and premature LED failure. A 10-watt display needs at least a 12-watt supply. |
| Diffusion Material | Matte white acrylic sheet (1.5mm) or frosted drafting film | Blocks direct LED visibility while transmitting 85–90% of light—critical for hiding “hot spots” and creating seamless glow. |
| Wiring | 22-gauge stranded copper wire with PVC insulation | Flexible enough for tight routing behind buildings; stranded core resists breakage during assembly adjustments. |
| Mounting | Double-sided foam tape (3M 4910) + removable poster putty | Secures strips without damaging painted surfaces or leaving residue—vital for rotating displays or seasonal changes. |
Never substitute craft-store battery packs for permanent installations. While convenient for tabletop demos, their inconsistent voltage regulation shortens LED lifespan and introduces flicker—especially problematic when filming or photographing your display.
The 5-Layer Ambient Lighting System
Professional lighting designers use layered approaches to simulate natural light behavior. Apply this same principle to your village—not as separate elements, but as interdependent systems that build depth and narrative cohesion:
- Base Glow (Ground Plane): A subtle, cool-toned wash (2200K–2400K) beneath the entire village floor, simulating reflected moonlight off snow. Use 120° beam angle LEDs spaced every 15 cm along the back edge of the baseboard. Diffuse with 1mm frosted acrylic mounted 5 mm above the board surface.
- Architectural Wash (Building Exteriors): Warm white (2500K) LEDs mounted inside window frames or recessed into roof eaves. Mount strips facing *inward* toward interior walls—not outward—to avoid glare and create realistic interior spill.
- Pathway Accent (Cobblestone & Lane Lighting): Micro-LEDs (1.8mm diameter) embedded in mortar lines between cobblestones or along Hogsmeade High Street. Use amber-tinted lenses (2700K with 5% amber filter) to mimic gaslight warmth.
- Sky Simulation (Background Sky Panel): A 10 cm tall vertical panel behind the village, backlit with dimmable 2700K LEDs. Add subtle gradients using gradient film: darkest at top (simulating twilight), softening to pale gold near the horizon line.
- Atmospheric Veil (Fog/Mist Effect): Optional—but transformative. A fine mist of glycerin-based fog (used safely in enclosed cabinets) diffuses ambient light, softening edges and enhancing depth perception. Requires ventilation and a dedicated fogger rated for indoor use.
This system avoids “light stacking”—the common error of placing multiple bright sources in proximity. Each layer operates at 15–30% of maximum brightness, with precise dimming control via a PWM (pulse-width modulation) controller. The result? A display that feels alive, dimensional, and deeply atmospheric—not lit, but illuminated.
Real-World Application: The Edinburgh Bookshop Display
In December 2022, The Edinburgh Bookshop—a beloved independent store in Leith—commissioned a 1.2-meter-wide Harry Potter village for its front window. Their goal: attract foot traffic while honoring local literary heritage (J.K. Rowling wrote early chapters in nearby cafés). With only six weeks and a £320 budget, owner Amina Patel collaborated with lighting technician Leo Chen to implement a simplified version of the 5-layer system.
They built the base from reclaimed pine, carved miniature versions of Diagon Alley storefronts from basswood, and printed window graphics on translucent vellum. For lighting, they skipped the sky panel and atmospheric veil due to space constraints—but doubled down on architectural wash and pathway accent layers. Using 24V LED strips with custom-cut 3D-printed light guides (designed to channel light precisely into window openings), they achieved consistent interior glow without visible strip lines. Pathway lights were hand-soldered micro-LEDs wired in series and embedded into grout lines with epoxy clay.
The outcome exceeded expectations: social media posts featuring time-lapse videos of the display at dusk garnered over 47,000 views in 48 hours. More importantly, patrons reported lingering longer in the window—“It felt like I could step through the glass,” said one regular customer. Patel credits the success not to scale or expense, but to disciplined ambient layering: “We didn’t add more light—we added more intention.”
Step-by-Step Assembly Timeline (3-Day Build)
Plan your build around these phases—not calendar days, but logical milestones. Rushing any step compromises safety or realism.
Day 1: Foundation & Infrastructure
- Cut and seal baseboard (MDF or birch plywood); apply matte black spray paint to eliminate light bleed.
- Drill discreet 2 mm access holes along rear edge for wiring runs.
- Mount power supply and PWM controller *outside* the display cabinet (e.g., behind a shelf) for ventilation and easy access.
- Test all LED strips *before* mounting—verify color temp, dimming range, and polarity.
Day 2: Structural Integration
- Secure diffusion panels using hidden clips or double-sided tape—never glue directly to LEDs.
- Route wiring through pre-drilled holes; use cable ties to bundle and label circuits (e.g., “Hogwarts West Wing,” “Three Broomsticks Interior”).
- Install architectural wash strips *inside* building shells before final assembly—this prevents rework and ensures clean alignment.
- Embed pathway LEDs *before* laying cobblestone veneer or gravel; test continuity with a multimeter.
Day 3: Calibration & Narrative Tuning
- Power on at 10% brightness. Walk around the display at eye level—look for hot spots, uneven gradients, or visible LEDs. Adjust diffusion spacing or add matte black masking tape to block stray light.
- Use a color meter app (like Lux Light Meter Pro) to verify consistency: all architectural washes should read within ±200K of target (2500K).
- Dim base glow to 15%, sky panel to 25%, and pathways to 30%. Let your eyes adjust for 5 minutes—then ask: Does it feel like nightfall in Scotland? If not, reduce brightness before adding more.
- Final test: photograph the display in ambient room light (no flash). Review images—if windows appear blown out or walls look flat, revisit diffusion and dimming levels.
“The most powerful lighting in a miniature world isn’t the brightest—it’s the most truthful. A single 2700K LED behind frosted glass tells a richer story than ten 5000K spotlights.” — Silvia Rossi, Miniature Lighting Director, National Model Railroad Association
FAQ
Can I use fairy lights instead of LED strips?
Only if they’re warm white (2200K–2700K), low-voltage (≤24V), and individually controllable. Standard incandescent fairy lights generate excessive heat, risk melting plastic components, and lack the precision dimming needed for ambient layering. LED rope lights are acceptable for base glow if diffused properly—but strips offer superior control and uniformity.
How do I hide wires without ruining the aesthetic?
Run all wiring *behind* the baseboard or within routed channels cut into the underside. Use matte black conduit or flexible loom tubing for exposed sections. Never staple wires to visible surfaces—even black wires break immersion. For tabletop displays, route cables through hollow furniture legs or behind picture frames.
Is it safe to leave the display on overnight?
Yes—if using UL-listed 24V components, proper fusing, and adequate ventilation. However, install an automatic timer or smart plug (e.g., TP-Link Kasa) set to run 4–6 hours nightly. This extends LED lifespan (rated for 50,000 hours at 25°C ambient), reduces energy use, and eliminates accidental all-night operation.
Bringing the Magic Home
A Harry Potter Christmas village isn’t about replicating movie sets—it’s about evoking the feeling of reading those books by firelight as a child: the sense of wonder, the comfort of belonging, the quiet thrill of stepping into another world. Ambient lighting is the invisible hand that turns static objects into living scenes. It transforms cardboard castles into places you believe people inhabit, and paper streets into paths you imagine walking. You don’t need a workshop or engineering degree. You need patience, attention to light temperature and diffusion, and the willingness to dim rather than dazzle. Start small: retrofit one building with architectural wash lighting this season. Observe how the warmth changes its presence. Then add the base glow. Then the pathways. Watch your village deepen, soften, and breathe. In a world saturated with brightness, true magic lives in the gentlest light—and in the care you take to make it real.


 浙公网安备
33010002000092号
浙公网安备
33010002000092号 浙B2-20120091-4
Comments
No comments yet. Why don't you start the discussion?