
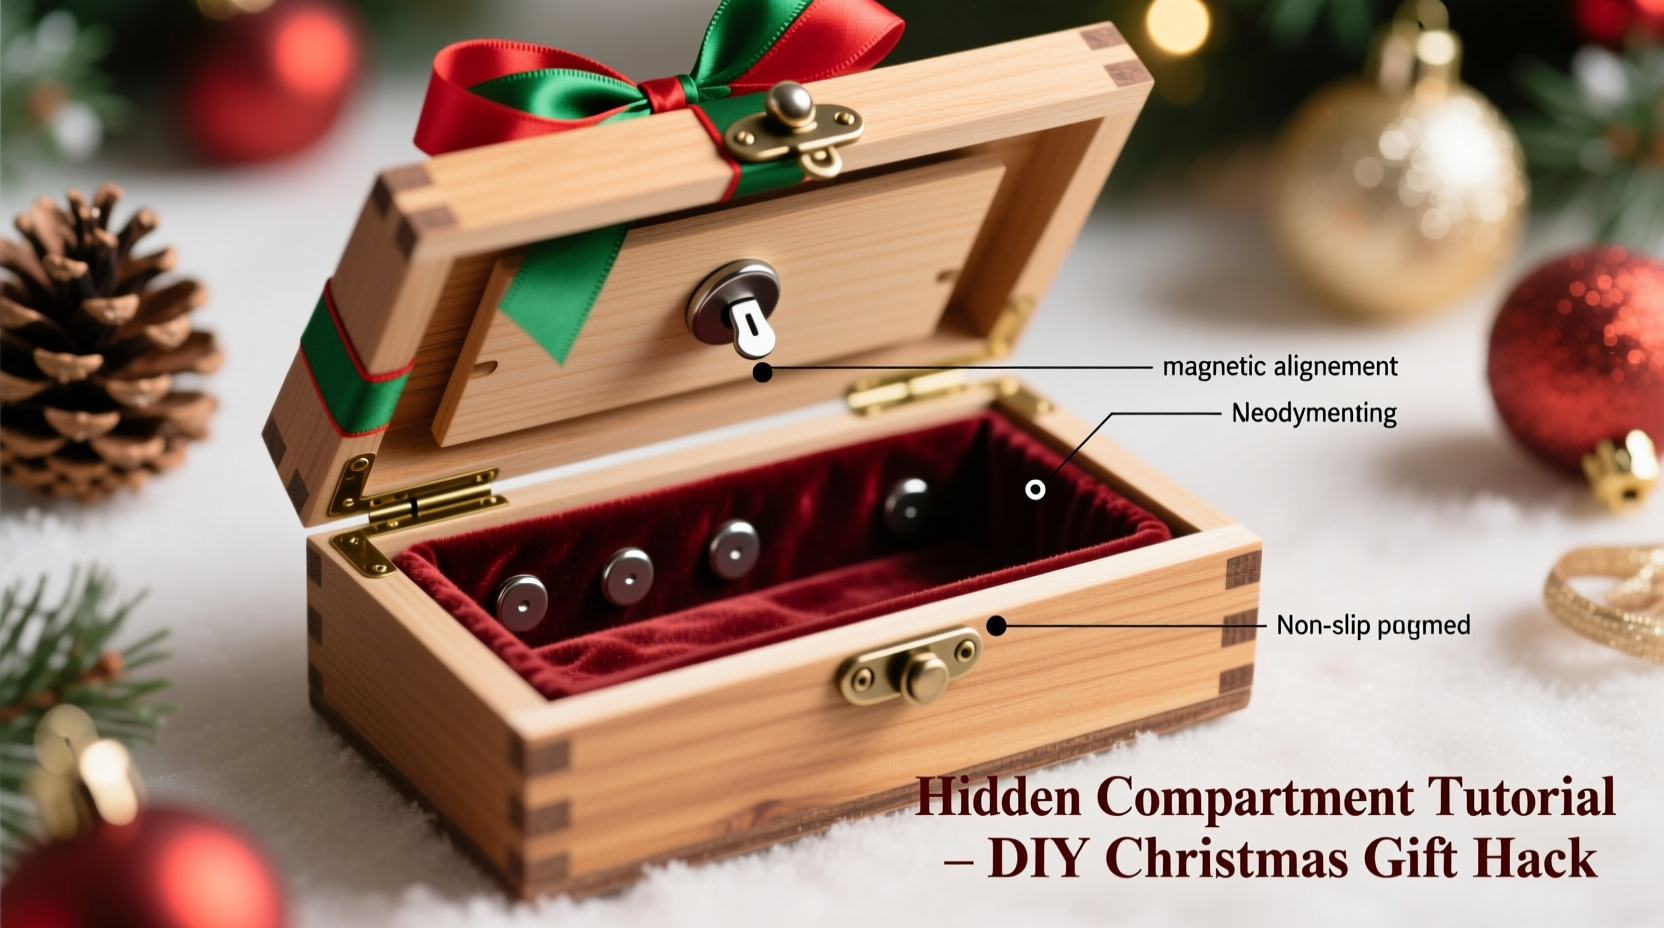
Hidden compartments aren’t just for spy movies. With a little ingenuity and the right materials, you can add a clever twist to your holiday gifting by embedding a secret space inside a Christmas gift box. Using magnets as the mechanism ensures smooth operation and a satisfying tactile experience when the false bottom or panel slides open. Whether you're hiding a second gift, a love note, or a playful prank, this DIY project blends craftsmanship with surprise.
The idea is simple: modify a standard gift box so that part of its interior appears solid but actually conceals a secondary layer. Magnets provide invisible yet secure attachment, allowing the hidden section to stay closed until gently pulled or slid aside. Done well, the illusion is seamless—and the reveal unforgettable.
Why Use Magnets for a Hidden Compartment?
Magnets offer a unique combination of strength, compactness, and ease of use. Unlike adhesives or mechanical latches, they don’t require visible hardware or forceful manipulation. When embedded properly, they’re silent, reliable, and reusable. For a holiday setting, where presentation matters, magnetic closures maintain the aesthetic while enabling functionality.
Neodymium disc magnets are ideal—they’re small, powerful, and widely available. A pair can hold several pounds of pressure, more than enough to keep a lightweight false bottom in place even if the box is tilted during handling.
“Magnetic mechanisms in concealed spaces work best when balance and precision are prioritized. Too strong, and the user struggles; too weak, and it fails under minor stress.” — Daniel Reeves, Industrial Designer & Maker
Materials and Tools You’ll Need
Before beginning construction, gather all necessary components. Most can be found at craft stores, hardware shops, or online retailers like Amazon or Michaels.
| Item | Purpose | Recommended Specs |
|---|---|---|
| Rigid Gift Box (with lid) | Main container for the illusion | Cardboard or wood, 6x4x3 inches minimum |
| Neodymium Disc Magnets | Secure false bottom or panel | 6mm–10mm diameter, 2–3mm thick (4–8 pieces) |
| Thin Plywood or Cardstock | False bottom layer | 1/16” thickness, cut to inner box dimensions |
| Wood Glue or Epoxy | Fix magnets in place | Quick-setting, non-runny formula |
| X-Acto Knife or Craft Blade | Cutting material precisely | Sharp, replaceable blades |
| Ruler & Pencil | Measuring and marking | Metal ruler preferred |
| Sandpaper (220 grit) | Smoothing edges | Fine grade |
| Double-Sided Tape (optional) | Temporary positioning | Low-tack for alignment |
Step-by-Step Construction Guide
Follow these steps carefully to build a functional hidden compartment that looks like an ordinary gift box.
- Measure the Interior Dimensions
Select a sturdy gift box with straight walls. Use a ruler to measure the exact length, width, and depth of the inside cavity. Write these down—precision is key. - Cut the False Bottom
Using thin plywood or heavy cardstock, cut a piece that matches the internal footprint of the box. It should fit snugly without forcing. Sand the edges lightly to avoid snagging. - Determine Magnet Placement
Decide whether the hidden compartment will sit beneath a false floor or behind a sliding side panel. For most beginners, a drop-in false bottom works best.
Mark four positions equidistant from each corner on both the false bottom and the actual base of the box. These spots will hold the magnets. - Embed the Magnets
Using an X-Acto knife or small drill bit, carve shallow recesses (about half the magnet’s thickness) into each marked spot. This keeps the magnets flush and prevents warping.
Apply a dab of epoxy or strong glue into each recess and press a magnet firmly into place. Repeat for all eight locations (four on the false bottom, four on the box floor).
Note: Ensure polarity aligns—magnets must attract, not repel. Test one pair first. - Let Cure Completely
Allow glued magnets to dry for at least 4–6 hours, preferably overnight. Rushing this step risks misalignment or detachment. - Test the Mechanism
Place the false bottom into the box. It should snap securely into place with a soft click. Gently pull upward—you should feel resistance before release.
If it's too tight, sand the underside slightly. If too loose, consider adding a fifth magnet pair in the center. - Camouflage the Seam
To hide the joint between layers, line the top edge of the false bottom with matching paper or fabric. Alternatively, place tissue paper or decorative shreds over the main gift so the seam isn’t visible when opened. - Load and Present
Place your primary gift on top—candy, a small toy, or festive cards. The real surprise goes underneath: cash, jewelry, a handwritten letter, or a tiny escape-room-style clue leading to another present.
Alternative Design: Sliding Magnetic Panel
For a more advanced version, create a side-access hidden compartment. Instead of a bottom layer, modify one wall of the box to slide horizontally.
- Cut a vertical strip (about 1.5 inches wide) along one side of the box interior.
- Attach two opposing magnets—one on the moving panel, one on the adjacent wall—so they pull the panel closed.
- Add small wooden stops or tape bumpers to prevent over-sliding.
- Decorate the outer surface to match seamlessly.
This design allows access without removing the main gift, making it ideal for layered reveals or escape-game-style holiday traditions.
Real Example: The “Double Surprise” Family Gift
Last Christmas, Mark, a high school physics teacher, used a magnet-powered hidden compartment to turn a simple gift into a family event. He gave his daughter a beautifully wrapped box labeled “Your Favorite Chocolate.” Inside, she found foil-wrapped candies—but after eating a few, she noticed the bottom felt oddly thick.
Curious, she pressed around the edges and discovered the false floor snapped out magnetically. Beneath it was a folded note: “You’ve unlocked Level 2. Check behind the fireplace stockings.”
The next clue led to a series of five hidden items around the house, culminating in concert tickets tucked inside a book on the shelf. The entire experience lasted 45 minutes and became a new tradition.
“It wasn’t about the presents,” Mark said later. “It was about slowing down, paying attention, and finding joy in discovery.”
Common Mistakes and How to Avoid Them
Even experienced crafters can run into issues. Here are frequent pitfalls and their solutions.
| Mistake | Problem Caused | Solution |
|---|---|---|
| Incorrect magnet polarity | Parts repel instead of attracting | Test pairs before gluing; flip one if needed |
| Overlapping seams | Visible gap or uneven closure | Sand flush and use matching trim or liner |
| Weak adhesive | Magnets detach over time | Use epoxy, not hot glue or tape |
| Too many magnets | Difficult to open, especially for kids | Start with four; add only if necessary |
| Ignoring weight distribution | False bottom tilts or jams | Center heavier items; balance load |
Checklist: Building Your Magnetic Hidden Compartment
Use this checklist to stay organized and ensure success:
- ☐ Choose a rigid, non-flexible gift box
- ☐ Measure internal dimensions accurately
- ☐ Cut false bottom or panel to size
- ☐ Mark magnet positions symmetrically
- ☐ Carve shallow recesses for magnets
- ☐ Verify magnet polarity before gluing
- ☐ Secure magnets with epoxy; allow full cure
- ☐ Test snap-fit and release force
- ☐ Conceal seam with lining or decor
- ☐ Load primary gift on top, secret item below
- ☐ Wrap and label normally to preserve surprise
Frequently Asked Questions
Can I reuse the hidden box next year?
Yes, absolutely. If constructed with durable materials like wood or thick cardboard, the box can be disassembled carefully and reused. Store it flat in a dry place to prevent warping. Replace weakened magnets if needed.
Are neodymium magnets safe around electronics?
In small sizes (under 10mm), they pose minimal risk unless placed directly against screens or credit cards. Keep the box away from phones, laptops, and ID badges during storage and use. For added safety, wrap each magnet in electrical tape before installation.
What if my recipient has trouble opening it?
Some people may not realize the bottom moves. To guide them subtly, include a hint on the gift tag: “Not everything is as it seems,” or “Look deeper.” You can also leave a slight lip exposed for easier gripping.
Final Thoughts and Encouragement
A hidden compartment in a Christmas gift box transforms a routine exchange into an experience. It invites curiosity, rewards observation, and creates lasting memories. The use of magnets adds elegance and reliability, turning what could be a flimsy trick into a well-engineered surprise.
You don’t need advanced tools or years of crafting experience. With careful measurement, patience during assembly, and attention to detail, anyone can make a box that delights not just once—but every time it’s examined.
Consider starting a tradition: a puzzle box each holiday season, growing more intricate over time. Or inspire others by sharing your creation with friends and family. The joy isn’t only in receiving—it’s in designing something meaningful and unexpected.


 浙公网安备
33010002000092号
浙公网安备
33010002000092号 浙B2-20120091-4
Comments
No comments yet. Why don't you start the discussion?