
PNG (Portable Network Graphics) files are widely used in digital design because they support transparency and lossless compression. Whether you're designing logos, icons, web graphics, or illustrations, knowing how to create a high-quality PNG with a transparent background is essential. Unlike JPEGs, which compress data and lose quality, PNGs preserve clarity and allow parts of the image to be see-through—ideal for overlays, branding, and responsive designs.
This guide walks through the entire process of creating a professional-grade PNG file from scratch. You’ll learn which tools to use, how to prepare your artwork, and best practices for exporting clean, transparent, and sharp results every time.
Understanding PNG: Why It Matters
The PNG format was developed as a patent-free alternative to GIF and has since become one of the most reliable formats for high-fidelity digital images. It supports 24-bit color depth and an 8-bit alpha channel, meaning it can display millions of colors along with variable transparency levels—from fully opaque to completely clear.
This makes PNG ideal for:
- Logos that need to appear on multiple backgrounds
- Icons and UI elements in app or web design
- Digital illustrations requiring soft edges or drop shadows
- Graphics where detail and clarity must be preserved
Unlike JPEG, PNG does not use lossy compression. Every pixel remains intact after saving, ensuring your image looks exactly as intended—provided it’s created correctly.
Step-by-Step Guide to Creating a PNG File
Follow this structured workflow to generate a crisp, transparent PNG regardless of your starting point—whether you're drawing freehand, editing a photo, or converting a logo.
- Choose Your Design Tool
Select software capable of handling layers and transparency. Recommended options include Adobe Photoshop, Illustrator, GIMP (free), Affinity Designer, or Canva Pro. - Create a New Document with Transparency Enabled
When setting up your canvas, ensure the background is set to “Transparent” rather than white or any solid color. In Photoshop, choose \"Transparent\" under Background Contents. In Illustrator, no background layer is created by default—perfect for vector-to-PNG workflows. - Design or Import Your Artwork
Add text, shapes, or import raster/vector graphics. Make sure all elements are properly aligned and sized. If tracing over a photo, use selection tools to isolate the subject cleanly. - Remove Unwanted Backgrounds (If Needed)
For photos or scanned images, remove the background using tools like the Magic Wand, Quick Selection, or Pen Tool. Refine edges carefully, especially around hair or fine details. Use layer masks instead of deleting pixels so you can adjust later if needed. - Scale to Desired Resolution
Ensure your image is at least 2x the size you expect to use it (e.g., if placing on a website at 200px wide, design at 400px). This ensures sharpness on high-DPI screens. - Flatten Layers (Optional Before Export)
If your design doesn’t require further editing, flatten visible layers before export. However, keep a layered version saved separately (.PSD, .AI, etc.) for future changes. - Export as PNG with Transparency Preserved
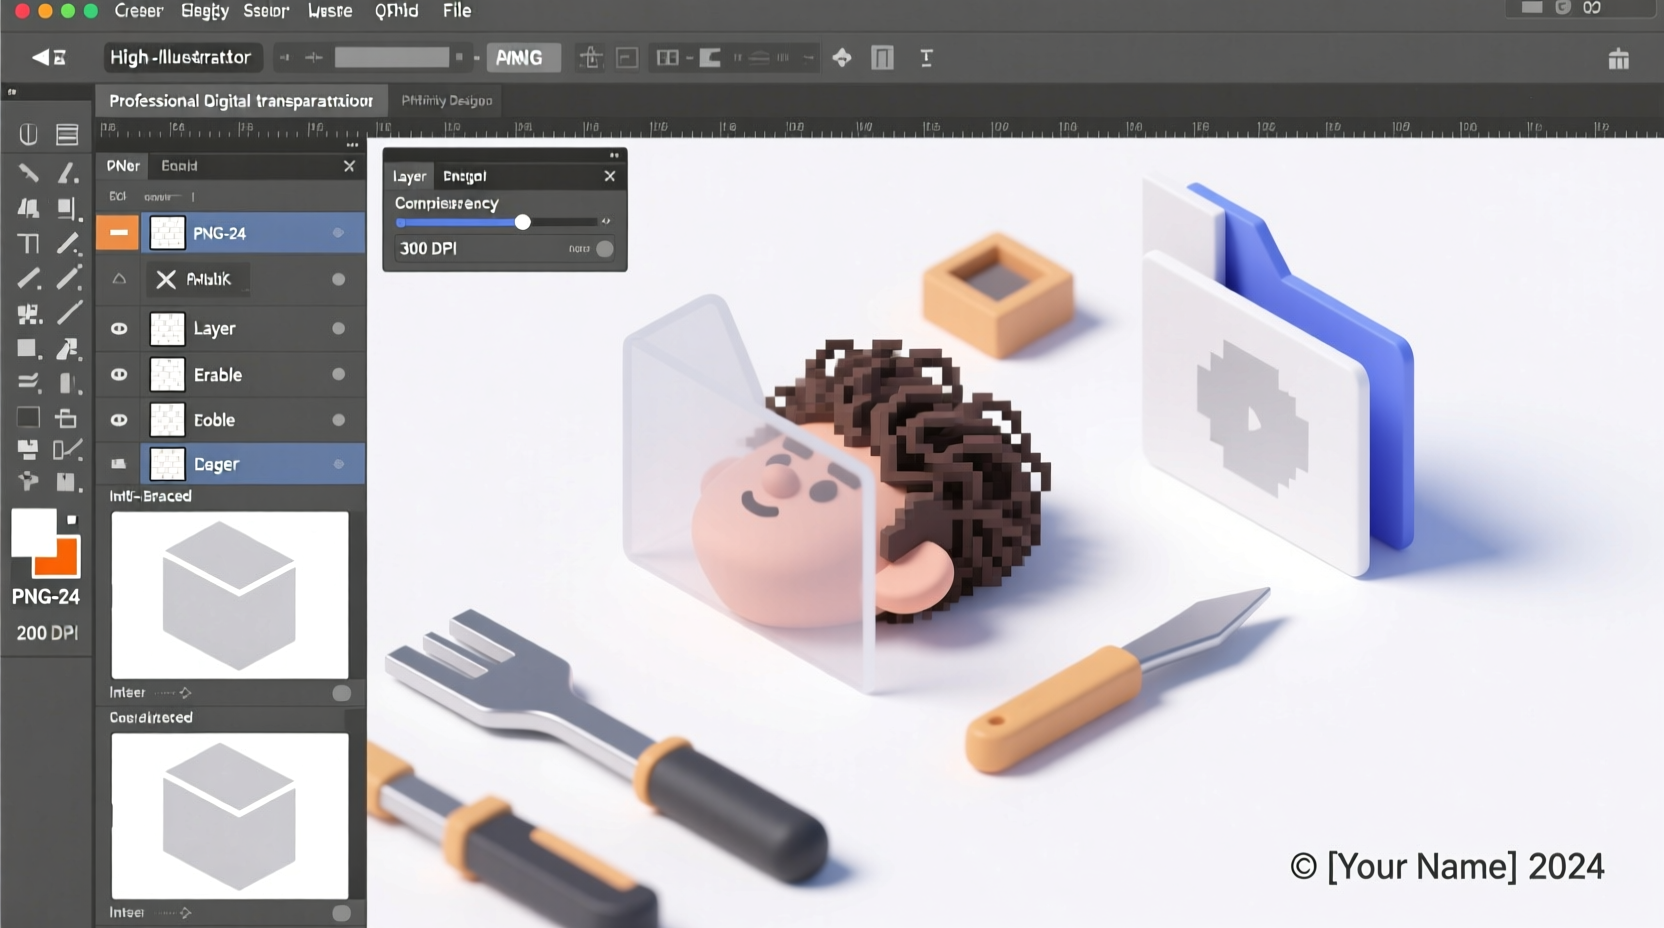
In most programs, go to File > Export > Export As or Save for Web. Choose PNG-24 format, which supports full transparency and rich color. Confirm that transparency is checked in export settings.
Real Example: Logo Conversion for Web Use
A small business owner receives their new company logo as a PDF from a designer but needs a transparent PNG for their website header. They open the file in Adobe Illustrator, ungroup the elements, expand the text into outlines, and resize the artboard tightly around the logo. After confirming no white background exists, they export using “Export As,” select PNG, set resolution to 300 PPI, and check “Transparency.” The result is a sharp, scalable PNG that blends seamlessly over any site background.
Best Practices for High-Quality Transparent PNGs
To avoid common pitfalls like jagged edges, unintended white halos, or blurry output, follow these expert-recommended techniques:
| Do | Don't |
|---|---|
| Use anti-aliased edges for smooth curves | Leave stray pixels or incomplete selections |
| Work at high resolution (300 PPI minimum) | Stretch low-res images to fit larger spaces |
| Double-check transparency in preview mode | Assume the background is gone just because it looks transparent |
| Test your PNG on dark and light backgrounds | Ignore edge fringing caused by poor masking |
| Compress final PNGs with tools like TinyPNG | Over-compress and sacrifice visible quality |
“Transparency isn’t just about removing the background—it’s about precision. A single row of semi-transparent pixels can make or break integration.” — Lena Torres, Digital Asset Manager at StudioPixel
Essential Checklist Before Finalizing Your PNG
Before distributing or uploading your PNG file, run through this verification list:
- ✅ Canvas background is truly transparent (check in checkerboard view)
- ✅ No leftover artifacts or selection remnants
- ✅ Text is converted to outlines or rasterized clearly
- ✅ Image dimensions match intended usage (web, print, mobile)
- ✅ Exported in PNG-24 format with alpha channel support
- ✅ File tested on both black and white backgrounds
- ✅ Final size optimized without visible degradation
Frequently Asked Questions
Can I convert a JPEG to a transparent PNG?
Yes, but only if you remove the background manually. A JPEG cannot inherently contain transparency. You’ll need to isolate the subject using selection tools in image editing software, delete the background, and export as PNG. Be cautious of edge quality—JPEG compression may leave artifacts that complicate clean extraction.
Why does my PNG still have a white background?
This usually happens when the background wasn’t actually deleted or masked, or when the file was saved incorrectly. Double-check your layers panel for hidden background layers. Also, confirm that transparency was enabled during export. Some basic editors default to opaque backgrounds even when saving as PNG.
What’s the difference between PNG-8 and PNG-24?
PNG-8 supports up to 256 colors and binary transparency (a pixel is either fully transparent or not). It’s suitable for simple graphics like icons with flat colors. PNG-24 supports millions of colors and partial transparency (alpha channel), making it ideal for complex images, gradients, and soft shadows. For most professional uses, PNG-24 is preferred.
Maintaining Quality Across Platforms
Once your PNG is ready, consider where it will be used. Websites benefit from compressed versions to reduce load times, while print materials or large displays demand maximum resolution. Tools like TinyPNG or Squoosh.app help reduce file size without noticeable loss in visual fidelity.
Also, remember that while PNG excels in quality and transparency, it isn’t always the most efficient format. For animated graphics, consider APNG or GIF. For modern web performance, WebP offers smaller file sizes with similar features—but only use it if browser compatibility allows.
Final Thoughts
Creating a high-quality PNG with transparency is more than just hitting “Save As.” It requires attention to detail, proper tool usage, and a clear understanding of digital image fundamentals. By following this methodical approach—from initial setup to final export—you ensure your visuals maintain integrity across websites, apps, presentations, and marketing materials.


 浙公网安备
33010002000092号
浙公网安备
33010002000092号 浙B2-20120091-4
Comments
No comments yet. Why don't you start the discussion?