
Synchronized light shows have long been associated with professional concerts, holiday displays, and immersive art installations. But you don’t need expensive gear or technical training to produce your own. With free software, basic lighting equipment, and a little creativity, anyone can design dynamic visual performances that dance in perfect harmony with music. Whether you're preparing for a backyard party, enhancing a home theater experience, or experimenting with audiovisual art, this guide walks you through the entire process—from concept to execution—using accessible tools and proven techniques.
Understanding Light-Sound Synchronization
At its core, a synchronized light show matches changes in lighting—such as color, intensity, strobe effects, and movement—to specific moments in an audio track. This synchronization creates a cohesive sensory experience where sound and vision enhance each other. The key lies in timing: flashing a red light exactly when a bass drop hits, fading from blue to white during a rising melody, or pulsing lights with each drumbeat.
Historically, such effects required manual operation or costly digital systems. Today, open-source and freeware applications allow precise automation of lighting cues based on audio analysis. These programs analyze waveforms, detect beats, and assign lighting commands to specific timecodes—all without requiring coding skills.
“Audio-reactive visuals are no longer limited to studios. With free tools, even hobbyists can achieve professional-grade sync.” — Daniel Ruiz, Multimedia Artist & Educator
Essential Equipment and Setup
You don't need a warehouse full of stage lights to get started. A basic setup can be assembled affordably and expanded over time. Here’s what you’ll need:
- Lights: LED strips (addressable RGB), smart bulbs (like Philips Hue or compatible models), or simple plug-in lamps controlled via smart switches.
- Controller: For addressable LEDs, use a microcontroller like Arduino or ESP32 paired with a strip. Smart bulbs connect directly to Wi-Fi.
- Computer: Any modern laptop or desktop capable of running media software.
- Audio Source: Music files (MP3, WAV) or live audio input.
- Cables & Power Supplies: Appropriate power adapters and data cables for your lighting hardware.
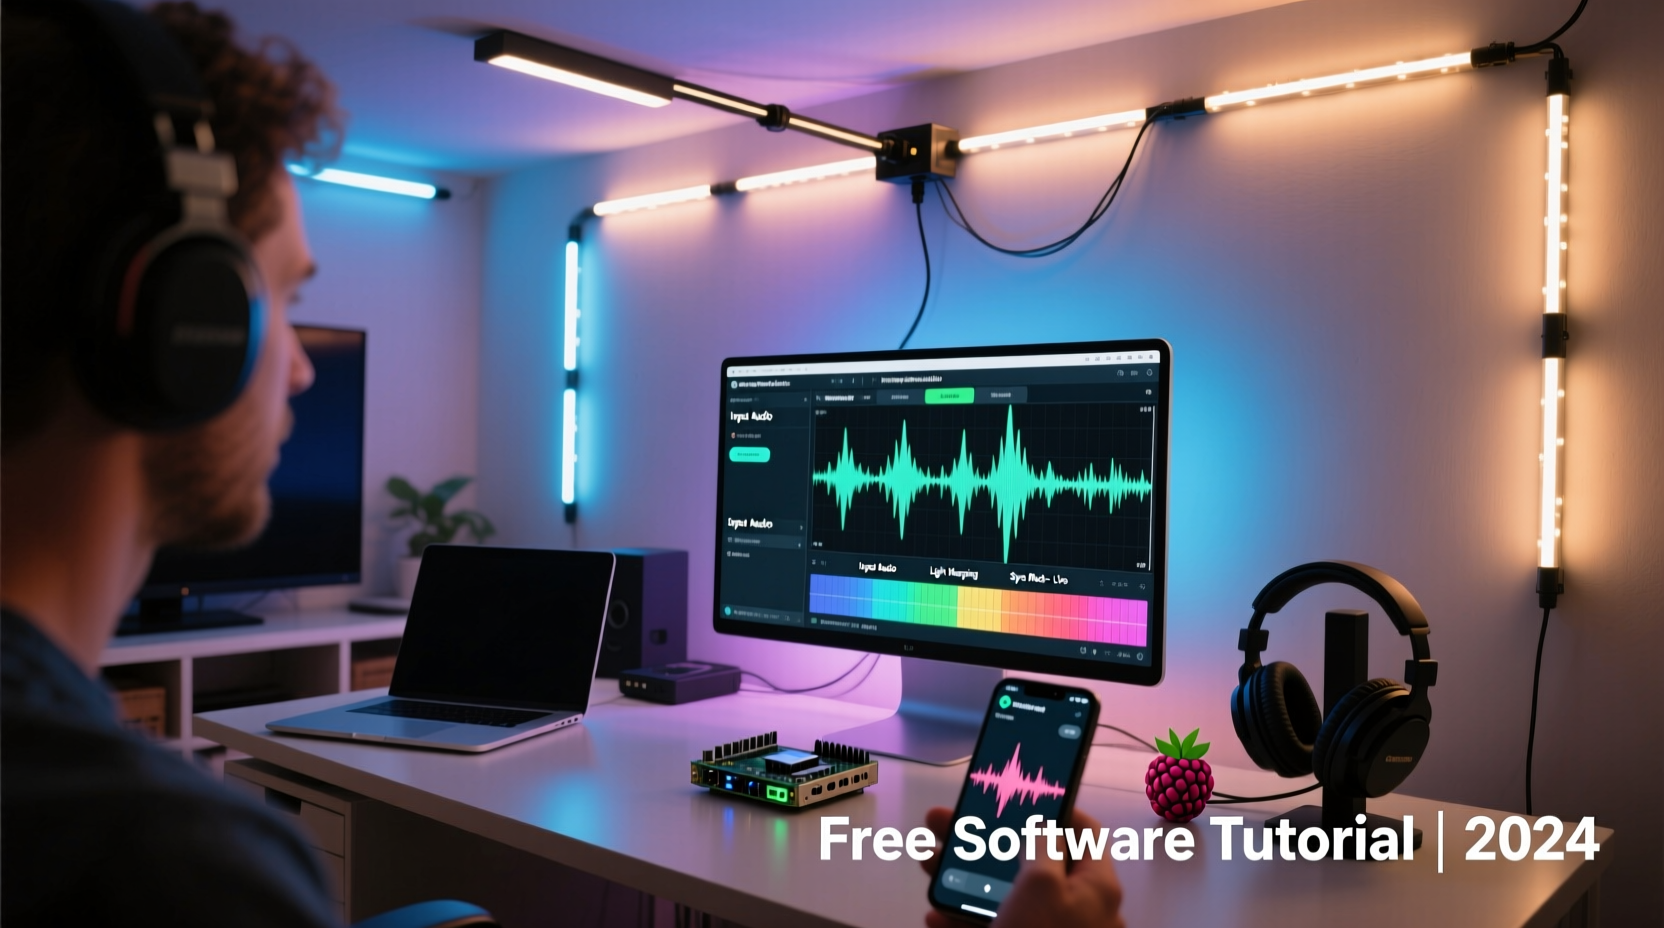
Recommended Free Software Tools
The right software transforms static lights into expressive performers. Below are the most effective free options available today:
| Software | Best For | Key Features | Platform |
|---|---|---|---|
| XLights | Advanced sequencing with audio sync | Beat detection, waveform visualization, support for hundreds of channels | Windows, macOS, Linux |
| MilkDrop (Winamp plugin) | Real-time audio-reactive visuals | Generative graphics, real-time rendering, outputs to secondary screens | Windows |
| QLC+ | DMX lighting control | Scene programming, audio triggering, MIDI integration | Cross-platform |
| Arduino + FastLED | Custom DIY projects | Code-based control, responsive to audio via microphone input | Open-source firmware |
XLights stands out for beginners aiming for precision. It allows frame-by-frame editing of light sequences synced to music, supports multiple output types (including E1.31 for networked lighting), and includes built-in beat detection algorithms.
Step-by-Step Guide to Building Your First Show
Follow this timeline to create your first synchronized performance in under two hours.
- Select Your Music Track (5 minutes): Choose a song with clear rhythm and dynamic shifts—pop, electronic, or rock work well. Avoid tracks with minimal percussion or ambient textures at first.
- Install XLights (10 minutes): Download from xlights.org. Install alongside配套 tools like FPP (Falcon Player) if controlling remote devices.
- Configure Your Model (15 minutes): In XLights, define your lighting layout. For example, create a “Net” model if using a grid of LEDs, or a “String” for linear strips. Assign channel mappings so the software knows which physical light corresponds to which virtual node.
- Import Audio and Detect Beats (10 minutes): Load your MP3 file. Use the \"Analyze\" feature to auto-detect beats, BPM, and major transitions. Adjust sensitivity sliders to fine-tune detection accuracy.
- Create Basic Effects (20 minutes): Navigate to the sequence editor. Drag effects like “Fade,” “Chase,” or “Sparkle” onto the timeline, aligning them with detected beats. Use color palettes that match the mood—cool tones for verses, bright flashes for choruses.
- Preview and Refine (15 minutes): Play back the sequence while watching the virtual preview. Make adjustments: delay a flash by 100ms if it feels off-beat, extend a fade for smoother transitions.
- Output to Hardware (10 minutes): Connect your controller via USB or Ethernet. Configure output settings (e.g., select serial port or E1.31 universe). Run a test to ensure lights respond correctly.
- Final Run-Through (5 minutes): Execute the full show with sound. Observe timing, brightness balance, and overall impact. Note any lag or desync issues for future correction.
Optimizing Timing and Reducing Latency
Even slight delays between sound and light break immersion. To maintain tight sync:
- Use wired connections instead of Wi-Fi when possible to avoid packet delays.
- Set audio drivers to low-latency modes (ASIO on Windows, Core Audio on macOS).
- In XLights, enable \"Time Sync\" mode and calibrate offset using a reference click or clap recorded in both audio and video capture.
- Avoid Bluetooth speakers; they typically add 100–200ms of delay.
“In live setups, even 30 milliseconds of lag is noticeable. Always test with human perception, not just software meters.” — Lena Tran, Live Event Technician
Real Example: A Backyard Summer Party Display
Jamal, a DIY enthusiast in Austin, wanted to impress guests at his annual summer barbecue. He had two 5-meter WS2812B LED strips mounted along his patio railing and a spare Raspberry Pi. Using XLights on his laptop, he created a 4-minute sequence synced to Bruno Mars’ “Uptown Funk.”
He began by importing the track and letting XLights detect the 110 BPM tempo. He mapped one LED strip to the left stereo channel and the other to the right, creating a stereo-responsive effect. During the horn stabs, he programmed sharp white flashes. For the funk groove, he used slow rainbow wipes. He connected the Pi as a Falcon Player node, sending E1.31 signals over his home network.
On the night of the event, Jamal played the sequence through a wired speaker system. Guests danced under pulsing colors that snapped precisely to the beat. Several asked how much he’d spent—his total cost was under $80, mostly for the LEDs and power supplies.
The success inspired him to expand the setup next year with fog machines triggered by MIDI notes exported from XLights.
Checklist: Launch Your Light Show Successfully
Before going live, verify every component with this checklist:
- ✅ Music file loaded and analyzed for beats
- ✅ Lighting model accurately defined in software
- ✅ Controller powered and connected to computer/network
- ✅ Channel mapping tested individually
- ✅ Audio and light outputs playing in sync (test with short clip)
- ✅ Backup plan ready (e.g., pre-rendered sequence, offline mode)
- ✅ Safety checks: cords secured, power loads within limits, outdoor fixtures weatherproofed
Common Pitfalls and How to Avoid Them
Even experienced creators encounter hiccups. Awareness helps prevent frustration.
Overcomplicating Early Projects: Beginners often try to control dozens of lights with intricate patterns from day one. Instead, master basic fades and chases before layering complex animations.
Ignoring Power Requirements: Long LED strips draw significant current. Undersized power supplies cause flickering or damage. Calculate amperage: 60 LEDs/meter × 5 meters = 300 LEDs; at full white, that’s ~18A at 5V. Use thick gauge wires and inject power at multiple points.
Poor Audio Source Quality: Compressed audio files may lack clarity in low-end frequencies, confusing beat detection. Use high-bitrate MP3s or WAV files when possible.
Assuming All Smart Bulbs Are Equal: Not all smart bulbs respond quickly enough for tight sync. Philips Hue has ~200ms latency; some budget brands exceed 500ms. Test responsiveness before relying on them for fast beats.
Frequently Asked Questions
Can I run a synchronized show without a computer during playback?
Yes. Once your sequence is designed in XLights, export it to a standalone player like Falcon Player (FPP) running on a Raspberry Pi. The Pi can then run the show independently, triggered manually or on a schedule.
Is it possible to sync lights to live music?
Yes, but it requires real-time processing. Use software like QLC+ with an audio input source to trigger effects based on volume thresholds or frequency bands. While less precise than pre-programmed sequences, it works well for ambient or reactive environments.
Do I need to know programming to use these tools?
No. XLights, QLC+, and similar tools offer graphical interfaces that require no coding. However, if you’re using Arduino or Raspberry Pi directly, basic knowledge of C++ or Python helps customize behavior.
Conclusion: Bring Your Vision to Life
Creating a synchronized light show isn’t reserved for professionals with six-figure budgets. With free software like XLights and QLC+, affordable LED hardware, and a methodical approach, you can transform any space into a dynamic canvas of light and sound. The tools are accessible, the learning curve manageable, and the results deeply rewarding.
Start simple. Build confidence through experimentation. Share your creations with friends or online communities. As your skills grow, so will your ability to craft emotionally resonant experiences where music doesn’t just play—it glows.


 浙公网安备
33010002000092号
浙公网安备
33010002000092号 浙B2-20120091-4
Comments
No comments yet. Why don't you start the discussion?