
Transform your holiday display into a mesmerizing spectacle by syncing Christmas lights to music using a Raspberry Pi. This project blends electronics, coding, and creativity to deliver a professional-grade light show that dances in perfect rhythm with your favorite tunes. Whether you're decorating for the season or building an annual neighborhood attraction, this guide walks you through every technical detail, from hardware selection to programming dynamic effects.
Understanding the Core Components
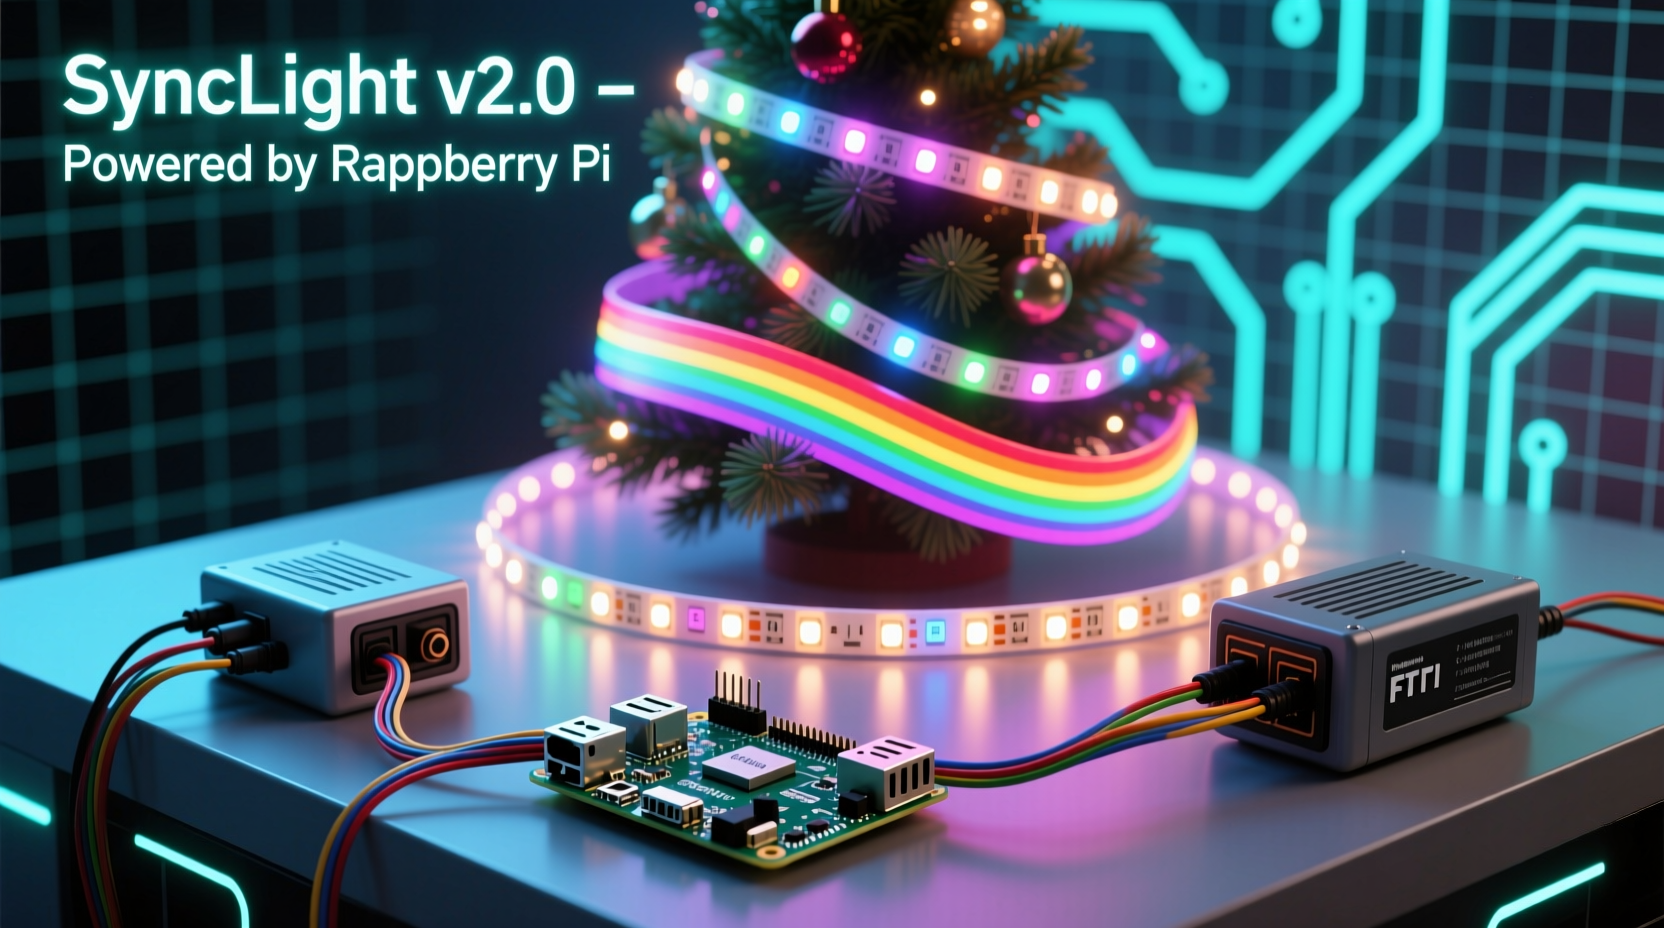
A synchronized light show relies on three key elements: control hardware, programmable LEDs, and software coordination. The Raspberry Pi acts as the brain, sending precise signals to LED strips based on audio input or pre-programmed sequences. Unlike standard string lights, addressable LEDs—such as WS2812B (commonly known as NeoPixels)—allow individual control over each bulb, enabling complex patterns and synchronization.
The Pi communicates with the LEDs via GPIO pins using protocols like SPI or PWM. Python libraries such as rpi_ws281x make it straightforward to write scripts that manipulate color, brightness, and timing. Audio analysis tools can break down sound files into frequency bands, allowing lights to pulse with the bass or shimmer with high notes.
Hardware Setup: What You’ll Need
Before writing any code, assemble the physical components. A well-planned setup ensures reliability and safety, especially when operating outdoors during winter conditions.
- Raspberry Pi (3B+, 4, or Zero W recommended)
- WS2812B or SK6812 Addressable LED Strip (60 LEDs/meter typical)
- Logic Level Shifter (5V to 3.3V) – protects Pi’s GPIO pin
- Power Supply (5V, sufficient amperage—e.g., 10A for 300 LEDs)
- Breadboard and Jumper Wires
- MicroSD Card (16GB+, with Raspberry Pi OS installed)
- Optional: USB Microphone or Audio Input Device for live shows
Connect the data line of the LED strip to GPIO Pin 10 (SPI MOSI) or GPIO 18 (PWM), depending on your library configuration. Always use a level shifter between the Pi and LED data line—Raspberry Pi outputs 3.3V logic, while most LED strips require a 5V signal for reliable communication.
| Component | Purpose | Recommended Spec |
|---|---|---|
| Raspberry Pi | Runs control software and sends commands | Pi 4 Model B (best performance) |
| LED Strip | Provides visual output | WS2812B, 60 LEDs/m, waterproof if outdoor |
| Power Supply | Fuels the LEDs | 5V, 1A per 30 LEDs (minimum) |
| Level Shifter | Protects Pi from voltage mismatch | Bi-directional 3.3V ↔ 5V |
Step-by-Step Guide to Building the Show
Follow this sequence to go from unboxed components to a fully functional synchronized display.
- Install Raspberry Pi OS: Flash the latest version of Raspberry Pi OS Lite (no desktop needed) using Raspberry Pi Imager. Enable SSH and set Wi-Fi if using headless mode.
- Update System: Run
sudo apt update && sudo apt upgrade -y. - Install Required Libraries:
pip install rpi_ws281xpip install numpy(for audio processing)pip install scipy pyaudio(if analyzing live audio)
- Wire the Circuit:
- Connect LED data in → level shifter output (5V side)
- Connect Pi GPIO 18 → level shifter input (3.3V side)
- Join ground lines: Pi GND → LED strip GND → power supply GND
- Connect 5V power supply to LED strip VCC (do not power LEDs through Pi)
- Test Basic Lighting: Run a simple rainbow script to confirm all LEDs respond.
- Write or Import Music Sequences: Either generate patterns algorithmically or map specific cues to timestamps in a song.
- Sync to Audio: Use FFT (Fast Fourier Transform) to detect beat intensity and assign lighting responses per frequency band.
- Deploy and Monitor: Place the setup securely, ensure weather protection, and run test cycles before public display.
“We’ve seen hobbyists turn modest front-yard setups into block-wide events by focusing on tight synchronization and musical storytelling.” — Mark Tran, DIY Smart Lighting Community Lead
Programming Dynamic Effects with Python
The magic happens in code. Below is a simplified example of a beat-reactive function using pyaudio and rpi_ws281x:
import time
import numpy as np
import pyaudio
from rpi_ws281x import PixelStrip, Color

# LED Configuration
LED_COUNT = 300
LED_PIN = 18
strip = PixelStrip(LED_COUNT, LED_PIN)
strip.begin()

# Audio Settings
FORMAT = pyaudio.paInt16
CHANNELS = 1
RATE = 44100
CHUNK = 1024

audio = pyaudio.PyAudio()
stream = audio.open(format=FORMAT, channels=CHANNELS,
                    rate=RATE, input=True,
                    frames_per_buffer=CHUNK)

def detect_bass(data):
    fft_data = np.fft.fft(data)
    freqs = np.fft.fftfreq(len(fft_data))
    # Focus on low frequencies (bass)
    bass = np.sum(np.abs(fft_data[(freqs > 0) & (freqs < 0.1)]))
    return bass > 50000  # Threshold adjustable

try:
    while True:
        raw_data = np.frombuffer(stream.read(CHUNK), dtype=np.int16)
        if detect_bass(raw_data):
            for i in range(strip.numPixels()):
                strip.setPixelColor(i, Color(255, 0, 0))  # Red flash
            strip.show()
            time.sleep(0.1)
            strip.setBrightness(50)  # Reduce after flash
        else:
            # Gentle breathing effect
            for j in range(0, 256, 5):
                strip.setBrightness(j)
                strip.show()
                time.sleep(0.05)
            for j in range(255, 0, -5):
                strip.setBrightness(j)
                strip.show()
                time.sleep(0.05)
except KeyboardInterrupt:
    stream.stop_stream()
    stream.close()
    audio.terminate()
    colorWipe(strip, Color(0, 0, 0))  # Turn off
This script continuously analyzes incoming audio, detects strong bass frequencies, and triggers a red flash across all LEDs. Between beats, it creates a soft pulsing glow. Adjust thresholds and colors to match different instruments or moods.
Mini Case Study: The Neighborhood Holiday Display
In Portland, Oregon, James Lin transformed his porch into a local landmark using two Raspberry Pis controlling over 1,200 LEDs. He divided the house into zones—roofline, tree, railing—and programmed each to react differently to music. The roof blinked with treble notes, the tree pulsed with mid-tones, and the base strip flashed dramatically on bass hits.
James used a dual-Pi setup: one handled audio analysis and command distribution, while the second acted as a backup controller for redundancy. He scheduled daily shows from 5 PM to 10 PM using cron jobs, ensuring reliability without manual intervention. After the first season, neighbors reported increased foot traffic and even organized a “lights walk” event.
His advice? “Start small. Get one strip working perfectly before expanding. And always label your wires—debugging in freezing rain is no fun.”
Optimization and Safety Checklist
Ensure your installation runs smoothly and safely throughout the season.
- ✅ Use fused power lines to prevent overcurrent damage
- ✅ Seal outdoor connections with heat shrink tubing or silicone
- ✅ Mount the Raspberry Pi indoors or in a waterproof enclosure
- ✅ Implement thermal throttling monitoring (Pi 4s can overheat under load)
- ✅ Limit maximum brightness to 70% to reduce heat and extend LED lifespan
- ✅ Backup configuration files and scripts regularly
- ✅ Test emergency shutdown procedures
FAQ
Can I run multiple LED strips from one Raspberry Pi?
Yes, but only one data line is natively supported (GPIO 18). For multiple independent strips, use additional GPIO pins with bit-banged libraries or add an LED driver board like the TLC59711, which supports SPI-based multi-channel control.
Do I need internet access during the show?
No. Once programmed, the Raspberry Pi can operate offline. However, initial setup, updates, and remote troubleshooting benefit from network connectivity. Consider enabling SSH over local Wi-Fi or Ethernet.
How do I synchronize lights across a large yard?
For distributed displays, use wireless synchronization via MQTT or UDP messages between multiple Pis. Each node listens for a master clock signal or beat trigger, ensuring uniform timing even with slight processing delays.
Conclusion and Call to Action
Creating a synchronized light show with a Raspberry Pi and Christmas LEDs is more than a holiday decoration—it's an expression of engineering creativity. With accessible tools and open-source libraries, anyone can build a responsive, musical display that captivates audiences and spreads seasonal joy.
Start with a single strip and a short loop. Master the basics of wiring, coding, and timing. Then expand into multi-zone designs, custom animations, and community-driven themes. Document your journey, share your code, and inspire others to illuminate their world—one pixel at a time.


 浙公网安备
33010002000092号
浙公网安备
33010002000092号 浙B2-20120091-4
Comments
No comments yet. Why don't you start the discussion?