
Synchronized light shows have evolved from niche holiday displays to mainstream home entertainment features. Whether you're enhancing a party atmosphere, setting the mood for movie night, or crafting a seasonal spectacle, integrating lights from different brands into a unified performance used to be a technical hurdle. However, with the right tools—especially infrared (IR) extenders—it’s now possible to blend diverse lighting systems into a single, harmonized display. This guide walks through the practical steps, equipment choices, and troubleshooting insights needed to build a truly cross-brand synchronized light show.
Understanding the Challenge: Why Multi-Brand Synchronization Is Difficult
Lights from different manufacturers often use proprietary communication protocols. While some rely on Wi-Fi, others use Bluetooth, Zigbee, or simple IR signals. When these systems don’t “speak” the same language, synchronization becomes nearly impossible without a bridge. IR-controlled lights, in particular, are limited by line-of-sight requirements and range constraints. A remote must “see” the receiver, which means placing devices behind furniture or inside enclosed fixtures can block signals entirely.
This is where IR extenders come in. They act as signal repeaters, capturing IR commands from a remote or controller and retransmitting them to devices that would otherwise be out of range. By integrating these extenders strategically, you can centralize control over multiple lighting zones—even if they’re from different brands—as long as they respond to IR input.
“IR extenders solve one of the oldest problems in home automation: physical signal obstruction. They’re not flashy, but they’re essential for reliable, invisible control.” — Daniel Reeves, Home Automation Engineer at SmartDwell Labs
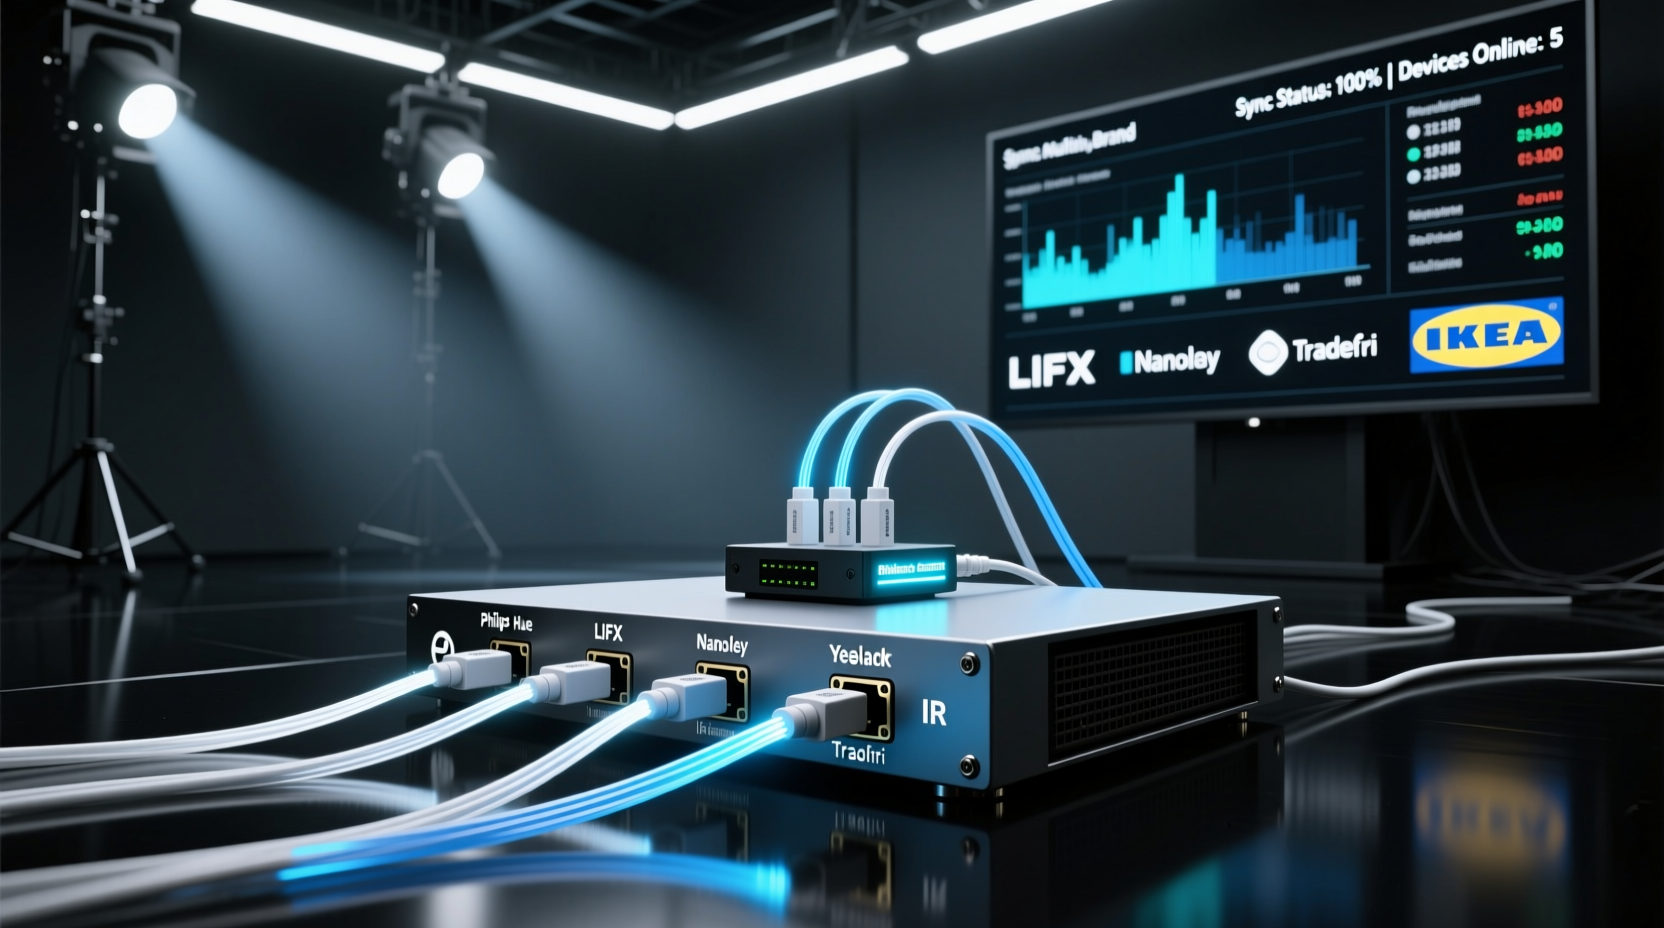
How IR Extenders Work in Light Show Synchronization
An IR extender system consists of two main components: a transmitter (or base unit) and one or more emitter wires. The transmitter connects to your primary remote or controller and captures outgoing IR signals. These signals are sent via a wired connection to small IR-emitting diodes placed directly in front of the IR sensors on your lighting devices. Because the emitters are physically close to the receivers, even obstructed or distant units can receive commands reliably.
In a multi-brand setup, this allows a single remote or smart hub (like a Logitech Harmony or BroadLink RM Pro) to send commands that reach all target devices simultaneously. If each light strip or bulb responds to the same timing cues—such as “on,” “off,” “fade,” or “color change”—you can create the illusion of perfect synchronization, even across incompatible ecosystems.
Step-by-Step Guide to Building Your Synchronized Light Show
Follow this sequence to set up a reliable, multi-brand synchronized display using IR extenders.
- Inventory Your Lighting Devices: List all lights involved—brand, model, control method, and location. Confirm which ones are IR-controllable. If a device uses only an app or voice control, it may need a compatible smart hub that can emit IR signals on its behalf.
- Select a Central Controller: Choose a programmable IR remote or smart home hub capable of sending precise timing commands. Devices like the BroadLink RM4 Mini or Logitech Harmony Elite support learning IR codes and scheduling playback.
- Map Device Locations: Sketch a layout of your space showing where each light is installed. Note any physical obstructions (e.g., cabinets, walls) between the controller and the lights.
- Install IR Extenders: Place the main IR transmitter near your controller. Attach emitter wires to the IR sensors of each light. Use double-sided tape or adhesive clips to secure emitters precisely over the sensor windows.
- Program Command Sequences: Teach your controller the necessary IR codes for each device. Create macros that turn multiple lights on/off, shift colors, or adjust brightness in sequence. Test timing to ensure actions occur simultaneously.
- Add Timing Calibration: Some devices respond slower than others. Introduce micro-delays in your macro programming to compensate—e.g., delay Brand A by 0.3 seconds if it activates faster than Brand B.
- Test and Refine: Run full sequences in low-light conditions. Observe for lag, missed commands, or inconsistent behavior. Adjust emitter placement or re-record IR signals if needed.
Real Example: Holiday Display Across Three Brands
Jamie, a homeowner in Portland, wanted to synchronize his Philips Hue strips (controlled via IR-enabled bridge), GE Color Effects (IR remotes), and a set of generic LED curtain lights (basic IR receiver). The lights were spread across his porch, living room, and upstairs balcony—each area blocked from direct IR line-of-sight.
He used a BroadLink RM Pro+ as the central controller, connected to three IR emitter wires routed through the attic and down interior walls. Each emitter was taped directly over the IR sensor of the respective light controller. He programmed a holiday sequence that cycled through red/green pulses, slow fades, and strobe effects. After calibrating slight delays in the GE units, all three brands appeared perfectly in sync when viewed from the street. Neighbors reported thinking it was a professional installation.
Equipment Comparison: Choosing the Right IR Extender System
| Device | Range | Emitter Support | Smart Integration | Best For |
|---|---|---|---|---|
| BroadLink RM4 Mini | Up to 30 ft | 2 emitters | Works with Alexa, Google Assistant, IFTTT | Small to mid-sized setups with app control |
| Logitech Harmony Elite | Line-of-sight + extenders | Up to 4 emitters | Harmony Hub ecosystem, Alexa | Complex home theater + lighting combos |
| Necxto IR Repeater Kit | 50 ft wireless signal | 3 emitters | No smart integration | Affordable, plug-and-play solutions |
| URC-4961 Universal Remote + Extender | 40 ft with repeater | 1 built-in emitter port | Limited | Basic setups needing one remote solution |
Overcoming Common Limitations
While IR extenders are powerful, they aren’t foolproof. Here are common issues and how to resolve them:
- Lag Between Devices: Not all lights process IR commands at the same speed. Use your controller’s macro editor to stagger commands slightly so outputs align in real time.
- Signal Interference: Fluorescent lights, sunlight, and other IR sources can drown out weak signals. Shield emitters with black tape or move them closer to the sensor.
- Limited Emitter Ports: Most hubs support only 2–4 emitters. Use IR distribution amplifiers to split one output into multiple emitter lines for larger installations.
- No Feedback Loop: Unlike Wi-Fi systems, IR doesn’t confirm command receipt. You must visually verify each action during testing.
For maximum reliability, pair your IR system with a master clock or audio sync tool. Software like xLights or Falcon Player can send timed triggers to your IR hub via network commands, aligning light changes with music beats or animation frames.
Checklist: Preparing for Your First Multi-Brand Light Show
- ☐ Confirm all target lights are IR-controllable or linked to an IR-capable hub
- ☐ Purchase an IR extender system with enough emitter channels
- ☐ Map out emitter wire routes—use cable clips or conduit for clean runs
- ☐ Program and label all necessary IR commands (on, off, color presets)
- ☐ Build and test macros for each scene or transition
- ☐ Calibrate timing offsets between brands
- ☐ Perform a full dark-test run before public display
- ☐ Backup your configuration settings in case of reset
Frequently Asked Questions
Can I synchronize non-IR lights using this method?
Only if they can be controlled through a secondary device that accepts IR input. For example, a smart plug with an IR receiver can power on a Wi-Fi-only light strip. Alternatively, use a hybrid controller like the BroadLink RM4 that supports both IR and Wi-Fi/RF protocols.
Do IR extenders work through walls?
No—IR signals cannot penetrate solid objects. That’s why extenders use wired emitters placed directly in front of the receiving sensor. The initial signal from the remote must reach the transmitter, but after that, the wired link carries the command around obstacles.
How many lights can I control with one IR extender?
There’s no hard limit on the number of lights, only on the number of IR receivers you can connect to emitters. One emitter per device is typical. Using a signal splitter, you can sometimes drive multiple emitters from one output, but success depends on signal strength and distance.
Conclusion: Bringing Diverse Lights Together in Perfect Harmony
Creating a synchronized light show across multiple brands doesn’t require expensive proprietary systems or coding expertise. With IR extenders, you gain precise, reliable control over otherwise isolated devices. The key lies in thoughtful planning, accurate emitter placement, and careful timing calibration. Once configured, your setup can deliver professional-grade visual performances for holidays, parties, or daily ambiance—all managed from a single point of control.


 浙公网安备
33010002000092号
浙公网安备
33010002000092号 浙B2-20120091-4
Comments
No comments yet. Why don't you start the discussion?