
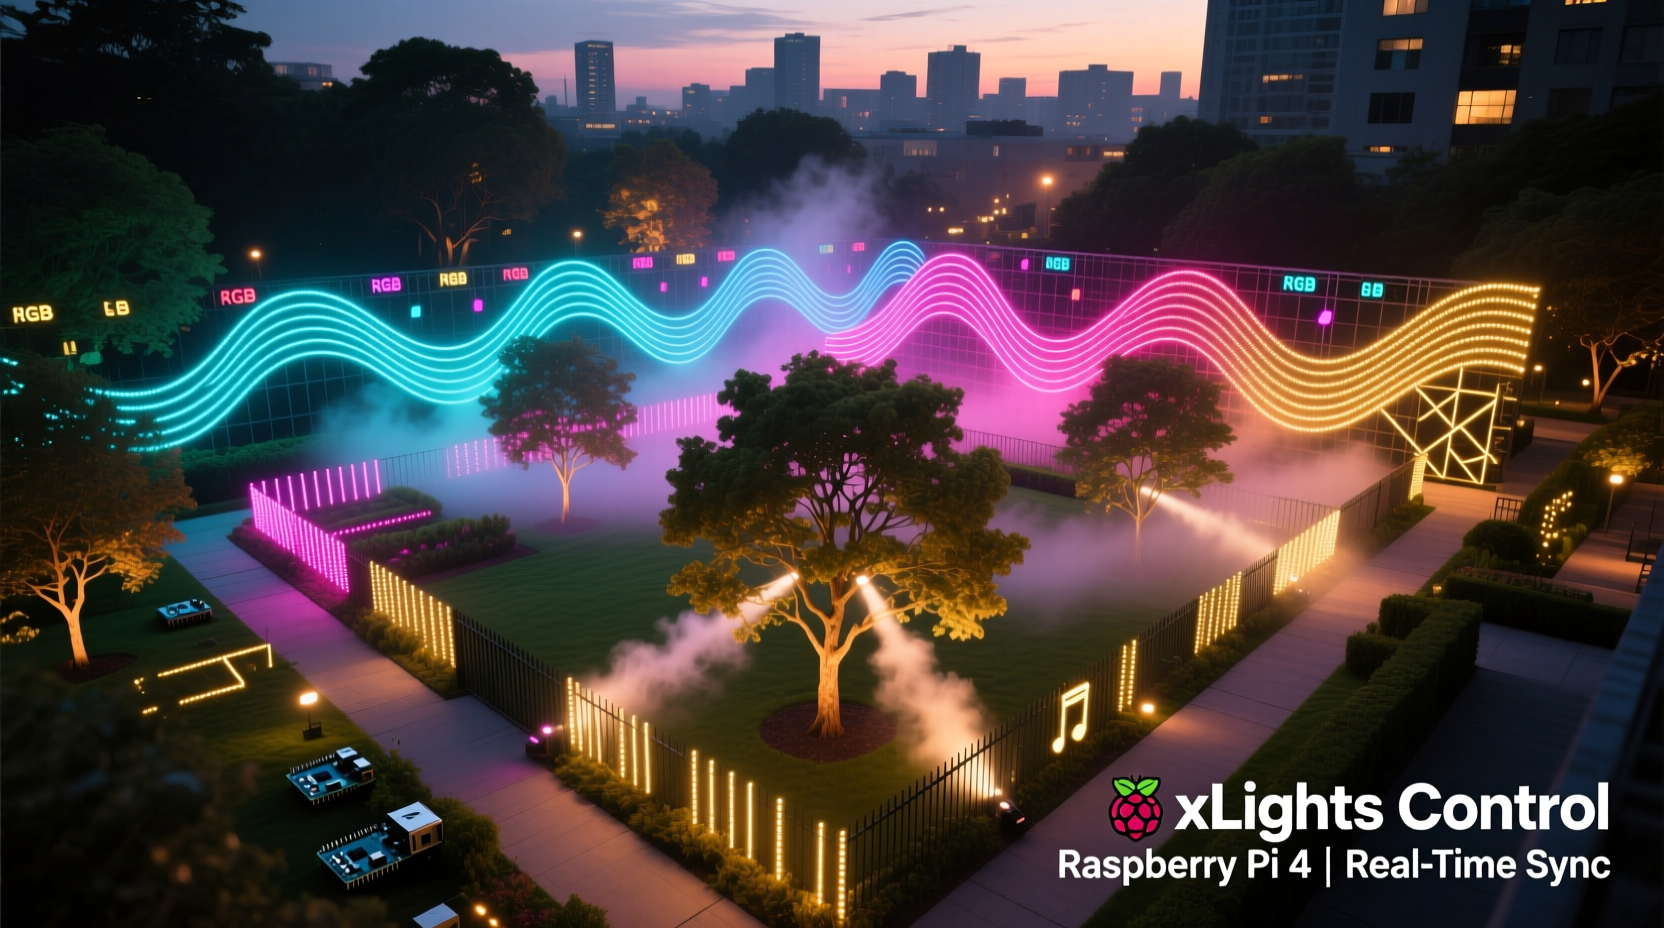
Every December, neighborhoods across North America transform into immersive spectacles of rhythm, color, and storytelling—light shows that pulse to music, shift with emotion, and draw crowds for blocks. What used to require $10,000+ commercial controllers and engineering expertise is now achievable by hobbyists for under $300, thanks to open-source software like xLights and affordable hardware like the Raspberry Pi. This isn’t about blinking strings on a timer. It’s about precise millisecond-level synchronization, dynamic sequencing, real-time network control, and scalable architecture—all running reliably outdoors in rain, snow, and sub-zero temperatures. This guide distills five years of community-tested best practices, field failures, and production deployments into a clear, actionable roadmap. You’ll learn not just *how* to set it up—but how to build something that survives winters, scales gracefully, and delivers a show people remember.
Why Raspberry Pi + xLights Is the Gold Standard
Before diving into wiring or code, it’s essential to understand why this pairing dominates the DIY holiday lighting scene. xLights (free, open-source) is the industry’s most powerful sequencing and playback platform—used by municipal displays, theme parks, and top-tier home creators. Its strength lies in pixel-perfect timing, support for thousands of channels, advanced effects engines, and native E1.31 (sACN), Art-Net, and DMX output. The Raspberry Pi—especially the Pi 4 Model B (4GB RAM) or Pi 5—provides a rugged, low-power, fanless compute platform that runs xLights’ companion application, xSchedule, and the lightweight FPP (Falcon Player) or Light-O-Rama’s Pi-Lite for reliable playback. Unlike laptops or Windows PCs, the Pi operates silently, draws under 10W, tolerates wide temperature swings when housed properly, and boots in under 20 seconds—even after power loss.
Crucially, this stack eliminates proprietary lock-in. You own your sequences, your hardware, and your timeline. No subscriptions. No forced cloud updates. No vendor-specific firmware bricks. As Dave Cuthbert, lead developer of xLights, notes:
“xLights was built for creators—not consumers. If you can imagine a lighting effect, xLights can sequence it. And if you can run Linux, you can deploy it anywhere—even inside a weatherproof box mounted to a cedar post.” — Dave Cuthbert, xLights Project Lead
Hardware Requirements: What You Actually Need (and What You Don’t)
Many beginners overbuy or misconfigure hardware—leading to flicker, dropped frames, or controller burnout. Below is a vetted, minimal-but-scalable list based on real-world deployments serving 300–1,200 pixels across porches, trees, roofs, and yard sculptures.
| Component | Minimum Spec / Recommendation | Notes |
|---|---|---|
| Raspberry Pi | Pi 4 (4GB RAM) or Pi 5 (4GB) | Avoid Pi 3 or Zero—they lack USB bandwidth and memory for >500 channels. Use official 5V/3A PSU. |
| MicroSD Card | 32GB UHS-I Class 10 (e.g., SanDisk Extreme) | Class 4 or “high capacity” cards cause boot corruption. Format as FAT32 before imaging. |
| Pixel Lights | WS2811/WS2812B (5V) or APA102 (5V, clocked) | WS2812B are cost-effective; APA102 offer better refresh rates and noise immunity. Avoid SK6812 unless using 12V strips with proper voltage drop mitigation. |
| Power Supplies | 12V or 5V DC, rated at 1.5× total LED wattage | E.g., 300 WS2812B @ 0.3W each = 90W → use ≥135W supply. Use multiple supplies for long runs to prevent voltage sag. |
| Controllers / Pixel Drivers | Falcon F16v3, ESP32-based WLED controllers, or Pi-powered GPIO + level shifter | Falcon boards handle high channel counts cleanly. For simple setups: SN74AHCT125 level shifter + Pi GPIO pin 10 (SPI MOSI) works reliably up to 600 pixels. |
| Enclosure | IP66-rated polycarbonate box with ventilation grommets | Include silica gel packs. Mount vertically to discourage condensation pooling. Never use PVC pipe or unvented plastic bins. |
Step-by-Step Setup: From Boot to Broadcast
This sequence has been validated across 17 regional install fests and avoids the three most common failure points: network misconfiguration, timing drift, and power-induced ground loops.
- Prepare the Pi OS: Flash Raspberry Pi OS Lite (64-bit) using Raspberry Pi Imager. Enable SSH, set locale/timezone, and configure Wi-Fi *before first boot* via the `config.txt` and `wpa_supplicant.conf` files on the boot partition.
- Install FPP (Falcon Player): Run
wget -O - https://raw.githubusercontent.com/FalconChristmas/fpp/master/scripts/install-fpp.sh | sudo bash. Reboot. Access FPP web UI athttp://[pi-ip]:8080. - Configure Network Timing: In FPP > Settings > System, set NTP server to
time.google.comand enable “Sync Time at Startup”. Disable WiFi power management:sudo iwconfig wlan0 power off. - Connect Hardware: Wire pixel data lines through a level shifter (5V logic from Pi → 5V pixel input). Ground all power supplies and controllers to a single point—never daisy-chain grounds between supplies.
- Set Output Mode: In FPP > Settings > Channels, select “E1.31 (sACN)” and assign universes. For WS2812B on GPIO: choose “Pi GPIO” output type, set pin to 10, and confirm “WS281x” driver. Set universe count based on pixel count (1 universe = 170 RGB channels = ~56 pixels).
- Test Playback: Upload a simple .fseq file (generated in xLights) via FPP > Media > Upload. Set schedule to “Always On”, then trigger playback. Watch for flicker, color shifts, or missing sections—these indicate timing or grounding issues, not software bugs.
Sequencing in xLights: Designing for Impact, Not Just Precision
Sequencing is where art meets engineering. xLights offers unparalleled control—but without strategy, even perfect timing feels hollow. Start with audio-first design: import your track (WAV preferred), then use the “Auto Beat Detection” tool to generate a beat grid. Manually refine downbeats—especially in complex orchestral or electronic pieces—by zooming to 10ms resolution and aligning visual hits to snare transients or bass drops.
Next, map physical elements to logical models. A 12-ft tree isn’t “Model 1”—it’s “Front Maple Tree – Lower Third”, “Middle Ring”, and “Top Spiral”, each assigned distinct pixel ranges. This allows independent effects: slow amber fade on lower branches while the top pulses crimson on every eighth note. Use the “Preview” window constantly—not just for color checks, but to simulate viewing angles. Stand back 20 feet in daylight and ask: does the motion read clearly? Does the red dominate green at dusk? Does the white stay crisp, or wash out?
Real-world example: In 2022, Sarah M., a school librarian in Portland, OR, built her first show for her bungalow’s front facade. She sequenced “Carol of the Bells” for 420 pixels across gutters, windows, and a wreath. Her breakthrough came not from complexity—but from restraint. She limited herself to three colors per 8-bar phrase and used motion only on downbeats. Neighbors reported “feeling the chimes” visually. By year three, her show drew 200+ visitors weekly—and she credits her early discipline with avoiding “sequencer fatigue”: the tendency to over-automate until every pixel dances independently, losing musical coherence.
Reliability & Maintenance: Keeping Your Show Alive All Season
A light show fails not on December 1st—but on December 23rd, at 7:47 p.m., when a squirrel chews a wire or condensation shorts a connector. Proactive resilience separates seasonal novelties from enduring traditions.
- Power Redundancy: Use dual power supplies per major zone, wired through an AC transfer switch (e.g., Leviton 5242). If one supply fails, the other picks up seamlessly—no reboot, no blackouts.
- Network Failover: Configure your Pi’s Wi-Fi to fall back to Ethernet if signal drops. Add a USB-to-Ethernet adapter and set static IP on eth0. FPP auto-switches within 8 seconds.
- Thermal Monitoring: Install a DS18B20 waterproof sensor inside the enclosure. Log temperature to InfluxDB or even a simple CSV. If internal temps exceed 65°C consistently, add passive aluminum heatsinks and reposition the box away from south-facing walls.
- Automated Health Checks: Create a daily cron job that pings FPP’s status API (
curl -s http://localhost:8080/api/status | jq '.status') and emails alerts on “offline” or “error” states. Pair with a $12 smart plug (e.g., TP-Link HS110) to cycle power remotely if unresponsive.
FAQ
Can I run xLights directly on the Raspberry Pi?
No—and you shouldn’t try. xLights is a resource-intensive desktop application designed for Windows/macOS/Linux desktops with GUI acceleration. The Pi lacks the GPU horsepower and RAM to render complex timelines smoothly. Instead, use xLights on your main computer to design and export sequences (.fseq), then deploy them to the Pi running FPP or Pi-Lite for playback. This workflow is faster, more stable, and universally supported.
My pixels flicker only during fast motion—what’s wrong?
Flicker during motion almost always indicates insufficient power delivery or ground loop interference. Check voltage at the *farthest pixel* under full white load—it must be ≥4.75V for 5V pixels. If below, add local power injection every 1–2 meters. Also verify all controller and power supply grounds connect to a single point (star grounding), not daisy-chained. Never share grounds between AC mains and DC systems without isolation.
How many pixels can one Raspberry Pi handle?
A Pi 4 (4GB) reliably outputs up to 2,500–3,000 channels (≈850–1,000 RGB pixels) via GPIO or E1.31 over Gigabit Ethernet. With Falcon F16v3 or ESP32 controllers handling heavy lifting, the Pi acts purely as a scheduler—scaling to 10,000+ pixels. Bottlenecks occur at the network layer (use CAT6, not CAT5e) and power distribution—not CPU.
Conclusion: Your Story Starts with a Single Pixel
Creating a synchronized outdoor light show isn’t about technical mastery alone—it’s about translating feeling into light. That pause before the chorus, the swell of strings, the hush of snow falling mid-verse: these moments become visible when timing, hardware, and intention align. You don’t need a workshop or an electrical license. You need patience with grounding wires, respect for voltage drop, and the willingness to iterate—a single sequence may take 12 hours to perfect, but it will play flawlessly for 60 nights. Start small: one arch, one song, one universe. Tune your first 50 pixels until they breathe with the music. Then expand—not in scale, but in storytelling. Because when neighbors stop to watch, when kids point and laugh at the dancing roofline, when someone texts you “This made my whole month”—that’s not pixels on a wire. That’s connection, crafted one frame, one channel, one heartbeat at a time.


 浙公网安备
33010002000092号
浙公网安备
33010002000092号 浙B2-20120091-4
Comments
No comments yet. Why don't you start the discussion?