
Creating a coloring book is more than just drawing lines on paper—it’s an opportunity to express creativity, share stories, and even build a small business. Whether you're an artist exploring new outlets or a hobbyist looking to craft something personal, designing your own coloring book offers both artistic freedom and practical rewards. With the right approach, anyone can turn simple ideas into a polished, printable collection. This guide walks through every stage—from brainstorming themes to final formatting—so you can produce a one-of-a-kind book that stands out.
Define Your Theme and Audience
The foundation of any successful coloring book is a clear theme. A focused concept helps maintain consistency across pages and appeals directly to a specific audience. Consider who will use your book: children, adults, educators, or niche communities like gardeners or fantasy enthusiasts. Each group has different preferences in complexity, subject matter, and layout.
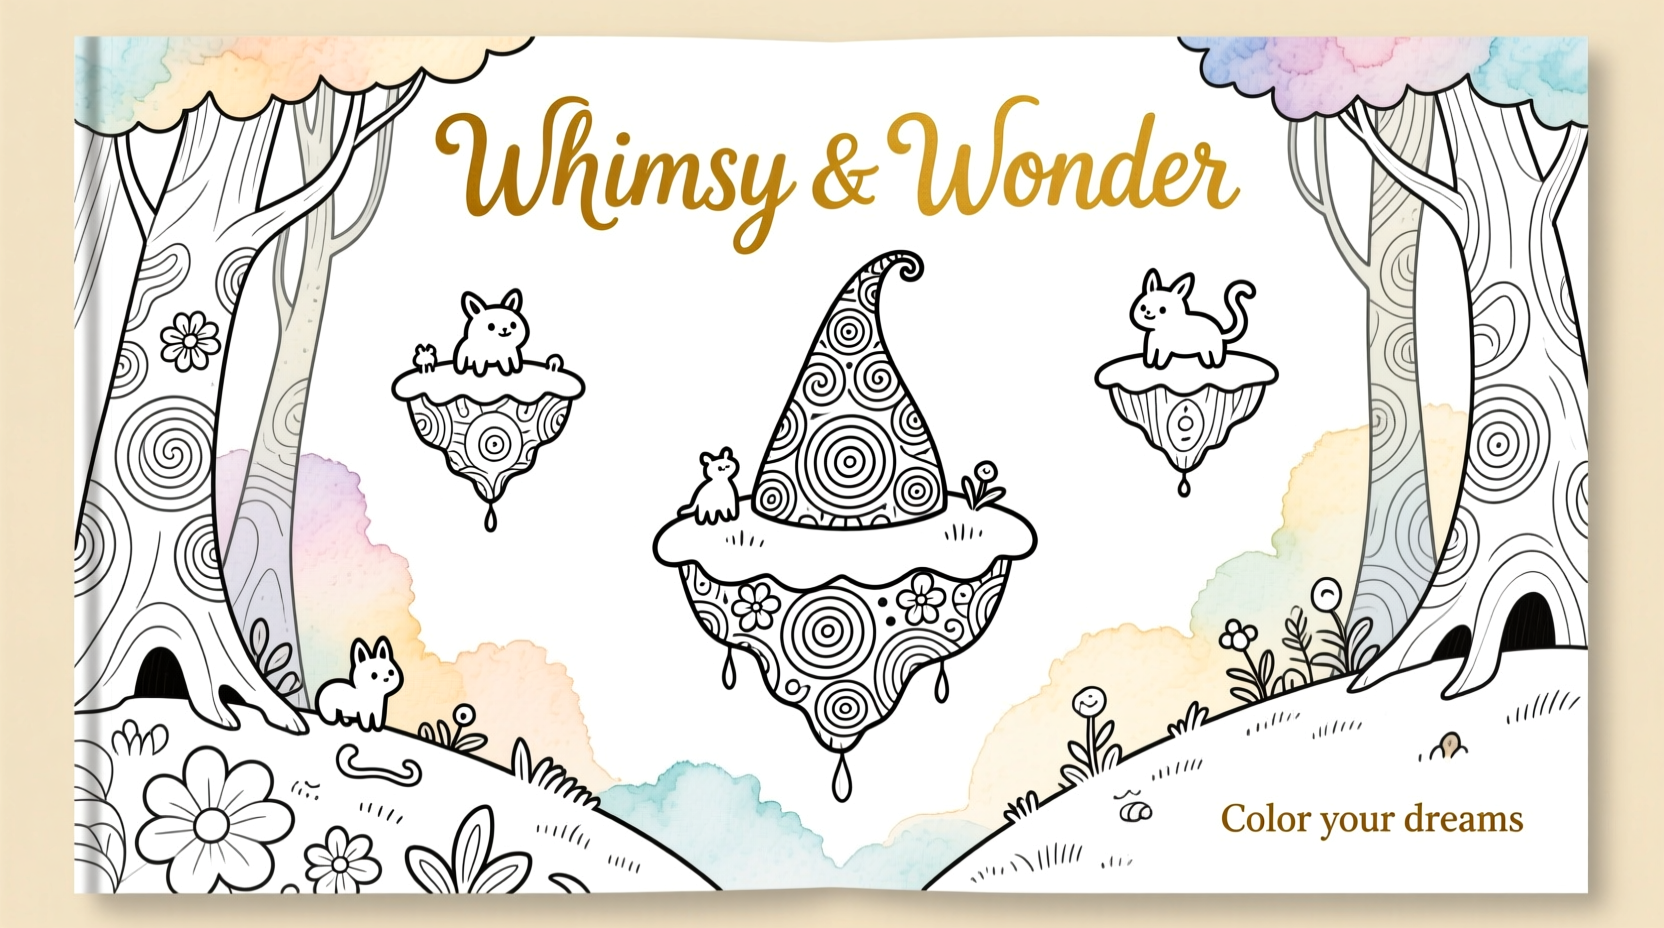
Popular themes include mandalas, animals in nature, mindfulness scenes, fairy tales, or inspirational quotes surrounded by decorative borders. Choose something that excites you—your passion will show in the details.
Choosing the Right Complexity Level
Complexity affects usability. Children's books typically feature large shapes and bold outlines, while adult coloring books often include intricate patterns and hidden details. Match line density and detail level to your intended user’s skill and attention span.
| Audience | Line Thickness | Detail Level | Suggested Themes |
|---|---|---|---|
| Kids (3–8) | Thick, clear lines | Low | Farm animals, vehicles, simple characters |
| Tweens (9–12) | Moderate | Medium | Unicorns, space adventures, doodle prompts |
| Adults | Thin to medium | High | Mandalas, cityscapes, botanical illustrations |
Design Your Pages Step by Step
Once your theme is set, it’s time to start creating individual pages. You don’t need advanced art skills—just consistency and clarity. Follow this timeline to build your content efficiently:
- Sketch thumbnails: Plan each page with small rough drafts. Focus on composition and balance.
- Select tools: Use pencil and paper, a graphics tablet, or digital illustration software like Adobe Illustrator, Procreate, or Inkscape (free).
- Create clean line art: Refine sketches into final drawings with consistent line weight. Avoid shading or gray tones—coloring books should be black-and-white line drawings only.
- Add variety: Include full-page scenes, smaller vignettes, and pattern-based designs to keep users engaged.
- Leave white space: Don’t overcrowd. Blank areas help prevent visual fatigue and give room for creative expression.
“Originality doesn’t come from hyper-detailed art—it comes from perspective. Even simple drawings feel fresh when they reflect a unique voice.” — Lena Torres, Independent Illustrator & Coloring Book Creator
Digital vs. Hand-Drawn: What Works Best?
Hand-drawn artwork brings organic charm but requires scanning and cleanup. Digital drawing offers precision, easy editing, and faster production. For beginners, starting with paper is perfectly fine—just ensure scans are high-resolution (at least 300 DPI) and lines are crisp after conversion.
Structure and Format Your Book
A well-organized coloring book enhances user experience. Think beyond individual pages—consider flow, pacing, and physical layout.
- Decide on page count: 20–50 pages is ideal for beginners.
- Include a title page with your book’s name, author credit, and optional dedication.
- Add introductory tips: “Use colored pencils for best results” or “Let your imagination guide the colors.”
- Alternate complex and simpler pages to give users breathing room.
- Ensure all images are centered and have at least 0.5-inch margins to prevent trimming issues during printing.
Standard sizes include 8.5 x 11 inches (common for US printers) or A4 (international). Stick to one size throughout. Export files as PDFs with embedded fonts and high-quality vector or raster graphics.
Checklist: Pre-Publishing Review
Before finalizing your file, go through this checklist:
- ✅ All pages are 300 DPI or higher
- Ensures sharp printing quality
- ✅ Line art is pure black (#000000), not gray
- Improves contrast and clarity
- ✅ No unintentional marks or smudges
- Clean up scanned drawings carefully
- ✅ Consistent style across all pages
- Maintains professional appearance
- ✅ Correct page order in PDF
- Title first, then content, optionally ending with a blank or credits page
Print or Publish Digitally?
You have two main options: self-publish via print-on-demand services or offer digital downloads. Each has pros and cons.
Print-on-demand platforms like Amazon KDP, IngramSpark, or Lulu allow you to upload your PDF and sell physical copies without inventory. They handle printing, shipping, and customer service. However, royalties per sale are lower, and you have less control over paper quality.
Digital sales through Etsy, Gumroad, or your own website let you retain more profit and deliver instantly. Customers print at home, which varies in quality depending on their printer. Offer guidance: “Recommended paper: 24–32 lb. bright white cardstock for best results.”
“Selling digital gave me full creative and financial control. I started making passive income within weeks.” — Marcus Reed, Self-Published Coloring Book Author
Mini Case Study: From Sketchpad to Success
Jamie Lopez, a middle school art teacher, wanted to create a calming activity for her students. She sketched 30 nature-themed pages featuring trees, birds, and seasonal motifs. Using a $50 graphics tablet and free software, she digitized her work over three weekends. She uploaded the book to Etsy as a digital download priced at $7.99. Within two months, she sold over 200 copies, mostly to parents and therapists seeking mindful resources. Her next project? A classroom companion book with educational prompts integrated into the designs.
Frequently Asked Questions
Can I use clip art or traced images in my coloring book?
No. To avoid copyright violations, all artwork must be original. Tracing photos or using licensed-free clip art still risks infringement unless explicitly labeled for commercial use. Create your own interpretations instead—this also makes your book truly unique.
How long does it take to make a coloring book?
For a beginner, expect 20–50 hours depending on length and method. Sketching takes the most time. Working consistently, you can complete a 30-page book in 4–6 weeks while learning the process.
Do I need to copyright my coloring book?
Your work is automatically protected under copyright once it’s created and fixed in a tangible form. However, registering with the U.S. Copyright Office (or your country’s equivalent) strengthens legal protection if someone copies your designs. It costs around $45 and can be done online.
Bring Your Vision to Life
Creating a coloring book is a rewarding journey that blends imagination with craftsmanship. Start small, stay consistent, and focus on joy—not perfection. Every line you draw adds value, both for yourself and future colorists who’ll bring your pages to life with vibrant hues. The market welcomes fresh voices, especially those with authentic perspectives and thoughtful design.


 浙公网安备
33010002000092号
浙公网安备
33010002000092号 浙B2-20120091-4
Comments
No comments yet. Why don't you start the discussion?