
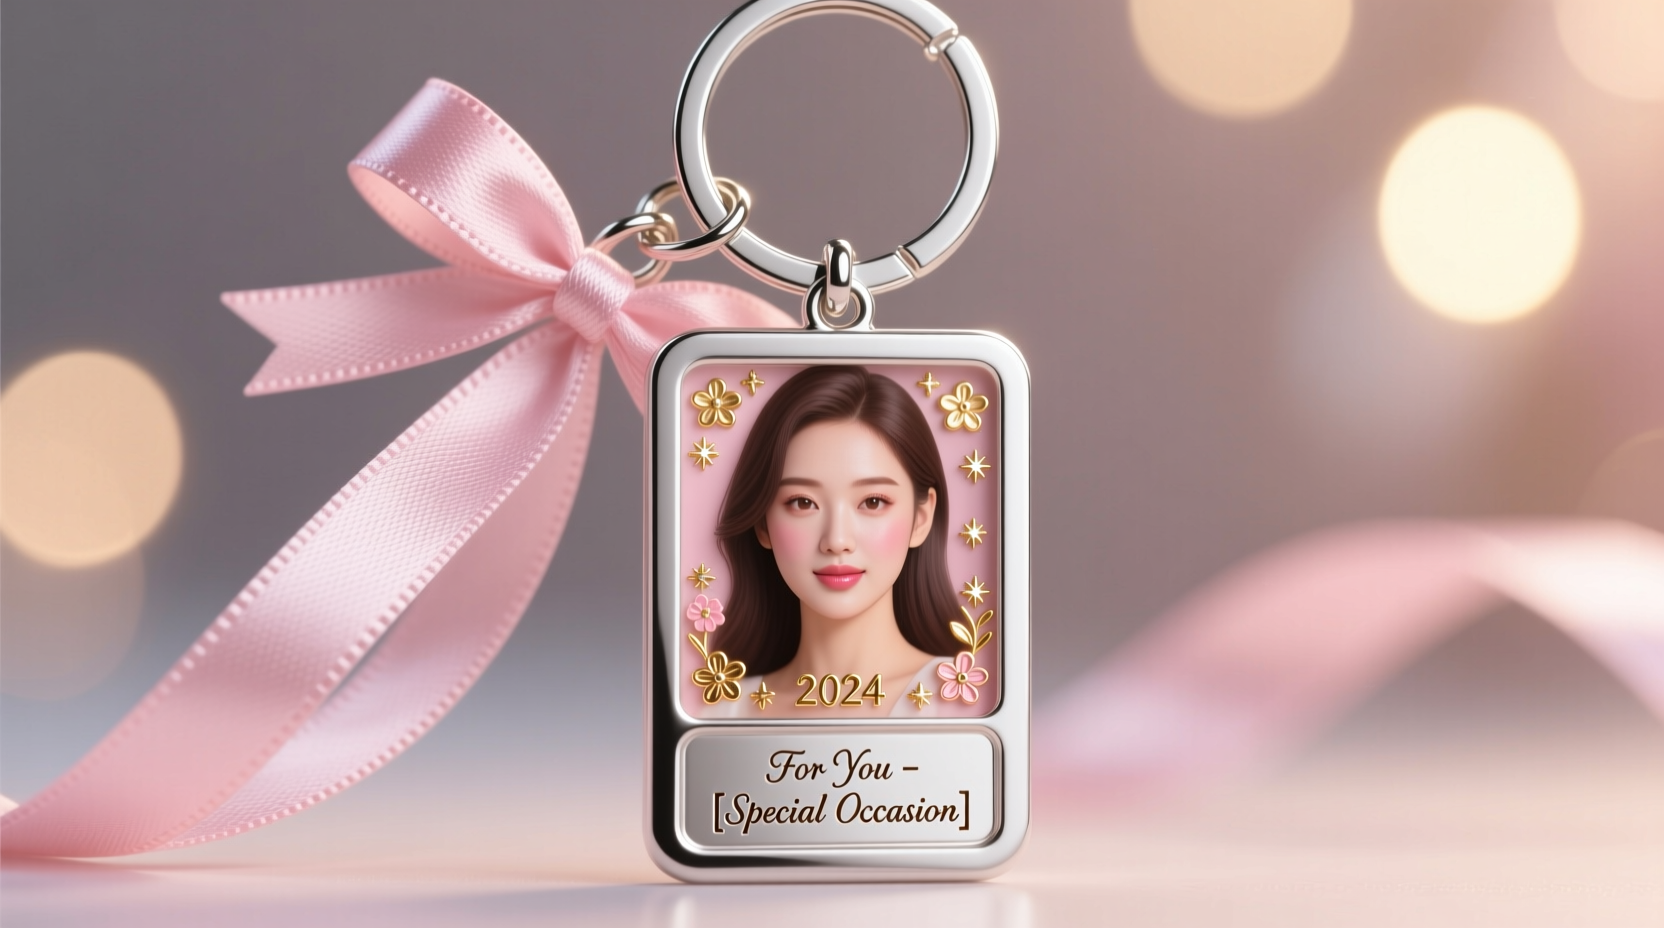
Personalized accessories are more than just fashion statements—they carry sentiment, memory, and individuality. A custom makeup keychain combines practicality with personal flair, making it an ideal handmade gift or keepsake for birthdays, weddings, anniversaries, or even self-expression. More than just holding keys, these tiny treasures reflect personality, style, and thoughtfulness. Whether you're crafting for a loved one or designing your own, the process of creating a unique makeup keychain is both rewarding and creatively fulfilling.
Why Personalized Makeup Keychains Make Meaningful Gifts
A makeup keychain isn’t merely decorative—it symbolizes care, attention to detail, and emotional connection. Unlike mass-produced items, a handcrafted keychain shows effort and intention. It’s compact enough to be carried daily, yet significant enough to spark joy every time it's seen. These keychains often feature miniature cosmetic replicas—lipsticks, compacts, nail polishes—or incorporate elements like initials, favorite colors, or meaningful charms.
For example, a bride might cherish a keychain shaped like a tiny lipstick engraved with her new initials, while a teen might love a glittery compact charm reflecting their bold personality. The versatility of design allows customization for age, taste, and occasion, making it a universally appealing craft project.
“Handmade gifts create lasting emotional value because they reflect not just creativity, but presence.” — Lila Monroe, Artisan Jewelry Designer
Materials and Tools You’ll Need
Creating a personalized makeup keychain doesn’t require professional equipment. Most supplies are affordable, accessible, and reusable across multiple projects. Below is a breakdown of essential materials based on common crafting methods:
| Material/Tool | Purpose | Recommended Type |
|---|---|---|
| Resin kits | Create transparent, glossy charms in custom shapes | Epoxy resin with UV resistance |
| Silicone molds | Shape resin into lipsticks, compacts, brushes | Mini cosmetic-themed molds |
| Acrylic blanks | Pre-cut bases for engraving or painting | Heart, circle, or lipstick-shaped |
| Permanent markers or paint pens | Add color, text, or designs | Oil-based for durability |
| Keyring hardware | Attach finished piece to keys | Stainless steel split rings or lobster clasps |
| Glitter, dried flowers, micro-embellishments | Add visual interest inside resin | Fine-grade, non-reactive additives |
| Drill (optional) | Create holes in cured resin or wood | Pin vise hand drill for precision |
Step-by-Step Guide to Crafting Your Keychain
Follow this detailed timeline to create a polished, durable, and truly unique makeup keychain from start to finish.
- Choose Your Design Theme: Decide whether you want a realistic mini cosmetic replica, an abstract interpretation, or a symbolic shape (like a heart with a lipstick imprint). Consider the recipient’s preferences—bold colors, vintage styles, or minimalist elegance.
- Select the Base Method: Choose between resin casting, painted acrylic, or clay sculpting. Resin offers the most professional finish and allows encapsulation of small details like handwritten notes or photos.
- Prepare the Mold or Blank: If using resin, clean the silicone mold thoroughly. For painting, select a smooth acrylic blank. Lightly sand if needed for better paint adhesion.
- Mix and Pour Resin (if applicable): Follow manufacturer instructions to mix resin and hardener. Stir slowly to avoid bubbles. Add pigment or glitter at this stage. Pour into mold halfway, then place tiny embellishments (e.g., a micro-lettering sticker saying “BFF”) before filling to the top.
- Cure Completely: Allow resin to cure for 24–72 hours depending on thickness and brand. Avoid moving or touching during this phase to prevent imperfections.
- Demold and Finish Edges: Gently flex the silicone mold to release the charm. Use fine sandpaper to smooth any rough edges. Wipe clean with isopropyl alcohol.
- Add Personalization: Use a paint pen to write names, dates, or short messages. Alternatively, glue on metal initials or enamel dots for a refined look.
- Attach Hardware: Open a jump ring using pliers, slide through the charm’s hole, then attach to a keyring. Close securely. If no pre-made hole exists, carefully drill one using a pin vise.
Real Example: Emma’s Bridal Shower Keepsake
Emma wanted to give her bridesmaids something sentimental and useful. She designed six custom keychains using lipstick-shaped molds filled with soft pink resin. Inside each, she embedded a tiny photo of the group from their college years and added gold glitter for elegance. After curing, she painted each charm’s base with the bridesmaid’s initial in cursive. Attached with rose-gold keyrings, they doubled as party favors and daily reminders of friendship. Months later, all five still use them on their everyday bags.
Design Tips for Maximum Uniqueness
Standing out means going beyond basic colors and shapes. Here are proven strategies to elevate your keychain from cute to unforgettable:
- Incorporate real textures—press fabric swatches (like lace from a wedding dress) into soft resin before curing.
- Use glow-in-the-dark pigment for a fun nighttime surprise.
- Add scent by placing a single drop of fragrance oil (e.g., vanilla or rose) into the resin mix—ensure it’s compatible with the medium.
- Create themed sets: a “self-care” trio with mini bath bomb, lipstick, and face mask charms.
- Pair with a handwritten note explaining the symbolism behind the design choices.
Frequently Asked Questions
Can I make a makeup keychain without using resin?
Absolutely. You can use polymer clay to sculpt mini cosmetics, bake them, then paint and seal with varnish. Pre-made acrylic charms can also be customized with permanent markers and stickers, offering a quick, no-mess alternative.
How do I prevent my resin from becoming cloudy?
Cloudiness usually results from moisture or improper mixing. Ensure your workspace is dry, mix resin slowly and thoroughly, and consider using a heat gun or torch to pop surface bubbles immediately after pouring.
Are these keychains durable enough for daily use?
Yes, especially when made with quality resin and sealed properly. Avoid prolonged exposure to water, direct sunlight, or abrasive surfaces to extend lifespan. A clear spray sealant adds extra protection for painted details.
Final Checklist Before Gifting
- ✅ Is the charm securely attached to the keyring?
- Double-check jump rings are fully closed to prevent loss.
- ✅ Have sharp edges been sanded smooth?
- Rough spots can snag fabric or skin.
- ✅ Is personalization clearly legible?
- Test readability under natural light.
- ✅ Does it reflect the recipient’s taste?
- Match colors, style, and theme to their personality.
- ✅ Is packaging thoughtful?
- Present it in a small velvet pouch or gift box with a tag explaining its meaning.
Make It Yours, Make It Last
A personalized makeup keychain is more than a trinket—it’s a wearable memory, a splash of identity on an ordinary object. With minimal investment and maximum creativity, you can craft something that delights, inspires, and endures. Whether marking a milestone or simply brightening someone’s day, the act of making by hand carries unmatched warmth.


 浙公网安备
33010002000092号
浙公网安备
33010002000092号 浙B2-20120091-4
Comments
No comments yet. Why don't you start the discussion?