
For fans of Stampy, the cheerful and endlessly creative Minecraft YouTuber, dressing up as his iconic pixelated orange cat persona is more than just a Halloween idea—it’s a tribute. Creating an authentic Stampy Cat costume doesn’t require professional tailoring or expensive materials. With a little creativity, patience, and attention to detail, you can bring the joyful spirit of Stampy to life at conventions, parties, or fan events. This guide walks you through every stage of crafting a recognizable, comfortable, and durable costume that captures the essence of one of YouTube’s most beloved characters.
Understanding the Stampy Cat Aesthetic
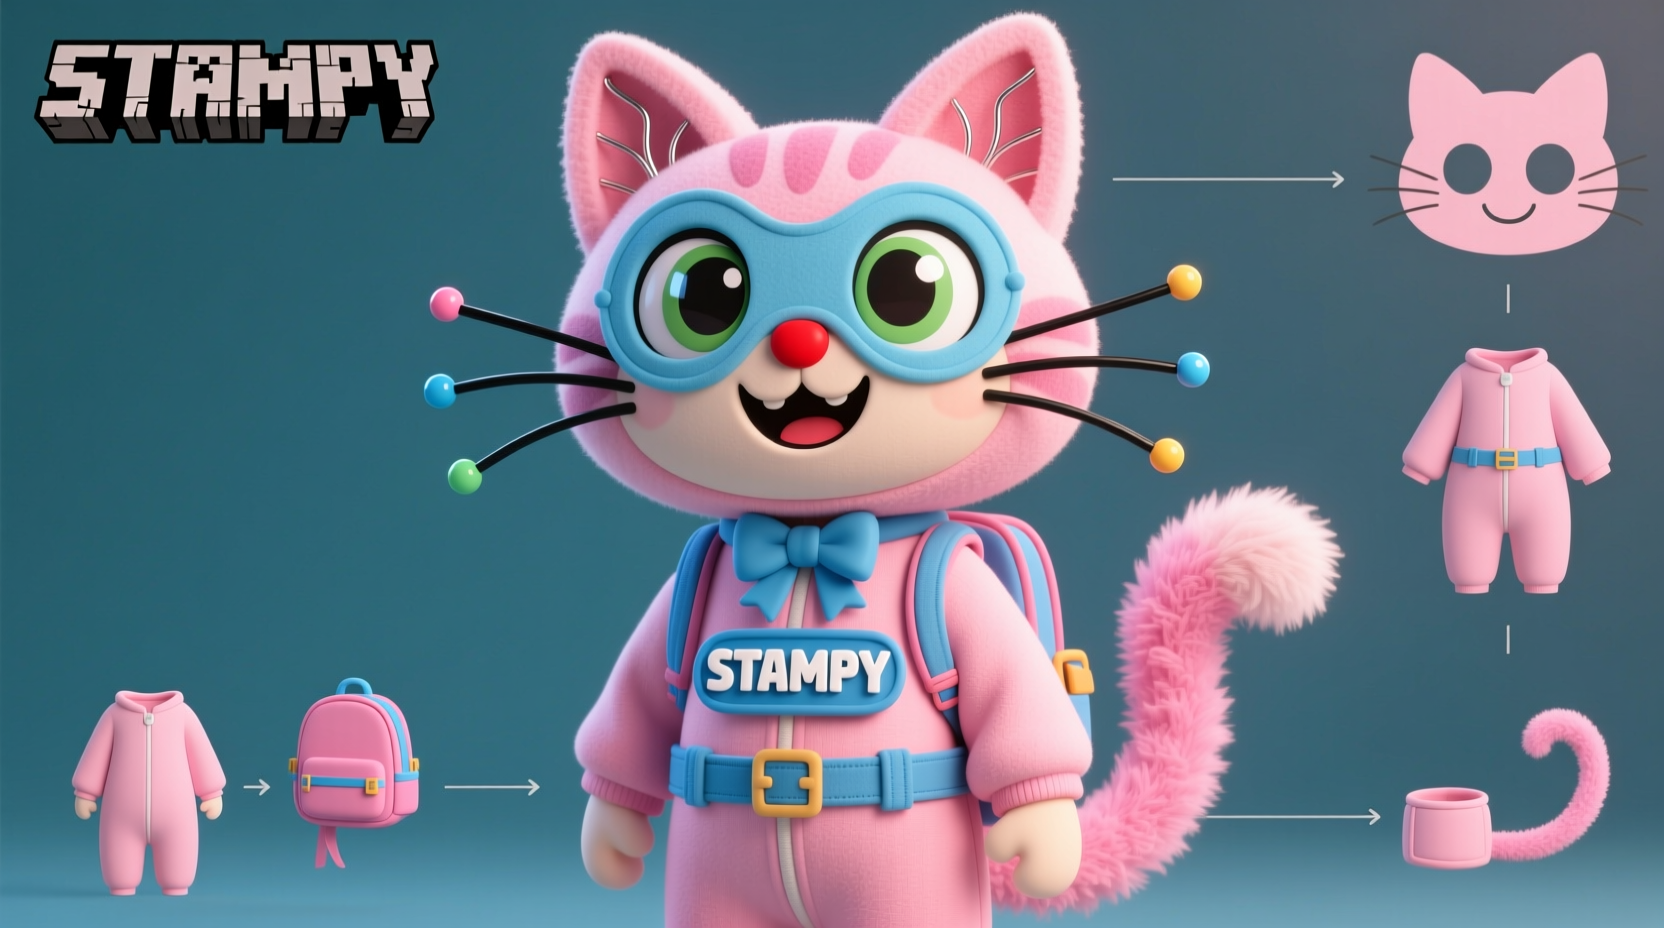
Before cutting any fabric, it's essential to understand what makes Stampy Cat visually distinct. Stampy is an anthropomorphic orange tabby cat with large, expressive eyes, white paws, and a friendly smile. His design is intentionally simple, inspired by blocky Minecraft aesthetics—perfect for translation into a DIY costume. Key visual elements include:
- Bright orange base fur with subtle brown tabby stripes
- White chest, muzzle, and paws
- Oversized circular ears with pink inner lining
- A broad, smiling face with large black eyes and whisker markings
- Blocky proportions reflecting a Minecraft-style character
Authenticity comes not from perfect realism but from capturing these stylized features in a way that’s instantly recognizable to fellow fans.
Materials and Tools Checklist
Gathering the right supplies early prevents frustration mid-project. Below is a comprehensive checklist of everything needed to complete the costume.
- Fleece or felt fabric (orange, white, black, pink)
- Foam sheets or EVA foam (for ears and facial structure)
- Hot glue gun and glue sticks
- Scissors and rotary cutter
- Sewing machine or needle and thread
- Elastic straps or headband (for securing mask)
- Cardboard or plastic mesh (for structural support)
- Acrylic paints (optional, for detailing)
- Pencil and paper for templates
- Ruler and measuring tape
Choose high-quality fleece over cheaper alternatives; it holds shape better and resists fraying. For larger builds (like full-body suits), consider using lightweight foam to maintain comfort during extended wear.
Step-by-Step Construction Guide
Building a Stampy Cat costume involves three primary components: the head/mask, the body suit, and the paws. Follow this sequence for optimal results.
1. Create the Headpiece
- Measure the wearer’s head circumference and add two inches for seam allowance.
- Cut two oval-shaped pieces from orange fleece for the front and back of the head.
- From foam, cut two ear shapes: large ovals (approx. 8” tall) with smaller pink inner ears.
- Attach ears to the inside of the top-back panel using hot glue and reinforce with fabric strips.
- Draw and cut out eye holes slightly above center, ensuring they align with the wearer’s line of sight.
- Add facial features: sew or glue on white muzzle piece, then use black felt for eyes, nose, and whiskers.
- Attach elastic straps to secure the mask comfortably behind the head.
2. Build the Body Suit
- Use an existing jumpsuit or onesie as a base, or sew a simple T-shaped pattern from orange fleece.
- Add white chest and belly panels by tracing and sewing curved shapes onto the front.
- Include subtle brown stripe details using painted fabric markers or stitched-on strips.
- Ensure arm and leg openings allow free movement—consider adding stretch panels if needed.
3. Craft the Paws
- Cut four mitten-like shapes from white fleece (two hand, two foot).
- Line with soft fabric for comfort and secure with elastic wrist/ankle bands.
- Add slight gray shading at tips to mimic natural paw gradients.
For added durability, double-layer high-wear areas like elbows and knees.
Design Accuracy vs. Wearability: Finding Balance
While accuracy matters, comfort ensures you’ll actually wear the costume. Here’s how to strike the right balance:
| Design Feature | Accurate Detail | Practical Adjustment |
|---|---|---|
| Eyes | Large, perfectly round | Slightly smaller to improve peripheral vision |
| Mouth | Always smiling | Keep fixed shape; avoid mouth covers that hinder speech |
| Body Shape | Blocky, cubic | Use padded shoulders instead of rigid armor for mobility |
| Visibility | Not applicable (character is animated) | Mesh netting behind eyes for breathability and clarity |
“Fan costumes succeed when they’re both recognizable and wearable. If it’s too hot or hard to move in, no one will enjoy being Stampy.” — Lila Tran, Cosplay Designer & Convention Judge
Real Example: Emma’s First Stampy Costume
Emma, a 14-year-old fan from Portland, built her first Stampy Cat costume for MineCon Fan Festival. She started with a $15 orange hoodie and modified it over three weekends. Using craft foam, she shaped ears and glued them to a headband. She painted a white felt face and attached it over the hood. Her gloves were made from socks covered in white fleece. At the event, multiple attendees asked to take photos, and one even credited her costume for sparking a group cosplay the following year. Emma’s success came not from budget but from attention to key traits: the ears, the smile, and the unmistakable orange-and-white contrast.
Frequently Asked Questions
Can I make this costume without sewing?
Yes. Use fabric glue, iron-on adhesive webbing, and pre-made garments like hoodies or bodysuits as a base. While sewing offers durability, glue works well for temporary or lightweight versions.
How do I clean the costume after use?
Spot-clean with a damp cloth and mild detergent. Avoid submerging foam or glued sections. For fabric-only parts, hand wash in cold water and air dry flat to prevent shrinkage.
Is this suitable for young children?
Absolutely. Scale down the patterns and prioritize safety: ensure unrestricted breathing, full visibility, and flame-resistant materials. Supervise use of hot glue and small parts.
Final Touches and Presentation
The final look hinges on small details. Add whiskers using stiff white wire or embroidery floss glued in radiating lines. Consider attaching a small bell to the collar area for playful authenticity. If attending a Minecraft-themed event, carry a cardboard block prop or wear a nametag that says “Hi! I’m Stampy!” to enhance interaction.
Practice wearing the costume at home. Move around, gesture, and speak clearly. The goal isn’t just to look like Stampy—but to act like him: friendly, energetic, and full of joy.
Bring the Joy of Stampy to Life
Creating a Stampy Cat costume is more than a craft project—it’s a celebration of creativity, fandom, and self-expression. By combining thoughtful design, practical construction, and a love for the character, you can step into the world of Lovely World with confidence. Whether you're surprising friends, joining a convention, or filming your own Minecraft adventures, your handmade Stampy suit will stand as a testament to dedication and fun.


 浙公网安备
33010002000092号
浙公网安备
33010002000092号 浙B2-20120091-4
Comments
No comments yet. Why don't you start the discussion?