
The eerie, unsettling presence of the reanimated in *Pet Sematary* has haunted audiences since its original release. Whether it’s the pale, hollow-eyed Gage Creed or the slow-moving, unnatural Jud Crandall, these characters leave a lasting impression—much of which comes from their haunting facial appearance. For horror enthusiasts looking to bring that chilling realism into their own projects, crafting an authentic *Pet Sematary* mask can be both a rewarding challenge and a centerpiece for cosplay, Halloween, or film tributes.
Creating a convincing mask doesn’t require professional sculpting tools or a six-figure budget. With patience, attention to detail, and the right approach, you can build a lifelike replica using accessible materials. This guide walks you through every phase—from conceptual design to finishing touches—so you can produce a mask that captures the disturbing essence of Stephen King’s cursed ground.
Understanding the Aesthetic of Pet Sematary Characters
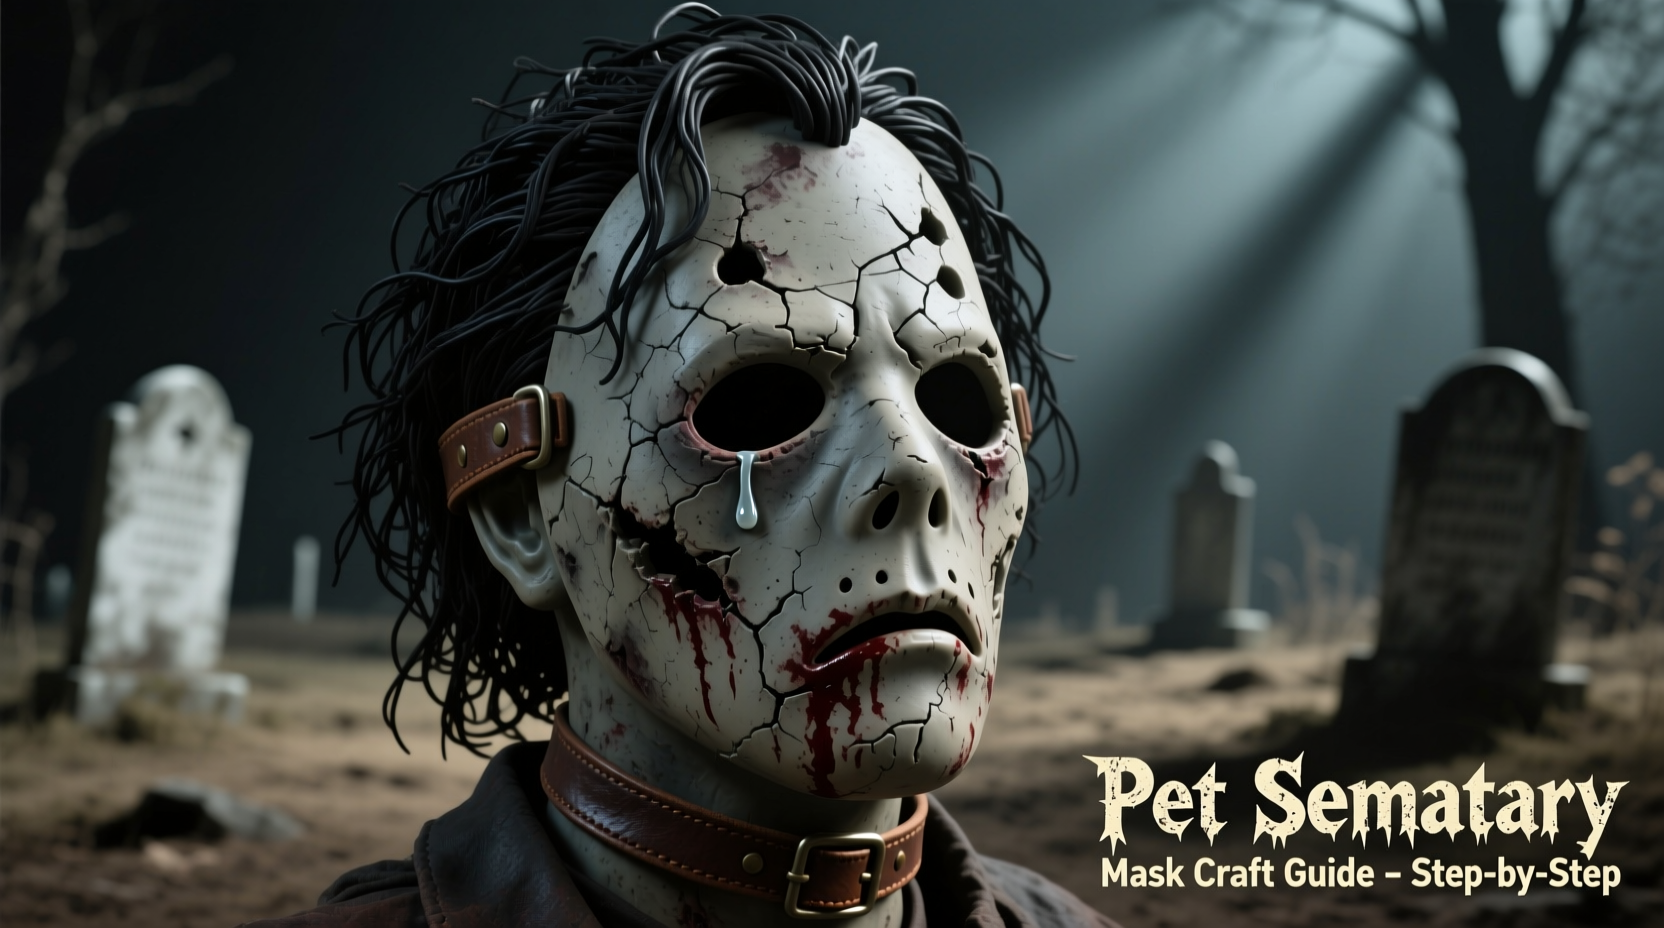
The horror of *Pet Sematary* lies not in gore alone, but in the uncanny stillness and subtle wrongness of the resurrected. Their faces are often described as too calm, too composed, with eyes that seem aware yet distant. The 2019 remake emphasized pallid skin, sunken features, and faint bruising around the eyes and mouth to suggest decomposition beneath the surface.
When designing your mask, focus on three key visual elements:
- Pallor: Skin should appear bloodless, almost translucent.
- Hollowing: Cheeks, eyes, and temples should look subtly sunken.
- Subtle decay: Faint discoloration, minor scarring, or cracked lips add realism without overdoing effects.
Avoid exaggerated zombie tropes like exposed bone or dripping wounds unless you’re aiming for a stylized version. Authenticity comes from restraint.
“Real fear lives in what’s almost normal. A face that looks familiar—but just slightly off—is far more disturbing than full-on rot.” — Lila Torres, Special Effects Makeup Artist (The Conjuring Series)
Materials and Tools You’ll Need
Before starting, gather all necessary supplies. Most can be found at craft stores or online retailers. Choose non-toxic, skin-safe materials if the mask will be worn.
| Material/Tool | Purpose | Recommended Brand/Type |
|---|---|---|
| Latex or gelatin | Skin-like base for prosthetics | Psycho Paint FX Latex |
| Alginate or silicone molding compound | Casting facial impressions | Smooth-On Alginate |
| Plaster bandages or clay | Creating mold shells or sculpting | DAS Air-Hardening Clay |
| Prosthetic adhesive & remover | Attaching and removing safely | Pros-Aide Medical Adhesive |
| Makeup sponges, brushes, stipple tubes | Applying texture and color | Ben Nye or Mehron |
| Liquid latex and tissue paper | Adding wrinkles, scars, or texture | RubberSoul Liquid Latex |
| Alcohol-based paints | Durable, flexible coloring | Skin Illustrator Palette |
Step-by-Step Guide to Crafting Your Mask
- Create a Life Cast (Optional but Recommended)
For maximum realism, begin with a facial cast. Apply alginate evenly to a volunteer’s clean, moisturizer-free face. Avoid eyelashes and eyebrows. Let set for 5–7 minutes, then reinforce with plaster bandages. Once hardened, remove carefully and let dry overnight. This positive mold becomes your sculpting base. - Sculpt Facial Distortions
Using oil-based clay, build up subtle changes on the mold: deepen eye sockets, narrow the jawline, slightly twist the mouth. Reference stills from the film for accuracy. Focus on asymmetry—one side of the face slightly more sunken—to enhance unnaturalness. - Make the Mold
Once sculpting is complete, apply a release agent and pour two-part silicone over the model. Allow 24 hours to cure. This creates a flexible negative mold ready for casting. - Casting the Mask
Mix liquid latex or gelatin according to instructions. Pour into the silicone mold, rotating to coat evenly. Let dry for several hours. Repeat layers for durability. Carefully peel out the finished piece. - Trim and Fit
Use sharp scissors to trim excess material around the hairline, ears, and neck. Try the mask on (with barrier cream) and mark areas needing adjustment. Sand rough edges gently with fine-grit paper. - Add Texture and Detail
Apply thin layers of liquid latex mixed with tissue paper to simulate cracked skin or bruising. Stipple lightly with a sponge for mottled complexion. Build faint veins using translucent blue paint under the surface layer. - Paint for Realism
Start with a base of pale gray-white. Layer in faint purple under the eyes, grayish-green along the jaw, and ashen pink on lips. Use a dry-brush technique to blend. Seal with setting spray to prevent smudging. - Final Assembly
Attach elastic straps inside the mask for secure wearing. Consider adding synthetic hair strands individually with spirit gum for a patchy, lifeless look—especially effective for Gage’s character.
Mini Case Study: Building Gage’s Mask for a Fan Film
In 2022, independent filmmaker Diego Marquez led a low-budget tribute project recreating the iconic hallway scene with Gage holding the scalpel. His team had no access to studio-grade materials but needed a believable mask.
They began with a plaster life cast of a child actor, then used DAS clay to exaggerate hollow cheeks and downturned eyes. After creating a silicone mold, they layered gelatin for translucency and painted with alcohol-based makeup to achieve a waxy, cold tone. Tissue-paper texturing around the mouth simulated dried saliva and minor decomposition.
The final result was so convincing that audience testers reported genuine discomfort during screenings. “We didn’t want it to look fake-dead,” Marquez said. “We wanted it to look *wrong*. Like something that shouldn’t be standing.”
Common Mistakes and How to Avoid Them
- Over-painting: Too much red or black makes the mask theatrical. Stick to cool, desaturated tones.
- Ignores fit: A poorly fitted mask breaks immersion. Always test wearability early.
- Skips sealing: Unsealed latex cracks and absorbs sweat. Use a matte sealer after painting.
- Forgets movement: The face must allow blinking and slight expression. Avoid thick, rigid builds around the eyes and mouth.
Frequently Asked Questions
Can I make this without a life cast?
Yes. You can use a generic mannequin head or even sculpt freehand over a balloon form shaped to approximate a human face. Accuracy will be lower, but stylized versions work well for display.
Is it safe to wear for long periods?
Only if made with skin-safe materials and properly ventilated. Avoid fully enclosing the nose and mouth. Take breaks every 30 minutes to prevent overheating or irritation.
How do I store the mask after use?
Store flat in a cool, dry place away from sunlight. Dust lightly with cornstarch to prevent sticking. Never fold or compress—it may crack or warp.
Checklist: Creating Your Pet Sematary Mask
- ☐ Gather all materials (latex, mold compound, paints, tools)
- ☐ Perform allergy test on adhesives and latex
- ☐ Create facial cast or prepare sculpting base
- ☐ Sculpt subtle distortions (sunken eyes, asymmetry)
- ☐ Make silicone mold for casting
- ☐ Pour and layer latex/gelatin
- ☐ Trim, sand, and test fit
- ☐ Add texture with tissue and liquid latex
- ☐ Paint with cool, desaturated tones
- ☐ Seal and attach straps
- ☐ Conduct safety and comfort check
Bring the Dead Back with Care and Craft
Creating an authentic *Pet Sematary* mask is more than a craft project—it’s an act of storytelling. Each brushstroke, layer, and contour contributes to the illusion of something returned from beyond, carrying silence and sorrow in its gaze. By respecting the source material and investing time in detail, you honor the legacy of King’s vision while expressing your own creative voice.


 浙公网安备
33010002000092号
浙公网安备
33010002000092号 浙B2-20120091-4
Comments
No comments yet. Why don't you start the discussion?