
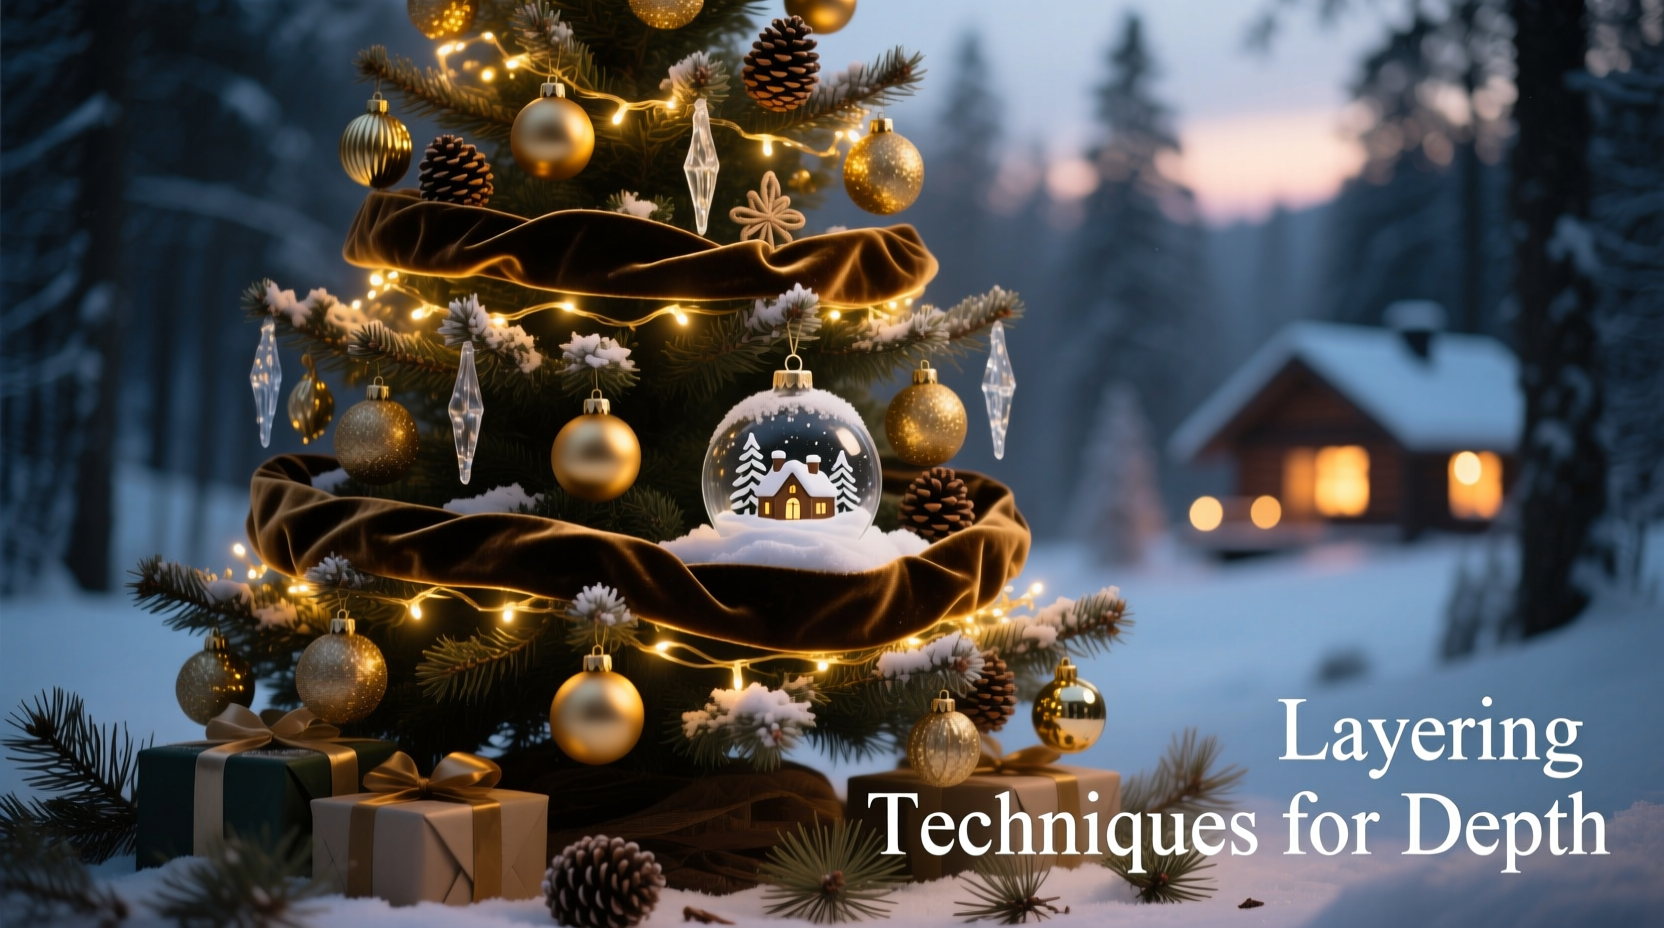
A truly memorable Christmas tree doesn’t just sparkle—it breathes. It invites the eye to wander inward, to discover hidden ornaments nestled behind frosted branches, to sense volume and dimension beyond its outer silhouette. That illusion of depth is what separates a flat, crowded arrangement from a lush, three-dimensional centerpiece. It’s not achieved by adding more lights or stacking more baubles; it’s built deliberately, methodically, through intentional layering—a technique borrowed from interior design, floral arranging, and professional set decoration. When executed well, layering transforms your tree into a living composition: one where every ornament has spatial context, light plays across multiple planes, and the overall effect feels generous, grounded, and authentically festive.
The Three-Dimensional Principle: Why Depth Matters More Than Density
Many well-intentioned decorators fall into the “more is more” trap—draping strings of lights haphazardly, clustering ornaments only on visible branch tips, and neglecting the inner structure. The result? A tree that reads as a two-dimensional wall of color from the front, with hollow, sparse gaps at the back and center. Depth isn’t about filling empty space—it’s about defining spatial zones: foreground (outermost branches), midground (the body and curve of the tree), and background (inner branches and trunk). Each zone serves a distinct visual function. Foreground elements catch immediate attention and provide texture; midground anchors the composition with rhythm and repetition; background adds richness, shadow, and structural integrity. Without all three, the tree lacks weight, mystery, and visual stamina.
Professional stylist and longtime holiday designer Lena Torres confirms this principle:
“A tree without depth is like a photograph without focus—it may be bright and busy, but it won’t hold the gaze. Depth creates hierarchy, intention, and quiet drama. It’s what makes people pause, lean in, and say, ‘How did they do that?’” — Lena Torres, Creative Director, Evergreen Atelier
Step-by-Step Layering Sequence: Build From the Inside Out
Effective layering follows a strict chronological order—not based on ornament type, but on spatial priority. Deviate from this sequence, and you’ll spend hours repositioning pieces or covering up awkward gaps. Follow these six non-negotiable steps:
- Start with structural lighting: Before any ornament touches the tree, weave incandescent or warm-white LED string lights deep into the inner branches—starting at the trunk and spiraling outward toward the tips. Aim for 100 lights per vertical foot of tree height, distributed evenly across all three zones.
- Add foundational greenery (if using real or faux boughs): Tuck small sprigs of pine, eucalyptus, or cedar into inner branch junctions to fill voids and add organic texture behind ornaments.
- Anchor with large-scale forms: Hang 3–5 oversized ornaments (4–6 inches in diameter) deep within the midground—near branch forks, not tips. Use matte finishes (velvet, ceramic, matte glass) to absorb light and recede visually.
- Establish rhythm with mid-size ornaments: Place 7–12 ornaments (2.5–4 inches) along primary branch sweeps, alternating shapes (sphere, teardrop, cube) and varying hang lengths (some on 4-inch wires, others on 8-inch).
- Introduce texture and contrast in the foreground: Add clusters of smaller ornaments (1–2.5 inches) with reflective surfaces (mirrored glass, metallic foil, iridescent resin) on outer branch tips. Group in odd numbers (3s or 5s) for natural balance.
- Finalize with dimensional accents: Weave garlands, ribbons, or twig bundles *through* branches—not draped over them—to break up surface continuity and reinforce layered planes.
Ornament Placement Logic: Where to Hang What—and Why
Ornament size, finish, weight, and color temperature all influence perceived depth. Placing a heavy, glossy red ball on an outer tip pushes it forward visually; hanging a lightweight, matte gold sphere deep in the midground pulls it backward—even if both are the same physical size. Understanding this optical behavior allows precise spatial control.
| Ornament Trait | Visual Effect | Recommended Zone | Rationale |
|---|---|---|---|
| Matte finish (velvet, ceramic, chalk-paint) | Recedes, absorbs light | Midground & Background | Creates visual “air” behind brighter elements; prevents glare overload |
| Glossy or mirrored surface | Advances, reflects ambient light | Foreground only | Draws eye immediately; enhances perceived fullness without adding bulk |
| Warm-toned colors (burgundy, mustard, cream) | Appears closer, more inviting | Foreground & Midground | Creates psychological warmth and approachability; balances cool backgrounds |
| Cool-toned colors (navy, silver, icy blue) | Recedes, feels atmospheric | Background & Midground | Deepens spatial perception; mimics natural shadow tones |
| Asymmetrical shape (starburst, twisted wire, irregular glass) | Creates directional movement | Midground (strategically) | Guides the eye diagonally across the tree, reinforcing depth perception |
Real-World Case Study: The “Too-Thin” Tree Transformation
Sarah M., a graphic designer in Portland, struggled annually with her 7.5-foot Fraser fir. Despite buying 120 ornaments and three sets of lights, her tree consistently looked “like a coat rack draped in tinsel”—sparse at the base, overloaded at the top, and hollow behind. She followed conventional advice: “start at the bottom,” “mix sizes,” “add ribbon last.” Nothing worked.
After consulting a local floral designer who specialized in holiday installations, Sarah restructured her process entirely. She began by removing everything, then spent 45 minutes weaving 750 warm-white micro-LEDs—not just around—but *into* the tree’s core, anchoring strands at the trunk and fanning them outward in concentric rings. Next, she hung five 5-inch matte-black ceramic spheres deep in the midsection, spaced evenly around the 360-degree plane. Only then did she add 22 mid-size ornaments in graduated gold tones (brushed, hammered, satin), placing each at a different radial angle and height. Finally, she clustered tiny mercury-glass stars on outer tips and wove linen-and-cotton garland *through* branches at three vertical intervals.
The result? A tree that appeared fuller, taller, and more substantial—despite using 15% fewer ornaments than previous years. Guests commented on its “mysterious glow” and “old-world elegance.” Most importantly, Sarah reported spending less time adjusting and more time enjoying—the hallmark of intentional layering.
Essential Layering Checklist
- ✅ Test lights *before* hanging—replace dead bulbs and check voltage compatibility
- ✅ Use ornament hooks with varied stem lengths (2”, 4”, 6”) to control projection distance
- ✅ Hang heavier ornaments first—on sturdier inner branches—to avoid shifting later layers
- ✅ Rotate the tree 90 degrees every 2–3 ornaments to ensure even distribution in all directions
- ✅ Keep a “depth journal”: note which ornaments sit where and how they interact spatially (e.g., “matte navy ball + brushed gold teardrop = soft contrast at 5 o’clock, mid-height”)
- ✅ Reserve at least 30% of your ornament collection for background/midground use—don’t default to “showpieces only on the outside”
FAQ: Layering Questions Answered
Can I layer effectively on a slim or pencil-style tree?
Absolutely—and layering is even more critical here. Slim trees have minimal lateral branch spread, so depth must be created vertically and texturally. Prioritize long-hang ornaments (use 8–12 inch wires), drape garlands vertically rather than horizontally, and incorporate tall, narrow accents like slender candle-shaped ornaments or stacked wooden beads. Avoid wide, flat ornaments that emphasize narrowness.
What’s the biggest mistake people make when trying to add depth?
Over-relying on ribbon or tinsel as a “filler.” These materials sit *on top* of branches and flatten the surface rather than building layers. True depth comes from objects placed *between* branches—not draped *over* them. If using ribbon, cut 18–24 inch lengths and thread them through branch junctions at staggered heights, allowing ends to cascade naturally—not looped and pinned.
Do color schemes affect perceived depth?
Yes—significantly. Monochromatic schemes (e.g., all shades of green or ivory) enhance depth because the eye reads subtle tonal shifts as spatial cues. High-contrast palettes (red/green, black/white) can flatten perception unless balanced with matte finishes, varied textures, and intentional value gradation (e.g., dark forest green in background, sage in midground, mint in foreground). For maximum depth, adopt a 60-30-10 rule: 60% base tone (deep, matte), 30% secondary tone (mid-value, semi-matte), 10% accent tone (bright, reflective).
Conclusion: Your Tree Is a Sculpture—Not a Decoration
Creating depth on a Christmas tree is not about decoration—it’s about sculpture. It asks you to see the tree not as a passive frame, but as an active, three-dimensional canvas with volume, shadow, and perspective. Layering techniques give you the tools to compose intentionally: to guide the eye, modulate light, and build emotional resonance through spatial storytelling. When you place a matte burgundy ball deep in the midground, you’re not just hanging an ornament—you’re establishing gravity. When you cluster iridescent stars on the outer tips, you’re creating focal energy. When you weave garland *through*, not *over*, you’re honoring the architecture of the tree itself.
This year, resist the urge to rush. Give yourself permission to work slowly, thoughtfully, and spatially. Step back often. Invite a second pair of eyes—not to judge, but to witness the evolving dimensionality. And remember: depth isn’t measured in inches or ornaments, but in the quiet pause it inspires in those who stand before it.


 浙公网安备
33010002000092号
浙公网安备
33010002000092号 浙B2-20120091-4
Comments
No comments yet. Why don't you start the discussion?