
Most Christmas trees look flat—not because they lack ornaments or charm, but because their lighting lacks intention. A single string of lights, even if bright and uniform, flattens the tree’s natural conical form. Depth isn’t added with more bulbs; it’s sculpted with strategic placement, thoughtful contrast, and deliberate layering. Professional holiday designers don’t rely on volume—they rely on hierarchy: background, midground, foreground. This approach transforms a static silhouette into a living, breathing centerpiece that draws the eye inward and invites closer inspection. Achieving this requires no special tools, only understanding light behavior, spatial awareness, and disciplined sequencing.
The Science Behind Visual Depth on a Tree
Human vision interprets depth through cues like contrast, scale, occlusion, and luminance gradation. On a Christmas tree, these translate directly to lighting strategy. When all lights sit at the same distance from the viewer—say, strung only on the outer branches—the eye perceives a two-dimensional shell. But when lights occupy multiple planes—deep within the trunk, mid-canopy along secondary branches, and near the tips—the brain registers spatial relationships. Warm-white LEDs placed deep in the interior emit soft, diffused glow that mimics ambient light, while cooler or brighter lights near the perimeter create edge definition and highlight texture. This interplay between warm and cool, dim and bright, hidden and revealed, is what generates perceptual depth.
Crucially, depth isn’t about brightness—it’s about variation. A uniformly lit tree feels artificial and shallow. A thoughtfully layered one feels organic and dimensional, like sunlight filtering through real evergreen boughs. As lighting designer Elena Ruiz notes in her 2022 monograph *The Architecture of Holiday Light*, “A tree’s depth isn’t measured in inches—it’s measured in tonal intervals. One consistent temperature and intensity across all layers collapses space. Introducing just three calibrated zones restores volume.”
Three Essential Lighting Layers—and Where to Place Them
Effective layering rests on three distinct zones, each serving a specific visual function. These aren’t arbitrary divisions—they follow the tree’s natural anatomy and respond to how light interacts with pine needles, branch density, and ornament placement.
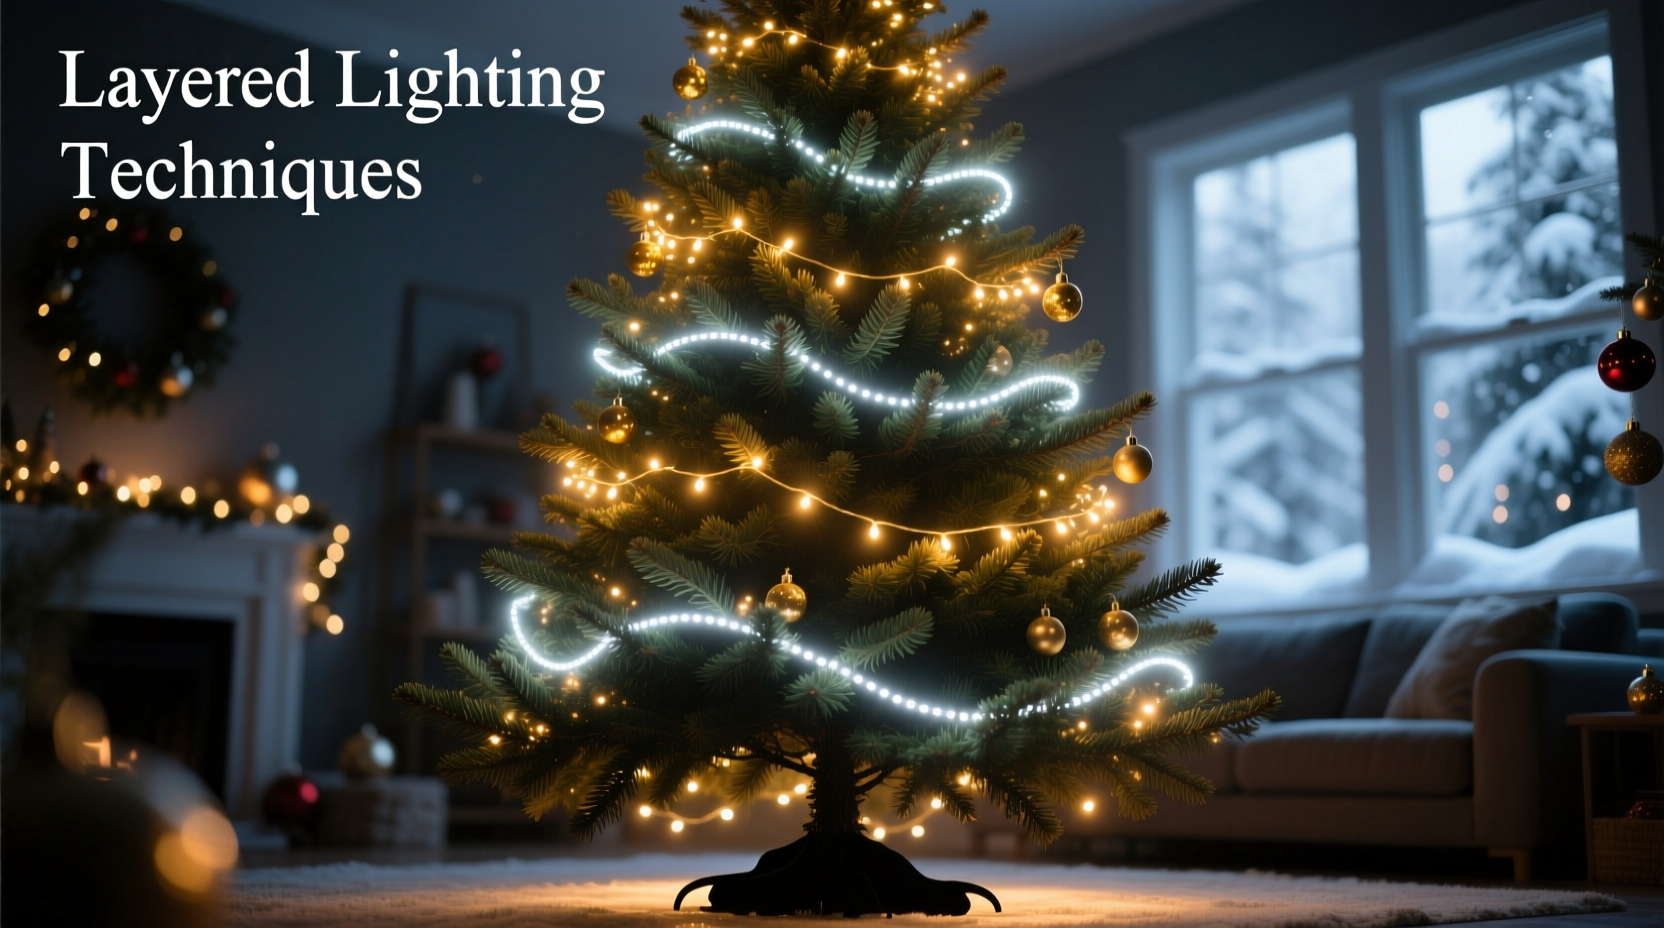
- The Foundation Layer (Interior Trunk & Inner Branches): This is the deepest plane—lights placed 4–8 inches inside the outer foliage, wrapping around the central trunk and lower primary limbs. Use warm-white (2200K–2700K), low-lumen (0.5–1.2 lumens per bulb), micro-LEDs on thin, flexible wire. Their purpose is ambient fill: to eliminate voids, soften shadows, and provide a gentle backlight for ornaments hung farther out.
- The Structural Layer (Mid-Canopy & Secondary Branches): Positioned midway between trunk and tip—roughly two-thirds outward from the center—this layer defines the tree’s silhouette and supports ornament weight. Use medium-warm white (2700K–3000K) or warm-dim LEDs with moderate output (1.5–2.5 lumens/bulb). Space bulbs every 4–6 inches along horizontal and diagonal sweeps—not just vertically—to reinforce the tree’s radial symmetry.
- The Accent Layer (Outer Tips, Front-Facing Branches & Focal Points): This is the most visible plane: lights placed within 1–2 inches of needle tips, especially on forward-facing limbs and around key ornaments (e.g., star, angel, or heirloom pieces). Use slightly cooler (3000K–3200K) or programmable LEDs with subtle twinkle or fade effects. Density here should be higher—every 2–3 inches—but never so dense it overwhelms texture.
Step-by-Step Installation Sequence
Layering fails not from poor planning—but from rushed execution. Follow this precise sequence to avoid rework, tangled wires, and compromised depth.
- Prep the Tree: Fluff branches outward from the trunk, starting at the bottom. Ensure inner limbs are accessible—not compressed or hidden. Remove any pre-strung lights or plastic ties.
- Install the Foundation Layer First: Begin at the base. Wrap warm-white micro-LEDs tightly around the central trunk, spiraling upward every 6–8 inches. Then, gently tuck strings 4–6 inches into the interior of lower and middle sections—avoiding visible wire paths. Use plastic-coated floral pins (not staples or tape) to secure where needed.
- Add the Structural Layer Next: Starting again at the base, weave medium-warm strings horizontally around the tree’s circumference, moving upward in 8-inch vertical increments. At each level, angle strings diagonally across the face (like a gentle “X”) rather than straight up-and-down. This reinforces volume and prevents vertical striping.
- Hang Ornaments Before the Accent Layer: Place heavier ornaments first—on structural branches where wire can support them. Reserve delicate or reflective pieces for outer tips. This ensures the Accent Layer enhances—not obscures—your design.
- Apply the Accent Layer Last: With ornaments in place, add final lights only to outermost tips and front-facing surfaces. Focus on creating rhythm: group three bulbs closely together at branch ends, then leave 4–5 inches bare before the next cluster. Avoid continuous “string-of-pearls” effect.
- Final Calibration: Step back 6 feet. Turn off room lights. Observe: Is the interior softly glowing? Do mid-branches read as full—not sparse or striped? Are tips sparkling without glare? Adjust by adding 1–2 Foundation bulbs in dark pockets or removing 1–2 Accent bulbs where brightness overwhelms texture.
Do’s and Don’ts: Common Layering Mistakes & Fixes
Mistakes in layered lighting rarely stem from equipment failure—they arise from misapplied assumptions about coverage, color, and density. The table below distills decades of professional tree-lighting experience into actionable guidance.
| Category | Do | Don’t |
|---|---|---|
| Color Temperature | Use warm-white (2200K–2700K) for Foundation; medium-warm (2700K–3000K) for Structural; consistent 3000K–3200K for Accent. Never mix cool whites (4000K+) unless intentionally creating modern contrast. | Assume “all warm white” means uniform. Using identical 2700K bulbs across all layers eliminates tonal distinction—and thus depth. |
| Bulb Density | Foundation: 30–40 bulbs per foot of string length (low-output); Structural: 50–60 bulbs/ft (medium); Accent: 70–80 bulbs/ft (higher output, but sparingly applied). | Overcrowd the Accent Layer. More bulbs ≠ more depth. Clustering > density for perceived luminosity. |
| Wire Management | Use thin-gauge (22–24 AWG), insulated copper wire for Foundation and Structural layers. Hide connectors behind thick branches—not under ornaments. | Let wires dangle visibly or wrap haphazardly. Exposed wiring breaks visual continuity and flattens perception. |
| Power Distribution | Power Foundation and Structural layers from separate outlets or heavy-duty surge protectors. Never daisy-chain more than three standard-light strings. | Plug all layers into one outlet via cheap extension cords. Voltage drop in inner layers dims Foundation light, collapsing depth. |
Mini Case Study: The 7-Foot Fraser Fir Transformation
In December 2023, interior stylist Maya Lin faced a recurring client challenge: a beautiful 7-foot Fraser fir that looked “like a green cardboard cutout” under standard lighting. The tree had excellent density and natural taper—but its pre-strung cool-white lights created harsh glare and erased shadow play. Maya removed all existing lights and began fresh.
She started with 200 warm-white micro-LEDs (2400K) wound tightly around the trunk and tucked 5 inches deep into lower and middle interior zones—creating a soft, honeyed core glow. Next, she added 300 medium-warm LEDs (2850K) in horizontal-diagonal sweeps, spaced precisely to emphasize the tree’s natural spiral growth pattern. Finally, she placed just 120 accent bulbs (3100K) exclusively on the 12 most prominent outer tips—each cluster of three bulbs angled slightly toward the room’s main seating area.
The result? Clients reported the tree “looked taller,” “felt alive,” and “changed expression depending on where you stood.” Photographs confirmed it: side views revealed clear tonal separation between layers; frontal shots showed luminous dimensionality, not flat brightness. Most tellingly, the tree required 15% fewer total bulbs than the original setup—proof that depth emerges from intelligence, not intensity.
Expert Insight: Why Layering Is Non-Negotiable for Modern Trees
Contemporary Christmas trees—especially premium firs, spruces, and sustainably grown varieties—feature tighter branch structures and denser foliage than mid-century pines. That density is an asset for depth—if leveraged correctly. But it also means traditional “wrap-and-hope” lighting methods fail catastrophically: outer strings dominate, inner spaces go dark, and ornaments disappear into shadow.
“Today’s trees reward precision. A layered approach isn’t decorative—it’s botanical. You’re working with a living geometry. The Foundation Layer honors the trunk’s role as structural anchor; the Structural Layer echoes the radial symmetry of branch whorls; the Accent Layer celebrates the needle’s natural point orientation. Skip one layer, and you’re not just losing light—you’re misrepresenting the tree itself.” — Rafael Torres, Horticultural Lighting Consultant & former Senior Designer, Rockefeller Center Christmas Tree Team
FAQ
Can I layer lights on an artificial tree?
Yes—and often more effectively than on real trees. High-quality artificial trees have consistent branch spacing and hollow interiors ideal for Foundation Layer placement. Just ensure your tree has removable branch tips or access points near the trunk. Avoid trees with rigid, non-adjustable branches that prevent inward wiring.
How many total lights do I need for layered lighting?
Forget the outdated “100 lights per foot” rule. For true layering on a 7-foot tree: Foundation = 200–250 bulbs; Structural = 300–350 bulbs; Accent = 100–150 bulbs. Total: 600–750 bulbs—far fewer than the 1,000+ often recommended, but far more effective. Prioritize quality (warm-white, dimmable, UL-listed) over quantity.
Do I need special tools or wiring skills?
No. All layers use standard plug-in LED strings. What matters is patience and technique—not electrical knowledge. Use plastic-coated floral pins (available at craft stores) instead of staples or tape to secure wires without damaging branches. A small step ladder helps reach upper interior zones safely.
Conclusion
Creating depth on a Christmas tree isn’t about buying more lights or upgrading to smart bulbs. It’s about seeing the tree as architecture—not decoration. It’s recognizing that light, like paint, has value, hue, and texture—and that applying it in intentional layers reveals form the way a master sculptor reveals muscle beneath skin. When you place warm light deep in the trunk, you honor the tree’s foundation. When you trace its mid-canopy with rhythmic, horizontal sweeps, you affirm its growth. When you crown its tips with focused, gentle sparkle, you celebrate its presence in your home. This isn’t holiday styling—it’s quiet reverence, made visible.
This year, resist the urge to “just get it done.” Set aside ninety focused minutes. Work slowly. Step back often. Trust the layers—not the lumens. Your tree will stop looking like something you assembled—and start feeling like something you welcomed.


 浙公网安备
33010002000092号
浙公网安备
33010002000092号 浙B2-20120091-4
Comments
No comments yet. Why don't you start the discussion?