
A Christmas tree should feel alive—inviting, dimensional, and full of visual interest. Yet many well-intentioned decorators end up with trees that look flat or cluttered, despite using beautiful ornaments. The difference between an ordinary tree and one that stops guests in their tracks often comes down to a single principle: depth. Creating depth isn’t about buying more decorations; it’s about how you place them. By layering ornaments strategically, you can transform even a modest artificial tree into a lush, dynamic centerpiece that mimics the organic complexity of nature.
Depth gives your tree dimensionality—drawing the eye inward rather than letting it rest only on the surface. It’s what makes certain trees appear full from every angle, glowing with warmth and texture. Achieving this effect requires thoughtful planning, but once mastered, the technique becomes second nature. Whether you're working with heirloom glass baubles, rustic wooden shapes, or modern metallic spheres, the principles remain the same: vary size, color, reflectivity, and placement to build layers that recede into the branches like a forest canopy.
Why Depth Matters in Tree Design
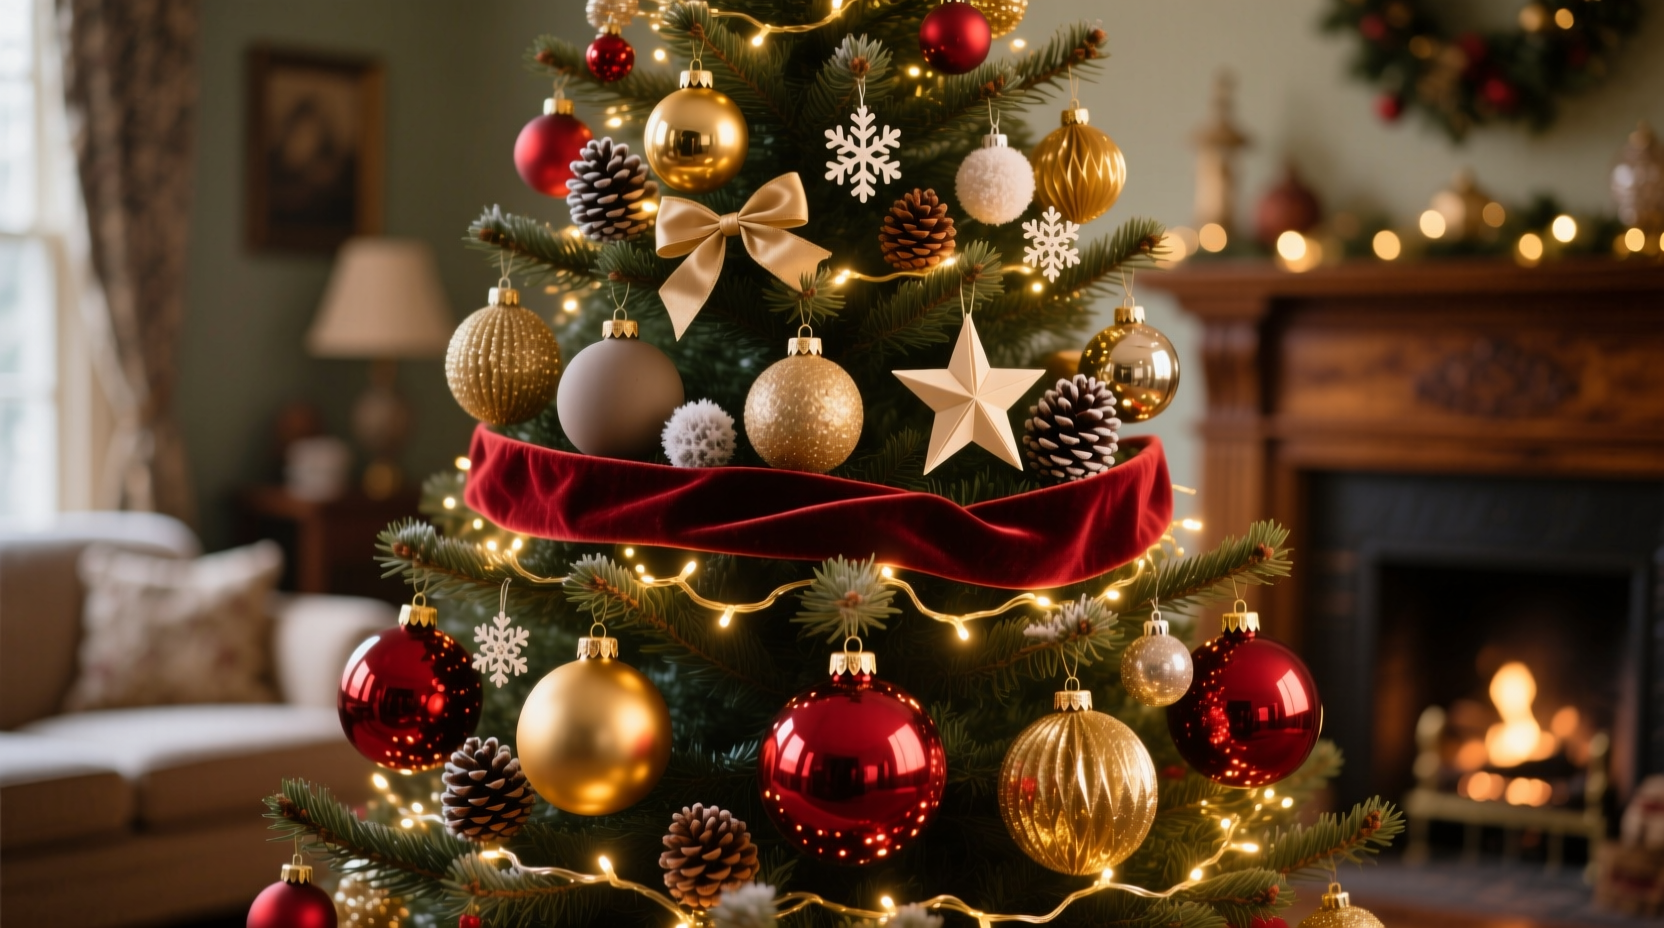
A flat tree looks two-dimensional because all ornaments are placed at the same distance from the viewer—typically clustered on the outermost tips of branches. This creates a “shell” effect: shiny on the outside, hollow within. In contrast, a tree with depth invites exploration. Light catches ornaments nestled deep in the boughs, creating flickers of reflection that suggest hidden treasures. Shadows form naturally, enhancing contrast and realism.
Interior designers and professional stylists often compare a well-decorated tree to a stage set. Just as actors are positioned at different distances from the audience to create perspective, so too should ornaments be arranged in foreground, midground, and background zones. This spatial variation tricks the eye into perceiving volume, making the tree appear fuller and more immersive.
“Depth transforms a tree from decoration to experience. It’s not just about sparkle—it’s about storytelling through space.” — Clara Mendez, Interior Stylist & Holiday Display Consultant
The Three-Zone Layering Method
To achieve true depth, divide your tree into three invisible zones: inner, middle, and outer layers. Each zone plays a distinct role in the overall composition.
1. Inner Layer (Background)
This is the deepest zone, closest to the trunk. Use smaller, matte-finish ornaments in deeper tones—burgundy, forest green, navy, or antique gold. These act as anchors, adding richness without drawing immediate attention. Tuck them carefully into the interior branches, ensuring they’re visible when viewed from the side or slightly above. Avoid overcrowding; these ornaments should peek through, not dominate.
2. Middle Layer (Midground)
The heart of your design lives here. Choose medium-sized ornaments with subtle shimmer—frosted glass, brushed metal, or velvet-covered balls. Mix textures to create contrast. Place these deeper than the outer layer but not as far in as the background pieces. This zone adds body and transition, bridging the gap between shadow and light.
3. Outer Layer (Foreground)
This is where your statement pieces shine. Use larger, highly reflective ornaments—mirrored balls, crystal drops, or glittered stars. Position them on branch tips facing outward, catching ambient light. These catch the eye first and frame the tree, but they should never outnumber the inner layers. Think of them as punctuation marks: bold, but used sparingly.
Ornament Selection for Dimensional Impact
Not all ornaments contribute equally to depth. Some enhance layering; others flatten the effect. Consider these factors when selecting pieces:
- Size Variation: Use a range of diameters—from 1 inch to 4 inches or more. Small ornaments fill gaps; large ones command attention.
- Finish Diversity: Combine glossy, matte, frosted, and textured surfaces. Matte absorbs light, creating shadow; glossy reflects it, creating highlight.
- Color Strategy: Stick to a cohesive palette (e.g., icy blues and silvers, or warm reds and golds), but vary saturation. Darker shades recede; lighter ones advance.
- Shape Contrast: Mix round balls with teardrops, stars, cubes, and figurines. Irregular shapes break monotony and add visual rhythm.
One common mistake is overusing uniformly sized, high-gloss ornaments. While dazzling individually, they tend to compete rather than complement, flattening the tree into a wall of shine. Instead, let only 20–30% of your ornaments be large and reflective. The rest should support them by building background depth.
Step-by-Step Guide to Layered Ornament Placement
Follow this sequence to build depth systematically. Allow 2–3 hours for a 7-foot tree, depending on density.
- Start with lights. Weave them from the inside out, wrapping around the central pole and extending deep into branches. Use warm white or soft ivory for a natural glow. Test before proceeding.
- Add garland or ribbon. If using, begin with wide ribbon loops or beaded strands, tucking ends into the interior. Let some strands fall vertically to draw the eye downward, enhancing vertical depth.
- Place inner-layer ornaments. Begin with 30% of your total ornaments—smaller, darker, matte-finished. Insert them at least 6–8 inches inward on sturdy branches. Focus on areas near the trunk and lower third of the tree.
- Build the middle layer. Add medium-sized ornaments with soft sheen. Distribute evenly, rotating colors and textures. Avoid lining up identical ornaments on the same level.
- Finish with outer accents. Position larger, reflective ornaments last. Space them apart—no closer than 8 inches—to prevent visual congestion. Angle some slightly forward for maximum impact.
- Adjust and refine. Walk around the tree. Fill any bald spots with small filler ornaments or pinecones. Remove anything that feels repetitive or crowded.
“Always decorate with movement in mind. A tree should look good not just head-on, but as you walk past it.” — Julian Park, Award-Winning Holiday Display Designer
Do’s and Don’ts of Layered Placement
| Action | Do | Don't |
|---|---|---|
| Ornament Spacing | Space similarly sized ornaments apart; vary distances | Cluster identical ornaments together in tight groups |
| Branch Placement | Tuck ornaments deep into branches, not just on tips | Hang everything on the outermost edge |
| Color Distribution | Spread dominant colors throughout all layers | Confine red or gold ornaments to one section |
| Height Balance | Use larger ornaments lower, smaller ones higher | Put all big balls at the top |
| Light Interaction | Position reflective ornaments to catch light from windows or lamps | Face mirrors toward dark corners |
Real Example: Transforming a Flat Tree
Sarah K., a homeowner in Portland, had always struggled with her pre-lit artificial tree looking “like a department store reject.” She used a mix of family heirlooms and new ornaments but admitted to hanging them “wherever there was space.” After learning about layered placement, she re-decorated using the three-zone method.
She began by removing all ornaments. Then, she added 12 small matte-gold balls deep into the lower interior. Next, she placed medium frosted silver orbs in the mid-layer, rotating them around the trunk. Finally, she selected six large mercury-glass ornaments and placed them on outer tips, angled toward the living room’s main light source.
The result? Guests commented that the tree “looked twice as full” and “had a glow from within.” Sarah noted that the process took only 45 minutes longer than her usual method—but the visual payoff was undeniable.
Checklist: Building Depth on Your Tree
Use this checklist before and during decoration to stay on track:
- ☐ Lights are woven from inside out, not just draped on surface
- ☐ At least three ornament sizes are available (small, medium, large)
- ☐ Finishes include matte, frosted, and glossy varieties
- ☐ 30% of ornaments reserved for inner and middle layers
- ☐ Ornaments are placed on all sides of the tree, not just the front
- ☐ No more than 1–2 large ornaments per vertical branch line
- ☐ Tree is viewed from multiple angles during placement
- ☐ Filler elements (pinecones, berries, small birds) used sparingly for texture
Frequently Asked Questions
Can I create depth with an artificial tree?
Absolutely. In fact, artificial trees often make layering easier because their branches are sturdier and hold shape better than real ones. Look for trees with hinged or “tip-enhanced” branches that allow for better access to inner layers.
How many ornaments do I need for a layered look?
A general rule is 10–12 ornaments per foot of tree height. For a 7-foot tree, that’s 70–84 ornaments. But quality matters more than quantity—focus on variety in size, finish, and placement rather than sheer numbers.
Should I use themed ornaments with this method?
Yes, but distribute theme elements throughout all layers. For example, if using snowmen, place one deep inside, one in the middle, and one on the outside. This maintains cohesion while preserving depth.
Final Thoughts: Elevate Your Holiday Presence
A Christmas tree is more than a backdrop—it’s a focal point of memory, tradition, and seasonal joy. When done well, it doesn’t just occupy space; it enhances it. Creating depth through layered ornament placement is one of the most effective ways to elevate your tree from basic to breathtaking. It requires patience and intention, but the results speak for themselves: a tree that feels abundant, balanced, and alive from every angle.
You don’t need expensive decorations or professional training. You need a plan, a few varied ornaments, and the willingness to look beyond the surface. Start with one section of your tree, apply the three-zone method, and observe the transformation. Once you see how depth changes the entire presence of your tree, you’ll never go back to random hanging.


 浙公网安备
33010002000092号
浙公网安备
33010002000092号 浙B2-20120091-4
Comments
No comments yet. Why don't you start the discussion?