
Starting a YouTube channel can feel overwhelming, especially when you're unsure where to begin. Yet, some of the most successful creators began with nothing more than a smartphone and a clear idea. The key isn’t expensive gear or professional studios—it’s consistency, authenticity, and a strategy that connects with real viewers. Creating engaging videos doesn’t require perfection; it requires purpose. This guide walks through every essential step, from ideation to publishing, so you can produce content that resonates, retains attention, and grows your audience over time.
1. Define Your Niche and Target Audience
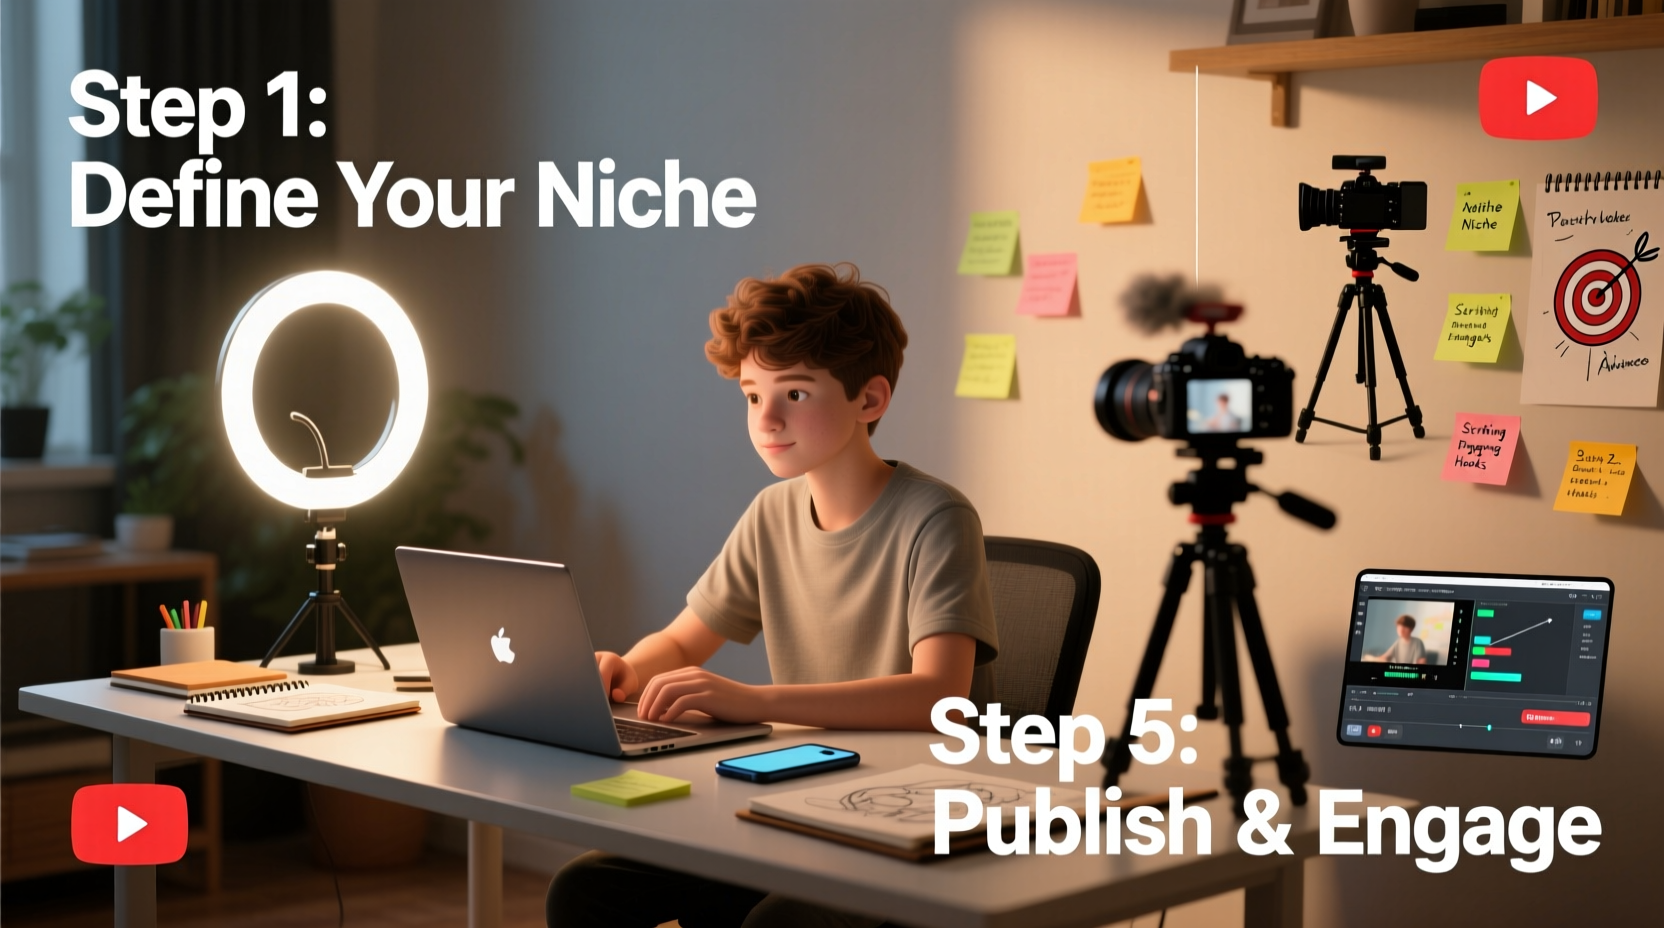
Before filming, identify what your channel is about. A focused niche helps attract a loyal audience. Are you teaching cooking techniques? Reviewing tech gadgets? Sharing personal development tips? The more specific, the better. Viewers subscribe not just for content but for value—something they can learn, enjoy, or relate to.
Once your niche is set, define your ideal viewer. Ask: Who are they? What problems do they have? What kind of tone do they respond to? For example, a tech review channel targeting college students will sound different than one aimed at IT professionals.
2. Plan Your Video Content Strategically
Engagement starts long before you hit record. Strong planning separates amateur clips from compelling content. Begin with a content calendar outlining your first 10–15 videos. This builds momentum and prevents creative burnout.
For each video, write a simple script or outline. Include:
- An attention-grabbing opening (first 5–10 seconds)
- A clear message or takeaway
- Visual cues or b-roll ideas
- A call-to-action (like, comment, subscribe)
Structure your video using the “hook, body, payoff” model. Open with a question, surprising fact, or bold statement. Deliver value in the middle. End with a summary and invitation to engage.
Content Planning Checklist
- Choose a topic aligned with your niche
- Research keywords using tools like Google Trends or TubeBuddy
- Write a working title and thumbnail idea
- Create a brief outline or script
- Identify required props, locations, or visuals
3. Film with Clarity and Confidence
You don’t need a 4K cinema camera to start. Most smartphones today shoot high-quality video. What matters more is lighting, audio, and framing.
Lighting: Natural light is free and effective. Shoot near a window during daylight, avoiding direct sun. If indoors, use softbox lights or a ring light to eliminate harsh shadows.
Audio: Poor sound drives viewers away faster than poor video. Use an external microphone if possible—a lavalier mic clipped to your shirt drastically improves clarity. Record in quiet environments and avoid echo-prone rooms.
Framing: Follow the rule of thirds. Position yourself slightly off-center for visual interest. Keep the background clean and relevant. Use a tripod to prevent shaky footage.
“Viewers forgive lower video quality, but rarely forgive bad audio.” — Phil Ebiner, Top-Rated Instructor on Video Production
4. Edit for Engagement and Flow
Editing transforms raw footage into a polished experience. Free tools like DaVinci Resolve, iMovie, or CapCut offer powerful features without cost. Focus on pacing: cut out pauses, filler words, and redundant segments.
Begin with a short intro (5 seconds max), then jump straight into the hook. Use text overlays to emphasize key points. Add background music at low volume to maintain energy without distracting.
Include b-roll or screen recordings to break up talking-head segments. This keeps visuals dynamic and reinforces your message. Always end with a strong call-to-action: ask viewers to comment, watch another video, or subscribe.
| Editing Element | Do | Avoid |
|---|---|---|
| Pacing | Cut pauses and tighten transitions | Long silences or slow intros |
| Music | Use royalty-free tracks at low volume | Loud or copyrighted songs |
| Text | Add subtitles and key takeaways | Overloading screens with text |
| Thumbnail | Create custom, bold, readable images | Blurry or cluttered designs |
5. Optimize for Discovery and Retention
Even great videos go unnoticed without proper optimization. YouTube is the second-largest search engine, so treat your video like a web page.
Start with your title. It should be clear, keyword-rich, and intriguing. Instead of “My Cooking Video,” try “3 Easy Weeknight Dinners Ready in 20 Minutes.” Use tools like vidIQ or TubeBuddy to analyze keyword strength.
Your description should include a brief summary, timestamps (for longer videos), links to resources, and a few relevant hashtags. First two lines are critical—they show in search results.
Custom thumbnails are non-negotiable. Use contrasting colors, readable fonts, and expressive facial reactions when applicable. A/B test thumbnails to see what performs best over time.
Real Example: From Zero to 10,000 Views
Sarah, a beginner fitness enthusiast, launched her channel with five unedited videos that gained fewer than 200 views each. She paused, studied top-performing videos in her niche, and redesigned her approach. Her next video—titled “Beginner-Friendly Home Workout (No Equipment)” featured a bright thumbnail with bold red text, natural lighting, and a 10-second intro promising results. She added timestamps and used upbeat background music. Within three weeks, the video reached 10,000 views and gained her first 500 subscribers. The difference wasn’t budget—it was intentionality.
6. Publish and Promote Consistently
Upload consistently—even once a week builds trust. Schedule uploads for days and times when your audience is most active. Use YouTube Studio to analyze viewer retention and traffic sources.
Share your videos in relevant online communities (Reddit, Facebook groups, forums) without spamming. Engage with comments within the first 24 hours to boost algorithmic visibility. Encourage discussion with questions like, “What’s one tip you’ll try from this video?”
Collaborate with small creators in your niche. Cross-promotion exposes you to new audiences while building relationships.
Frequently Asked Questions
How long should my first YouTube videos be?
For beginners, aim for 5–8 minutes. Shorter videos are easier to produce and edit, and they help you master pacing. As you gain confidence, adjust length based on topic depth and audience retention data.
Do I need to show my face on YouTube?
No, but it helps build connection. Many successful creators use voiceovers with B-roll, animations, or screen recordings. Choose a format that aligns with your comfort level and content type.
Why aren’t my videos getting views?
New channels often face slow initial growth. Ensure your titles, thumbnails, and first 30 seconds are strong. Analyze retention graphs in YouTube Studio—drop-offs indicate where viewers lose interest. Refine based on feedback and data, not assumptions.
Conclusion: Start Now, Improve Continuously
Creating engaging YouTube videos isn’t about waiting until everything is perfect. It’s about starting with what you have, learning through doing, and improving with each upload. The most impactful element you bring isn’t your camera or microphone—it’s your unique perspective. Stay consistent, listen to your audience, and focus on delivering value. Over time, engagement will grow not because your videos are flawless, but because they matter to someone watching.


 浙公网安备
33010002000092号
浙公网安备
33010002000092号 浙B2-20120091-4
Comments
No comments yet. Why don't you start the discussion?