
Three-dimensional imagery has transformed how we visualize ideas, from product design and architecture to digital art and animation. What once required expensive software and advanced training is now accessible to anyone with a computer and curiosity. Creating stunning 3D images no longer demands a degree in computer graphics—just the right approach, tools, and a willingness to learn. This guide walks through the entire process, breaking down complex concepts into manageable steps so beginners can produce professional-quality results.
Understanding the Basics of 3D Imaging
Before diving into creation, it's essential to understand what sets 3D apart from 2D. Unlike flat images, 3D models exist in a simulated space with depth, width, and height. They can be rotated, lit from multiple angles, and rendered under different conditions. The core components of any 3D image include geometry (the shape), materials (surface properties), lighting, and camera positioning.
Most 3D workflows follow four main stages: modeling, texturing, lighting, and rendering. Modeling builds the object’s form; texturing adds color and detail like scratches or gloss; lighting sets the mood and realism; and rendering produces the final still image or animation. Each stage contributes to the visual impact of the final piece.
Choosing the Right Software for Beginners
Not all 3D software is created equal—some are designed for engineers, others for animators or architects. For beginners, user-friendliness, community support, and free access are key factors. Below is a comparison of popular entry-level tools:
| Software | Best For | Learning Curve | Cost |
|---|---|---|---|
| Blender | Modeling, animation, rendering | Moderate | Free |
| Tinkercad | Simple modeling, education | Low | Free |
| SketchUp Free | Architectural visualization | Low-Moderate | Free (basic) |
| Cinema 4D (via trial) | Motion graphics, design | Moderate | Paid (free trial) |
Blender stands out as the most powerful free option, offering full control over modeling, sculpting, shading, and rendering. It has a steeper learning curve than Tinkercad but rewards patience with near-professional capabilities. Tinkercad, on the other hand, runs in your browser and uses drag-and-drop mechanics ideal for absolute beginners.
“Start small. A well-lit cube with texture can look more convincing than a poorly executed dragon.” — Lena Torres, 3D Artist & Educator
Step-by-Step Guide to Creating Your First 3D Image
Follow this structured workflow to go from blank canvas to polished render. While specific steps may vary slightly between software, the underlying principles remain consistent.
- Define Your Concept: Decide what you want to create—a coffee mug, a futuristic chair, or an abstract sculpture. Sketch it on paper or find reference images.
- Set Up Your Workspace: Install Blender or Tinkercad. Open a new project and familiarize yourself with the interface: viewport, tool panel, and navigation controls (orbit, pan, zoom).
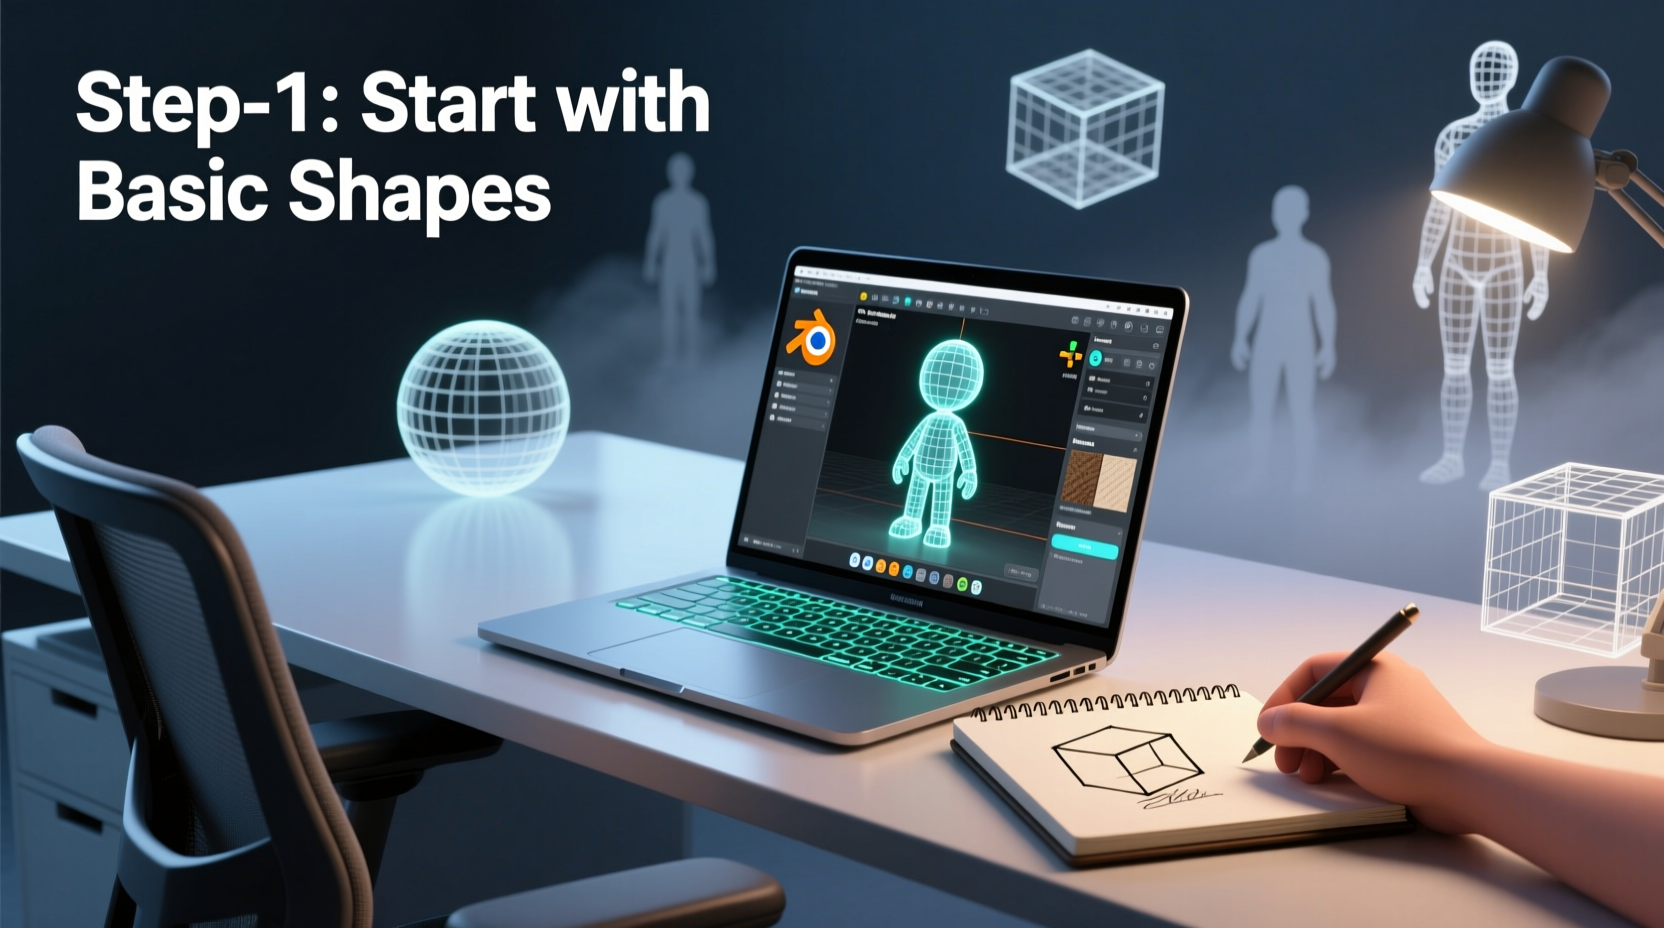
- Create the Base Model: Use primitive shapes to block out your object. In Blender, press Shift+A to add a mesh. Scale, extrude, or rotate parts to match your vision.
- Add Detail Through Editing: Enter Edit Mode to manipulate vertices, edges, and faces. Smooth sharp corners, cut openings, or use Boolean operations to combine/subtract shapes.
- Apply Materials and Textures: Assign colors and surface properties. In Blender, use the Shader Editor to mix roughness, metallic values, and image textures. Try adding a wood grain or brushed metal effect.
- Position Lights: Add at least two light sources—one key light (main illumination) and one fill or rim light. Avoid over-lighting; shadows enhance depth.
- Set the Camera Angle: Position the virtual camera to frame your subject effectively. Use rule-of-thirds mentally to compose visually appealing shots.
- Render the Image: Choose Eevee (real-time) or Cycles (photorealistic) renderer in Blender. Adjust resolution and samples, then click Render > Render Image.
- Review and Refine: Examine the output. Is the lighting too harsh? Does the texture look flat? Make adjustments and re-render until satisfied.
Real Example: Designing a Minimalist Lamp
Consider Maya, a beginner who wanted to design a modern floor lamp. She started by collecting inspiration from interior design sites. Using Blender, she added a cylinder for the base, scaled it wide and flat. Another tall, thin cylinder became the stem. For the shade, she used a cone flipped upside down.
She entered Edit Mode to smooth the top edge of the cone and applied a white semi-matte material. Under lighting, she placed a point light inside the shade to simulate a bulb and used a soft area light from the side to cast subtle ambient glow. After adjusting the camera to a low-angle shot emphasizing height, she rendered in 1080p using Cycles. The result was a clean, realistic image suitable for a portfolio or presentation—all completed within three hours.
Essential Checklist Before Rendering
- ✅ Object is centered and properly scaled
- ✅ Meshes are manifold (no holes or overlapping faces)
- ✅ Materials are assigned and previewed
- ✅ Lights are positioned to highlight key features
- ✅ Camera view is framed and locked
- ✅ Render settings match desired quality (resolution, format)
- ✅ File is saved in native format and backed up
Frequently Asked Questions
Do I need a powerful computer to create 3D images?
While high-end GPUs and ample RAM improve performance—especially for complex scenes—you can start with a mid-range laptop. Integrated graphics handle basic modeling and real-time previews in Blender’s Eevee engine. Upgrade hardware gradually as projects grow in complexity.
How long does it take to make a good 3D image?
A simple object like a cup or phone can be modeled, textured, and rendered in under two hours. More intricate designs may take days, depending on detail level and your familiarity with the tools. Consistent practice reduces production time significantly.
Can I sell my 3D images or use them commercially?
Yes, if you created all elements yourself. Be cautious with downloaded assets—check licenses. Most free model libraries require attribution, while paid ones often allow commercial use outright. Always verify terms before publishing or selling.
Mastering the Art of Realism
Stunning 3D images often hinge on subtlety. Realism isn’t just about detail—it’s about believability. Slight imperfections like dust, micro-scratches, or uneven lighting make digital objects feel tangible. Explore procedural textures and normal maps to simulate fine surface variation without increasing polygon count.
Study real-world photography. Notice how light interacts with different materials: how glass refracts, how metal reflects, how fabric absorbs. Recreating these behaviors in your scene elevates the authenticity of your work. Tools like HDRI environments provide realistic background lighting and reflections with minimal setup.
“The best 3D artists aren’t those with the fastest computers, but those who observe the world most closely.” — Julian Park, VFX Supervisor
Conclusion
Creating stunning 3D images begins not with mastery, but with motion. The first model may lack polish, the lighting may feel flat, and the render might take longer than expected—but each step builds competence. With free tools like Blender, abundant tutorials, and a methodical approach, anyone can transform imagination into visual reality.


 浙公网安备
33010002000092号
浙公网安备
33010002000092号 浙B2-20120091-4
Comments
No comments yet. Why don't you start the discussion?