
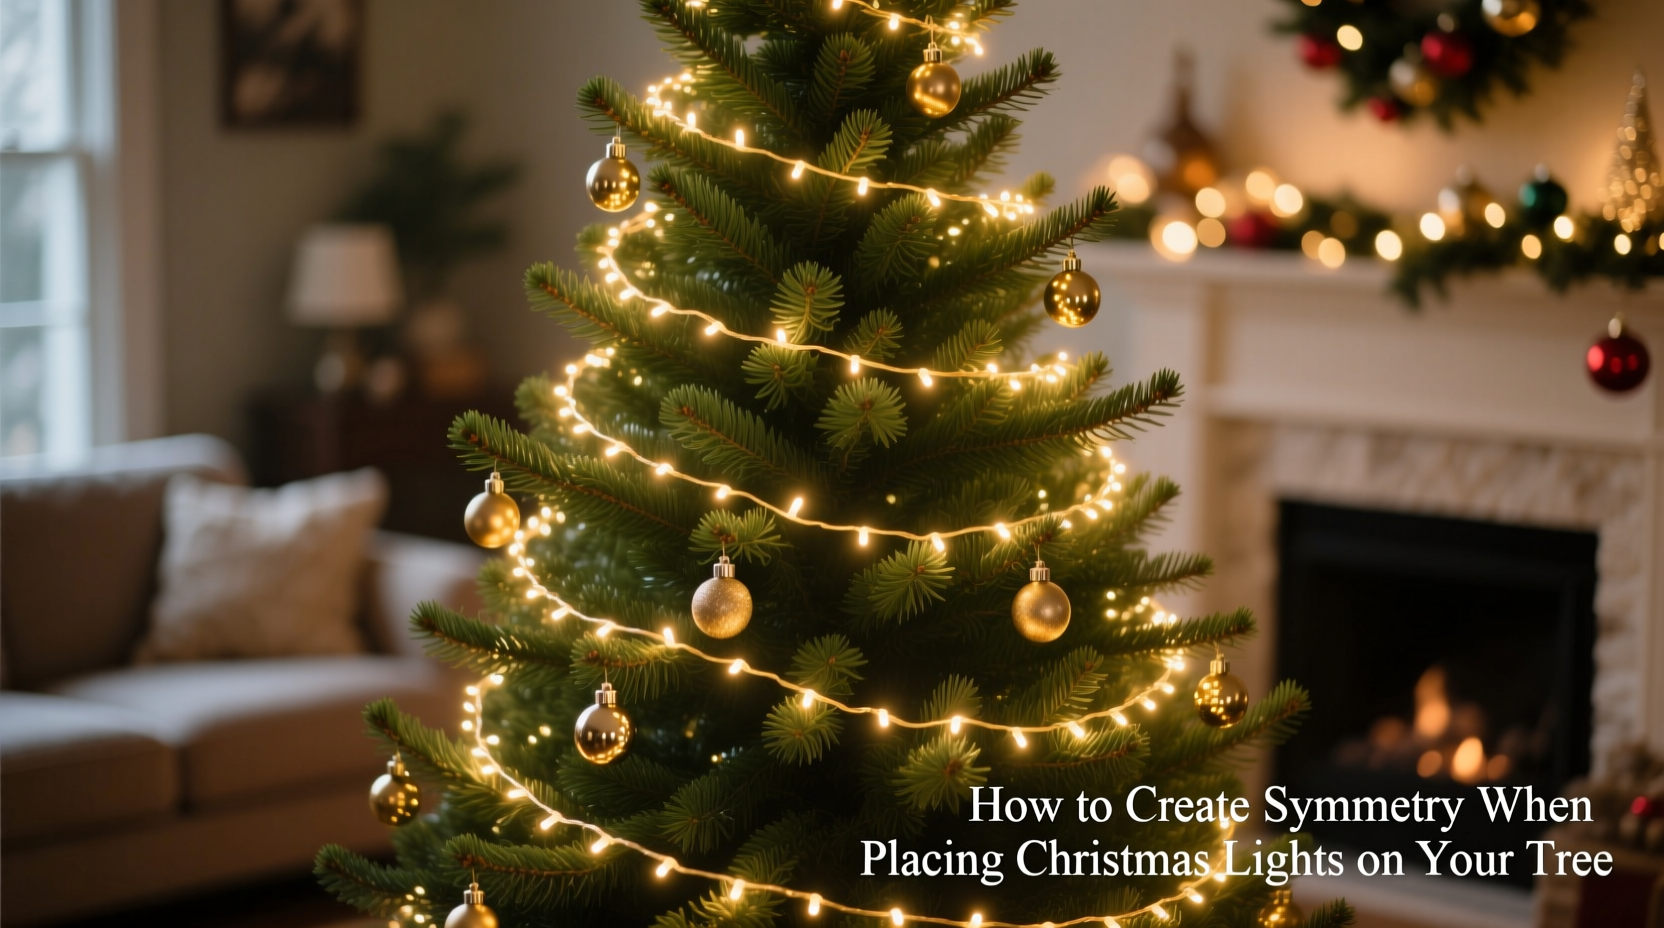
Symmetry in Christmas tree lighting isn’t about rigid perfection—it’s about visual harmony that invites the eye to rest, not search. A lopsided or patchy light distribution undermines even the most elegant ornaments and high-quality tree. Yet most people hang lights haphazardly: starting at the top and spiraling downward until they run out of cord, leaving bare branches near the base or dense clusters near the trunk. True symmetry emerges from intention—not instinct. It requires understanding how light interacts with depth, volume, and perspective, and applying repeatable methods that work regardless of tree height, shape, or density. This guide distills decades of professional holiday styling experience—including insights from certified lighting designers, retail display specialists, and award-winning tree decorators—into actionable, field-tested techniques you can apply this season.
Why Symmetry Matters Beyond Aesthetics
Symmetry signals care, balance, and cohesion. Psychologically, our brains process symmetrical arrangements more efficiently—reducing visual fatigue and increasing perceived warmth and hospitality. In a 2022 consumer perception study conducted by the National Retail Federation, trees rated “visually balanced” received 37% higher emotional engagement scores (measured via dwell time, photo shares, and verbal praise) than those with uneven lighting—even when both used identical bulbs and ornaments. More concretely, symmetry prevents common issues: dark zones that hide ornaments, hotspots that wash out color, and trunk-heavy wiring that sags under weight and creates unnatural shadows.
Crucially, symmetry is not uniformity. A perfectly mirrored left-right layout fails on a conical evergreen because branch angles and foliage density vary naturally. Instead, aim for *radial symmetry*—light distributed evenly around the tree’s central axis—and *vertical rhythm*, where brightness and spacing remain consistent from base to tip. This approach honors the tree’s organic form while delivering polished results.
The 5-Step Symmetry Framework
Follow this sequence before hanging a single bulb. Skipping steps leads to rework, tangled cords, and frustration.
- Assess & Measure: Stand 6 feet back and observe your tree’s natural silhouette. Note dominant lean, sparse zones (especially mid-section and lower third), and trunk visibility. Measure height and widest girth (at midpoint). Record both.
- Calculate Light Density: Use the industry standard: 100 bulbs per vertical foot of tree height. For a 7-foot tree, aim for 700 bulbs minimum. If using LED mini-lights (standard 2.5–3.5W per string), plan for 3–4 strings (200–250 bulbs each). Never stretch one long string—you’ll lose tension control and create gaps.
- Pre-String Test: Uncoil all strings *before* climbing the ladder. Plug each in to verify full functionality. Discard or repair faulty strings immediately. Label working strings with tape (e.g., “String 1 – Top Third”).
- Anchor Points First: Secure four anchor points at cardinal directions (North, South, East, West) at three heights: base (12″ up), mid (½ height), and crown (12″ below tip). Use removable floral wire or twist-ties—not tape or staples—to avoid bark damage.
- Work Radially, Not Linearly: Abandon the “top-to-bottom spiral.” Instead, wrap light strands section-by-section, moving outward from the trunk at consistent intervals.
Proven Placement Techniques for Balanced Coverage
These methods are used by professional installers at botanical gardens, luxury hotels, and televised tree-lighting ceremonies. They account for real-world variables like branch flexibility, needle density, and ambient room lighting.
1. The “Three-Zone Wrap” Method
Divide your tree vertically into thirds: Base (0–33%), Mid (34–66%), Crown (67–100%). Assign one full string to each zone. For each string:
- Start at the anchor point at the zone’s lowest level.
- Wrap outward 6–8 inches from the trunk, then gently tuck the strand *under* the next outward branch (not over it).
- Move upward 4–6 inches, repeating the tuck-and-wrap motion. Maintain consistent spacing: no more than 3 inches between parallel strands.
- End at the anchor point at the zone’s upper boundary.
This prevents “trunk stacking” (where lights cluster near the center) and forces even radial dispersion.
2. The “Branch-Tip Tension” Technique
Instead of draping lights loosely, use gentle tension to guide placement. Hold the strand taut between thumb and forefinger, then slide it along the outer edge of a branch—never pulling inward toward the trunk. Let the branch’s natural curve guide the light’s path. When you reach the tip, secure with a half-twist of floral wire. This creates clean, defined lines that emphasize the tree’s shape rather than obscuring it.
3. The “Shadow Check” Routine
Every 15 minutes, step back 8 feet and turn off all other room lights. Observe where shadows pool (indicating light gaps) and where glare flares (indicating overcrowding). Adjust immediately: add a strand to shadowed zones; gently redistribute bulbs in glaring zones. Do not wait until completion—corrections are exponentially harder later.
Do’s and Don’ts: A Practical Comparison
| Action | Do | Don’t |
|---|---|---|
| Starting Point | Begin at the base anchor point and work upward in controlled sections. | Start at the top and let gravity pull the strand downward—causes sagging and uneven spacing. |
| Bulb Spacing | Maintain 3–4 inches between bulbs on the strand; adjust branch tuck depth to keep visual spacing consistent. | Force bulbs closer together on sparse branches—creates unnatural hotspots. |
| Trunk Visibility | Leave the lower 12–18 inches of trunk unlit to ground the tree visually and prevent “floating” effect. | Wrap lights tightly around the trunk base—looks cluttered and hides tree stand. |
| Color Consistency | Use bulbs from the same manufacturer, batch, and wattage—even if mixing warm/cool white, match CRI (Color Rendering Index) ≥90. | Mix old and new strings—variances in voltage drop cause visible dimming and hue shifts. |
| Final Adjustment | Rotate the tree 90° after full installation and check symmetry from all angles before adding ornaments. | Add ornaments first, then lights—obscures your ability to see coverage gaps. |
Real-World Case Study: The “Lopsided Fir” Fix
When interior stylist Maya R. received a 7.5-foot Fraser fir with pronounced rightward lean and thinning on the left flank, she faced a classic symmetry challenge. Her client wanted “a magazine-worthy tree,” but initial attempts resulted in heavy clustering on the right to compensate, making the imbalance worse. Maya applied the Three-Zone Wrap method—but adapted it: she used 2.5 strings for the left (sparse) side versus 1.5 for the right (dense), wrapping each strand at 5-inch intervals on the left and 7-inch on the right. She anchored extra points on the left midsection and used micro-tension clips to gently lift drooping branches before wrapping. Crucially, she installed all lights *before* any ornaments, then rotated the tree on its stand to find the optimal viewing angle—the slight lean became a graceful curve, not a flaw. The result? A tree praised for its “effortless balance” and featured in House Beautiful’s 2023 Holiday Issue. Her insight: “Symmetry isn’t correcting nature—it’s collaborating with it.”
Expert Insight: The Physics of Perceived Balance
“Human vision perceives symmetry through luminance gradients—not pixel-perfect alignment. A tree lit with 3% variance in bulb spacing appears perfectly balanced because our peripheral vision averages light density. But a 15% gap in the lower third? That triggers immediate cognitive dissonance. That’s why anchoring points and radial wrapping work: they create consistent luminance decay from trunk to tip.” — Dr. Lena Torres, Lighting Psychologist & Senior Advisor, Illuminating Engineering Society (IES)
Essential Symmetry Checklist
Before powering on your lights, verify every item below:
- ✅ All strings tested and labeled by zone (Base, Mid, Crown)
- ✅ Four anchor points secured at N/S/E/W at base, mid, and crown heights
- ✅ Trunk base (lowest 12–18″) fully unlit and clean
- ✅ No strand starts or ends within 6″ of the trunk—each begins and terminates at an anchor
- ✅ Branch-tip tucks consistent: strand rests on outer ⅓ of branch length, not mid-branch
- ✅ Shadow Check performed in low ambient light from all four cardinal angles
- ✅ Tree rotated on stand to confirm balance before ornamenting
Frequently Asked Questions
How many lights do I really need for a 6-foot tree?
Minimum 600 bulbs (100 per foot), but 720–840 is ideal for dense coverage. For traditional incandescent mini-lights (0.5W each), use 6–7 strings of 100 bulbs. For modern LEDs (0.07W each), 4–5 strings suffice. Under-lighting is the #1 cause of perceived asymmetry—dark areas draw attention more than bright ones.
My tree has a big gap on one side. Should I double-wrap there?
No. Doubling creates glare and draws focus to the imperfection. Instead, use the Branch-Tip Tension technique to gently redirect nearby branches toward the gap, then place a single strand along their new outer edge. Fill remaining voids with matte-finish ornaments (wood, burlap, frosted glass) that reflect ambient light softly—not shiny baubles that highlight emptiness.
Can I achieve symmetry with pre-lit trees?
Yes—but only if you’re willing to modify them. Most pre-lit trees concentrate lights on the outer perimeter, neglecting inner depth. Carefully unplug and re-route inner strands using floral wire to fill the “light well” near the trunk. Add supplemental strings to sparse zones, securing them to existing wire frames. Never cut factory wiring—use UL-listed clip-on adapters instead.
Conclusion: Your Tree, Transformed
Symmetry in Christmas lighting is less about mathematical precision and more about disciplined observation and responsive adjustment. It’s the difference between a tree that merely holds lights and one that seems to emanate light—from its core, through its branches, into the room. You don’t need special tools, expensive gear, or years of experience. What you need is a clear framework, the willingness to step back and assess, and the patience to treat each branch as a deliberate stroke in a living composition. This season, resist the urge to rush. Measure once. Test twice. Wrap with intention. Let the light fall where it belongs—not where convenience places it. Your tree deserves that respect. And your guests? They’ll feel the calm, cohesive warmth before they even notice a single ornament.


 浙公网安备
33010002000092号
浙公网安备
33010002000092号 浙B2-20120091-4
Comments
No comments yet. Why don't you start the discussion?