
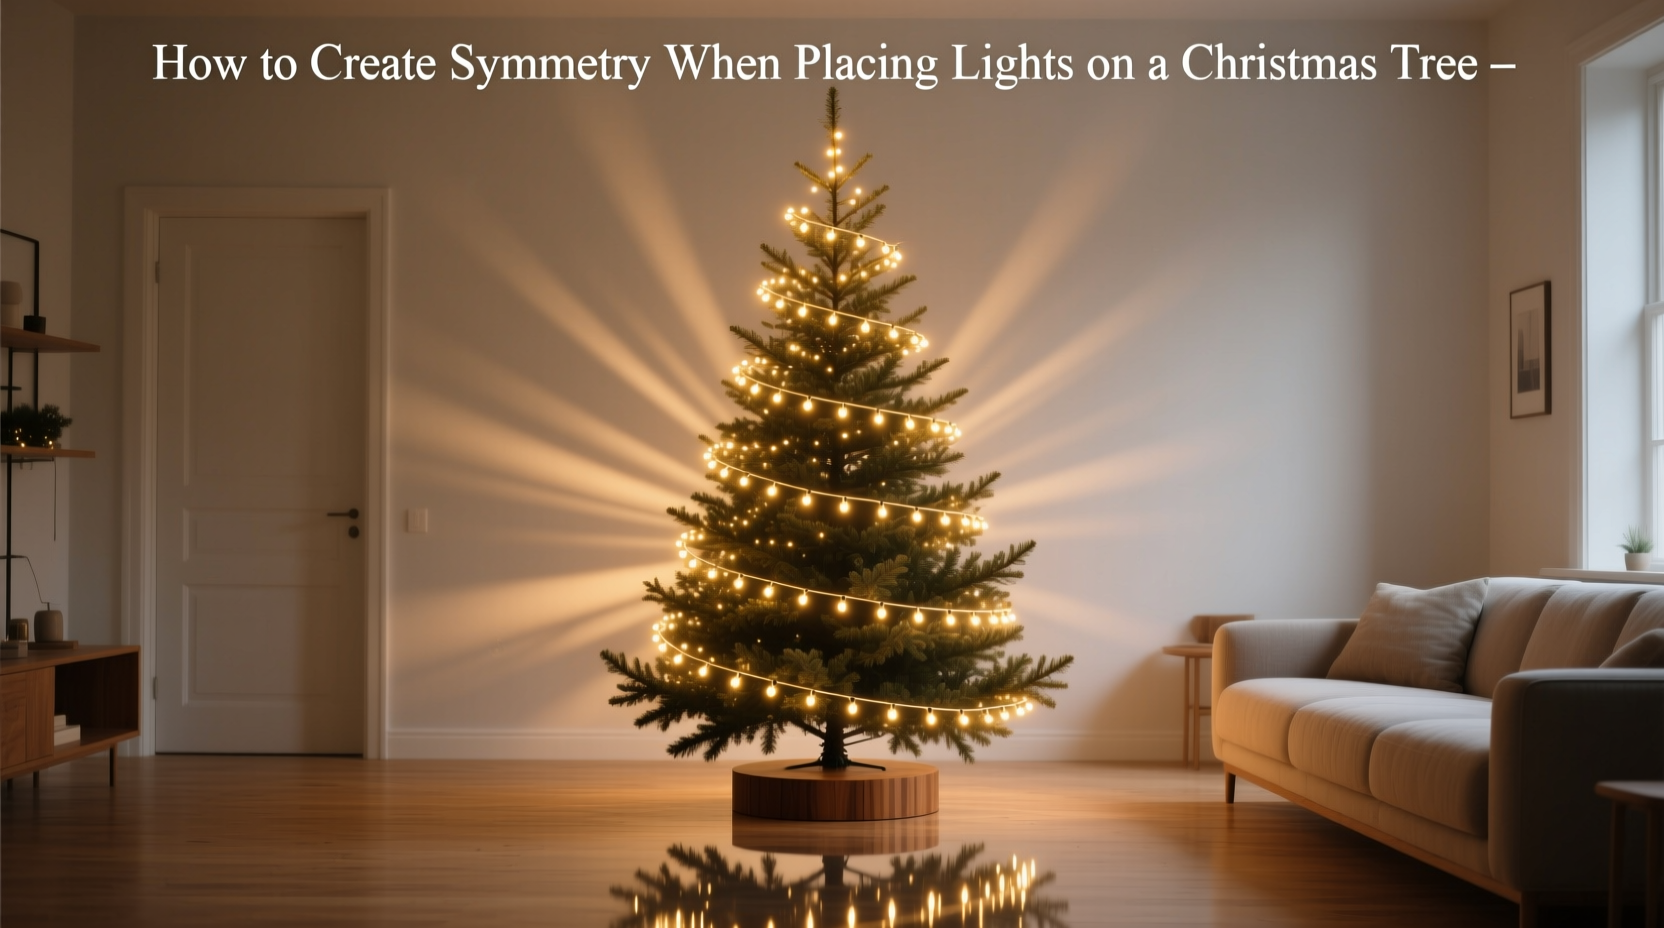
A well-lit Christmas tree can transform a room into a festive sanctuary. But more than just brightness or color choice, the visual impact of a tree hinges on balance—specifically, symmetry. A symmetrical light layout ensures that every angle of the tree glows evenly, creating harmony between branches, ornaments, and ambient light. Achieving this doesn’t require professional decoration skills, but it does demand intentionality, planning, and a methodical approach. Whether you’re using traditional incandescent bulbs or modern LED strands, symmetry begins long before the first wire touches a branch.
Symmetry in lighting isn’t about rigid uniformity; it’s about visual equilibrium. It means avoiding dark patches, clumps of brightness, or one side of the tree appearing heavier than the other. This guide walks through the principles, techniques, and small but critical decisions that lead to a perfectly balanced, professionally lit tree—without guesswork or frustration.
Understanding Visual Balance on a Christmas Tree
Before wrapping the first strand, it helps to understand what symmetry means in the context of a three-dimensional object like a Christmas tree. Unlike flat surfaces, trees present depth, varying branch density, and irregular shapes—even artificial ones. True symmetry here refers to consistent light distribution across all visible planes: front, sides, and depth from trunk to tip.
Visual weight plays a key role. A cluster of bright lights on one lower branch can make that area appear “heavier,” pulling focus away from the rest of the tree. Conversely, sparse lighting at the top can make the tree look unbalanced, as if it’s missing its crown. The goal is to distribute light so that no single area dominates unless intentionally designed (such as a spotlighted star or angel).
To assess balance, step back frequently during the process. View the tree from multiple angles—left, right, center, and even from adjacent rooms. Lighting that looks even up close may reveal gaps or clusters when viewed from a distance. Use natural eye-level sightlines rather than looking up or down excessively, as guests will typically view the tree from standing height.
Step-by-Step Guide to Symmetrical Light Placement
Creating symmetry starts with preparation and follows a logical sequence. Follow these steps to lay lights with precision and consistency.
- Determine the number of light strands needed. A general rule is 100 lights per foot of tree height. For a 6-foot tree, that’s roughly 600 lights—or three 200-light strands. Over-lighting can cause glare; under-lighting creates shadows. Measure your tree and calculate accordingly.
- Inspect and test all strands. Plug in each string to confirm all bulbs work. Replace any faulty sections. Tangled or damaged wires disrupt rhythm and spacing.
- Begin at the base, near the power source. Plug the first strand into an outlet (use a surge protector). Start feeding the cord up the central trunk, securing it lightly with twist ties or floral wire every 12–18 inches. This internal routing hides the main cord and prevents tangling.
- Work from the inside out and bottom to top. Insert lights deep into the inner branches first, angling them slightly outward. This creates depth and prevents a flat, surface-only glow. Move upward in a spiral pattern, maintaining even spacing between bulbs—roughly 3–4 inches apart depending on strand density.
- Wrap in a consistent direction. Whether clockwise or counterclockwise, stick to one rotation. Changing directions mid-tree breaks visual flow and can cause uneven coverage. Mark your starting side with a small ribbon if needed.
- Overlap strands seamlessly. When one strand ends, begin the next at the same height on an adjacent section. Avoid stacking two strands on the same branch. Instead, stagger their placement to maintain even light spread.
- Finish at the top with intentional tapering. As you reach the upper third, reduce the density slightly to avoid overwhelming the tree topper. The top should glow, not glare.
- Test before adding ornaments. Turn off room lights and view the tree in darkness. Walk around it slowly. Note any dark zones or overly bright areas. Adjust by repositioning stray bulbs or adding micro-lights to thin spots.
Do’s and Don’ts of Symmetrical Lighting
Even experienced decorators fall into common traps. The following table outlines best practices versus frequent mistakes that compromise symmetry.
| Do | Don’t |
|---|---|
| Use a consistent spiral pattern — wrap lights in a single rotational direction for smooth transitions. | Switch directions mid-tree, which creates visual disarray and uneven spacing. |
| Layer lights from trunk to tip — place some bulbs deep in the interior for dimension. | Drape lights only along outer edges, resulting in a flat, two-dimensional appearance. |
| Stagger multiple strands — start the next string where the previous one left off, not on the same branch. | Double up strands on one section, causing hotspots and energy overuse. |
| Step back frequently — check symmetry from different angles every few minutes. | Work continuously without pausing to assess overall balance. |
| Match bulb color and size — use identical strands for cohesive tone and spacing. | Mix warm white with cool white or different bulb shapes, which disrupts visual harmony. |
Real Example: From Chaotic to Cohesive
Sarah, a homeowner in Portland, had always struggled with her 7-foot pre-lit tree. Despite having built-in lights, she added extra strands for brightness but ended up with glaring clusters on the left side and dimness on the right. After consulting a local holiday decorator, she removed all additional lights and started fresh.
She unplugged the internal wiring and assessed the factory layout—realizing the lights were concentrated on forward-facing branches. She then added two new strands, routing them internally from the base and wrapping them in a tight, upward spiral from the back-right to the front-left. By stepping back after every foot of wrapping, she ensured even spacing. The result was a tree that glowed uniformly from every angle, with no single side dominating. Her family remarked that it looked “like it belonged in a magazine.”
The transformation wasn’t due to more lights—it was due to better distribution. Sarah now decorates in under an hour, following the same spiral method each year.
“Symmetry in Christmas lighting isn’t perfection—it’s perceptual balance. If the eye moves smoothly across the tree without catching on dark spots or bright bursts, you’ve succeeded.” — Daniel Reeves, Professional Holiday Decorator & Lighting Designer
Checklist for Perfect Symmetry
Use this checklist before, during, and after lighting your tree to ensure consistent results every season.
- ☑ Measure tree height and calculate required number of light strands
- ☑ Test all bulbs and replace any defective sections
- ☑ Route main power cord up the central trunk and secure discreetly
- ☑ Begin wrapping from the bottom, working upward in a single spiral direction
- ☑ Place lights from inner branches outward to create depth
- ☑ Maintain consistent spacing (3–4 inches) between bulbs
- ☑ Stagger multiple strands instead of overlapping them
- ☑ Step back every 1–2 feet to evaluate balance from multiple angles
- ☑ Adjust any uneven areas before adding ornaments or topper
- ☑ Final test in complete darkness to confirm even glow
Frequently Asked Questions
Can I achieve symmetry with a pre-lit tree?
Yes, but many pre-lit trees have lights concentrated on the front and outer branches. To improve symmetry, supplement with one or two additional strands wrapped around the back and inner sections. Focus on filling depth and rear visibility, especially if the tree is in a corner or island setting.
Should I use warm white or cool white lights for balance?
Warm white (2700K–3000K) generally provides a more balanced, inviting glow that blends well with wood tones and traditional decor. Cool white (5000K+) can appear harsh and highlight asymmetries due to higher contrast. For symmetry, warm white is often preferable because it diffuses more softly and minimizes visual distractions.
How do I fix a tree that’s already lopsided with lights?
First, unplug everything and remove ornaments. Assess the light distribution by turning on the strands in a dark room. Identify dense and sparse areas. Then, gently reposition bulbs from clustered zones into darker sections, using pliers with a soft grip to avoid breaking wires. If necessary, add a supplemental micro-string to underlit areas without disrupting existing patterns.
Conclusion: Illuminate with Intention
A symmetrical Christmas tree doesn’t happen by accident. It emerges from deliberate choices—from calculating light density to maintaining a steady hand during wrapping. The effort pays off in a display that feels harmonious, intentional, and timeless. More than just a backdrop for presents, a well-lit tree becomes a centerpiece of calm and celebration.
Each year, as you unpack the boxes and untangle the strands, remember that symmetry isn’t about rigidity. It’s about guiding the eye, balancing light and shadow, and honoring the shape of the tree itself. With the right technique, anyone can achieve a result that rivals professional displays.


 浙公网安备
33010002000092号
浙公网安备
33010002000092号 浙B2-20120091-4
Comments
No comments yet. Why don't you start the discussion?