
Curling short hair often brings to mind hot tools, sprays, and the inevitable trade-off between style and hair health. But what if you could achieve soft, defined curls without touching a flat iron or curling wand? Heat styling may deliver instant results, but over time it leads to dryness, split ends, and breakage—especially on shorter strands that are more exposed and vulnerable. The good news is that effective, heat-free curling methods exist, and they’re easier than most people think.
Whether your hair is fine, thick, curly by nature, or stubbornly straight, these no-tool techniques use household items and smart styling habits to create lasting texture. Not only do they protect your hair from thermal stress, but they also enhance its natural strength and shine over time. By embracing low-manipulation routines, you’ll not only avoid damage—you might just discover a new favorite way to wear your hair.
The Risks of Heat Styling for Short Hair
Short hair is often styled more frequently than longer lengths because it grows out quickly and requires regular maintenance. This increases exposure to heat tools, which can be particularly damaging due to the proximity of the roots and ends to high temperatures.
Repeated use of curling irons, even at moderate settings, disrupts the hair’s protein structure. Keratin, the building block of hair, begins to degrade when exposed to temperatures above 300°F (149°C)—a threshold easily surpassed by many home styling tools. Over time, this leads to:
- Loss of elasticity and increased brittleness
- Frizz and flyaways due to raised cuticles
- Premature fading of color-treated hair
- Weakened strands prone to snapping
“Heat damage accumulates silently. You might not see it after one session, but months of daily styling take a toll—especially on shorter styles where every inch counts.” — Dr. Lena Torres, Trichologist & Hair Health Consultant
For those with naturally curly or wavy textures, excessive heat can also disrupt curl memory, making it harder for hair to revert to its natural pattern. Going heat-free isn’t just safer—it allows your hair’s true texture to thrive.
No-Tool Curling Methods That Actually Work
You don’t need a closet full of gadgets to create beautiful curls. These accessible, inexpensive techniques rely on tension, moisture control, and time to shape waves and spirals without a single plug-in device.
1. Twist-Outs for Defined Waves
This method works best on damp hair and produces soft, spiral-like waves. It’s ideal for fine to medium textures and adds volume at the roots.
- Wash and condition your hair, then gently squeeze out excess water with a microfiber towel.
- Apply a lightweight leave-in conditioner or curl cream to retain moisture.
- Divide your hair into small sections (about 1-inch wide).
- Twist each section tightly from root to tip.
- Let hair air-dry completely, preferably overnight.
- Unravel the twists gently and fluff with fingers.
2. Braid Curls for Long-Lasting Texture
Braiding damp hair creates structured, uniform curls. French braids, Dutch braids, or simple three-strand braids all work depending on the effect you want.
To maximize curl retention:
- Braid on slightly damp—not soaking wet—hair to prevent mildew and speed drying.
- Use two braids for an all-over wavy look or multiple small braids for textured volume.
- Sleep in them or let them sit for 6–8 hours before unraveling.
- Run fingers through curls lightly; avoid brushing to maintain shape.
3. The T-Shirt Scrunch Method
An unconventional but surprisingly effective trick uses a cotton t-shirt to encourage natural curl formation while reducing frizz.
- After washing, scrunch your hair gently with a t-shirt instead of a towel to minimize friction.
- While still damp, lift sections of hair and scrunch upward toward the scalp using the shirt.
- Repeat until all hair is scrunched and shaped.
- Allow to dry fully without touching.
This technique enhances natural wave patterns and is especially beneficial for those with wavy type 2 hair who struggle with limpness.
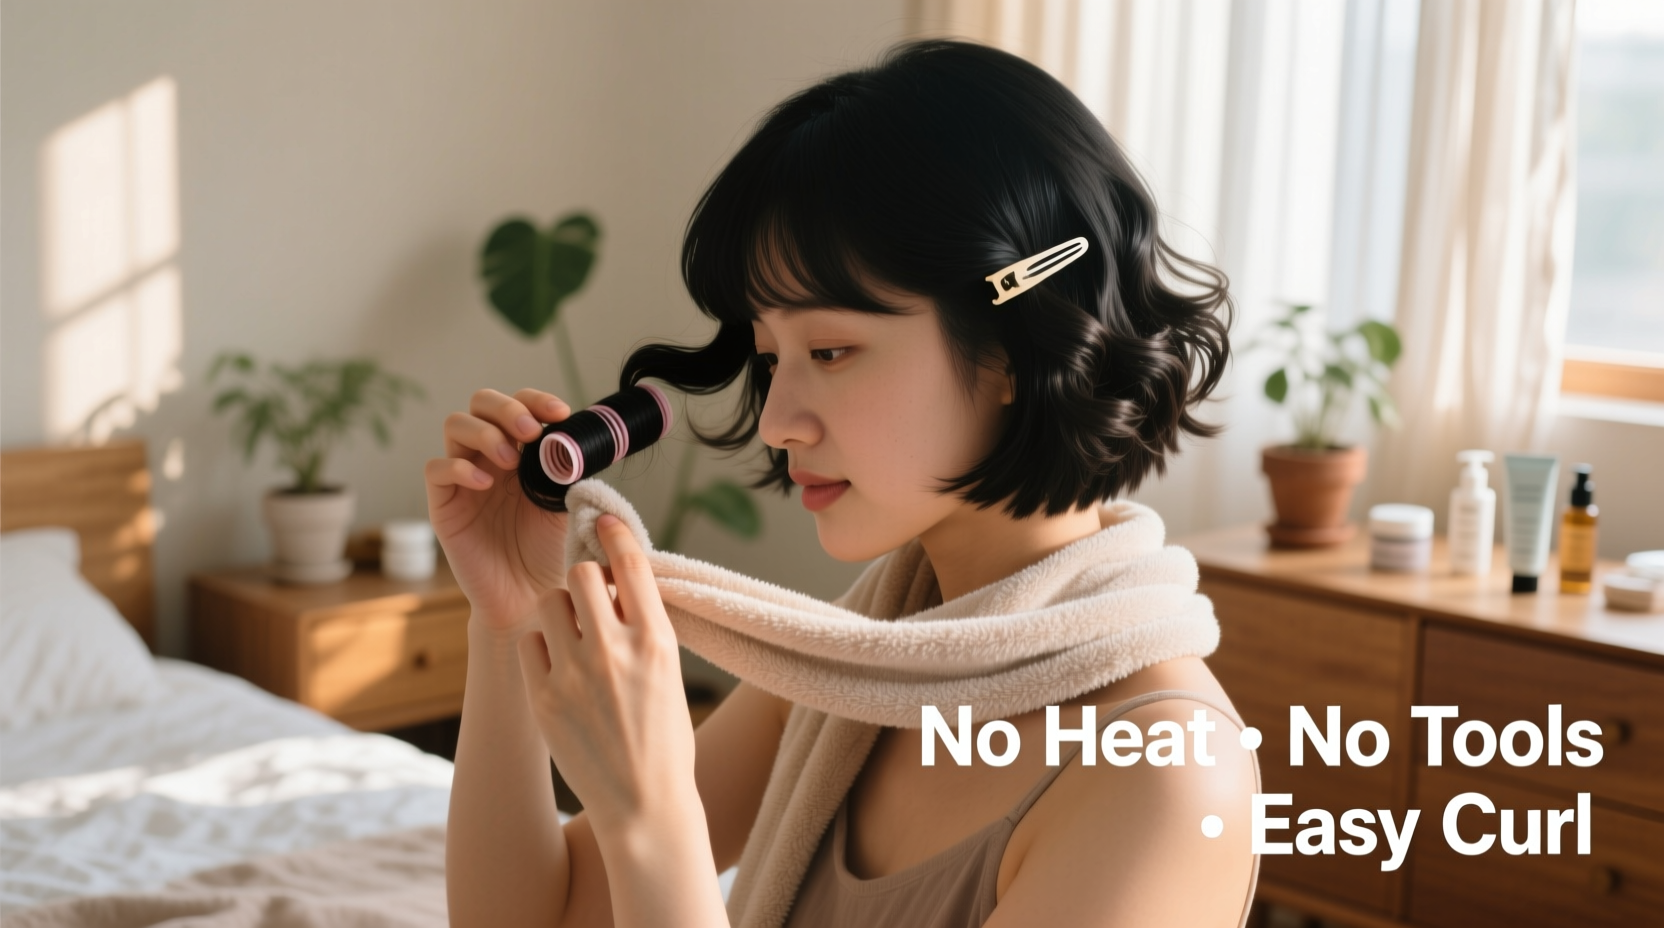
4. Flexi-Rod Alternatives Using Household Items
If you don’t own flexi rods, try these substitutes:
- Pipe cleaners: Bendable and reusable, wrap small sections around them and pin up.
- Foam rollers: Often found in drugstores, these require no heat and hold shape well when used on damp hair.
- Chopsticks or pencils: Roll small sections around them and secure with bobby pins or clips.
Leave in for several hours or overnight. Remove carefully and separate curls with fingertips.
5. Pineapple Method with Silk Scarf
Primarily known for preserving curls overnight, this method can also be adapted to create new ones.
For curl enhancement:
- Dampen hair lightly with a spray bottle.
- Add a drop of oil or serum to prevent dryness.
- Gather hair into a high, loose ponytail on top of your head (like a pineapple).
- Wrap securely with a silk scarf to reduce friction and hold shape.
- Leave for 4–6 hours or sleep in it.
When removed, expect voluminous, tousled waves with minimal effort.
Do’s and Don’ts of Heat-Free Curling
| Do’s | Don’ts |
|---|---|
| Use a microfiber towel or cotton t-shirt to dry hair gently | Rub hair vigorously with a regular towel |
| Apply a hydrating product before styling to lock in moisture | Style dry, untreated hair—it won’t hold shape well |
| Let hair dry completely before removing twists or braids | Unravel curls while hair is still damp (can cause stretching) |
| Refresh curls days later with a water + leave-in mix in a spray bottle | Overuse hairspray, which can build up and stiffen curls |
| Store tools like bobby pins and clips in a dry place to avoid rust | Leave metal clips in hair overnight (risk of snagging or breakage) |
Real Routine: How Sarah Achieved Bouncy Curls in One Week
Sarah, a 28-year-old graphic designer with chin-length, fine straight hair, wanted to experiment with curls but hated how flat and damaged her hair looked after using a curling iron. She committed to a week of heat-free styling using only braids and twist-outs.
Here’s what she did:
- Day 1: Washed hair, applied curl-enhancing mousse, created six medium braids, slept in them.
- Day 2: Woke up with defined S-waves. Refreshed with a mist of water and sea salt spray.
- Day 3: Used the t-shirt scrunch method on second-day hair—added volume and revived texture.
- Day 4: Tried finger coiling on front sections for face-framing curls.
- Day 5–7: Mixed techniques based on humidity and occasion.
By the end of the week, Sarah noticed her hair felt thicker and more resilient. “I didn’t realize how much my iron was frying the ends,” she said. “Now I get compliments on my ‘natural’ curls—even though I’m creating them myself.”
Essential Checklist for Heat-Free Curl Success
- ✅ Wash and condition with sulfate-free products
- ✅ Gently remove water with a microfiber towel
- ✅ Apply a curl-defining product (cream, mousse, or gel)
- ✅ Choose a method (twists, braids, scrunch, etc.)
- ✅ Style on damp—not dripping—hair
- ✅ Allow full drying time before releasing
- ✅ Finger-coil or fluff for final shaping
- ✅ Refresh next day with water + product mist
FAQ: Common Questions About Heat-Free Curling
Can I curl very short hair (like pixie cuts) without heat?
Absolutely. Even hair just a few inches long can be twisted, pinned, or set with mini braids. Focus on the top and side sections, which have enough length to hold shape. Use bobby pins or small clips to secure tiny twists overnight for subtle texture and volume.
How long do heat-free curls last?
Typically 1–3 days, depending on hair type and environment. Fine hair may need refreshing sooner, while coarser or naturally wavy hair holds curls longer. A quick spritz of water and reshaping with fingers can revive them effectively.
Will these methods work on straight hair?
Yes, but results depend on consistency and product use. Straight hair may require repeated styling over several nights to train the strands to hold a wave. Using a light-hold gel or mousse helps set the shape during drying. Over time, some users report their hair begins to develop a slight natural bend from repeated setting.
Final Tips for Best Results
Success with heat-free curling comes down to patience and preparation. Here are a few final insights to ensure your efforts pay off:
- Timing matters: Start your routine when you have time to let hair dry fully. Rushing leads to limp or undefined curls.
- Product choice is key: Lightweight creams and gels define without weighing down short styles. Avoid heavy oils on fine hair—they flatten volume.
- Humidity plays a role: High moisture in the air can soften curls faster. In humid climates, opt for stronger-hold products or tighter braids.
- Sleep protection boosts longevity: Use a satin pillowcase or bonnet to preserve curls and reduce friction overnight.
Conclusion: Embrace Healthier, Smarter Styling
Curling short hair doesn’t have to come at the cost of long-term damage. With simple, no-tool methods, you can achieve beautiful, bouncy curls while keeping your hair strong, shiny, and full of life. These techniques aren’t just alternatives—they’re upgrades. They reduce dependency on electricity, save money on tools and repairs, and align with a growing movement toward mindful, sustainable beauty.
Start tonight: wash your hair, apply a little product, and try a basic braid or twist-out. Wake up to refreshed curls and the satisfaction of knowing you styled your hair the smart way. Your strands will thank you for years to come.


 浙公网安备
33010002000092号
浙公网安备
33010002000092号 浙B2-20120091-4
Comments
No comments yet. Why don't you start the discussion?