
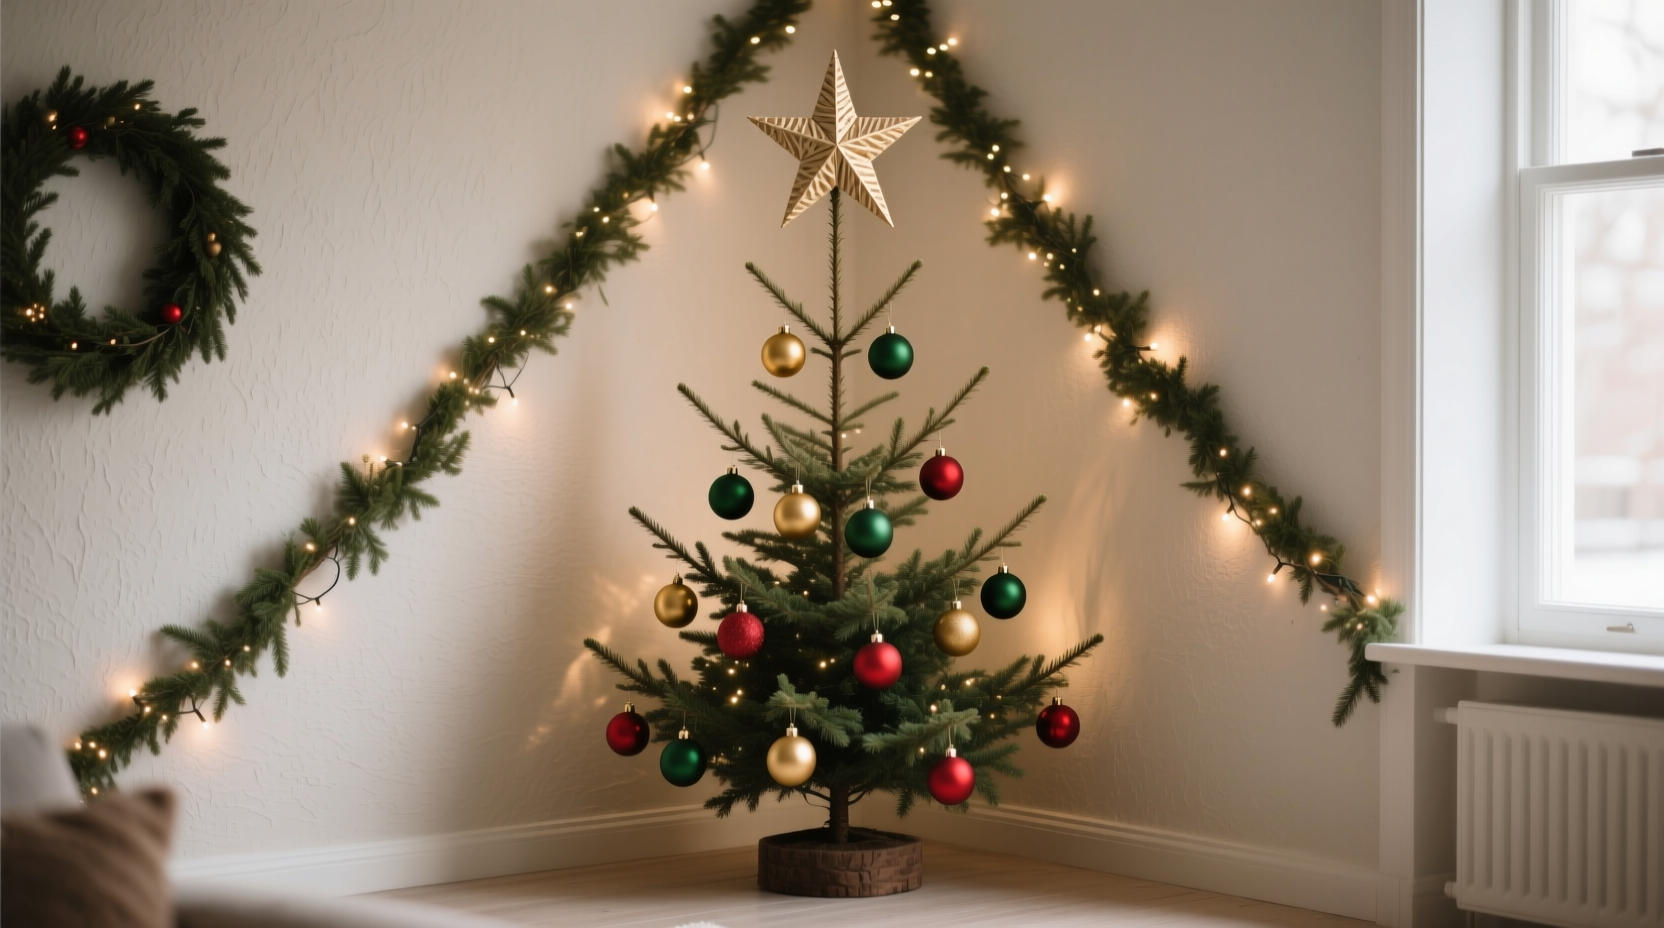
Corner placement is one of the most common—and most misunderstood—Christmas tree decisions. When a tree occupies a 90-degree nook, it’s easy to default to “front-facing” decoration: ornaments clustered on the visible side, lights concentrated toward the room, garlands draped only along the exposed arc. The result? A tree that looks full and festive head-on—but hollow, sparse, or even awkward when viewed from the side or back. Worse, it can unintentionally emphasize the asymmetry of the space, making the corner feel like an afterthought rather than an intentional design feature.
Yet corner trees hold unique advantages: they anchor transitional zones (like where living room meets dining area), maximize floor space in compact homes, and create natural focal points without competing with windows or furniture. The key isn’t fighting the geometry—it’s working *with* it. This guide distills proven spatial principles, real-world decorating logic, and professional styling insights into a cohesive methodology. No optical tricks. No hidden supports. Just thoughtful, repeatable techniques that ensure your corner tree reads as balanced, abundant, and wholly intentional—no matter which direction you approach it from.
Why Corner Trees Feel Lopsided (and Why It’s Not Your Fault)
Lopsidedness rarely stems from poor taste or rushed execution. It’s usually the consequence of three deeply ingrained habits:
- The “Front-Only Reflex”: Most people decorate trees as if they’ll be viewed solely from one vantage point—like a stage set. But in a corner, there are *two* primary sightlines: the open-room view (the “front”) and the angled side view (the “profile”). Ignoring the profile guarantees visual imbalance.
- Gravity-Driven Draping: Garlands, ribbons, and heavy ornaments naturally sag toward the floor. When hung only on the front face, they pool at the base of the visible side, leaving the interior corner and rear trunk bare—a telltale sign of incomplete styling.
- Lighting That Doesn’t Wrap: String lights applied in straight horizontal rows or vertical spirals often stop short of the interior corner or trail weakly down the back edge. Without consistent luminosity across all planes, the tree loses depth and appears flattened.
Interior designer Lena Torres, who specializes in small-space holiday styling, confirms this pattern: “I’ve walked into dozens of homes where the tree looks stunning in photos—but when you walk around it, there’s a ‘backstage’ zone: tangled wires, bare branches, and ornaments dangling off the wrong side. That disconnect kills the illusion of intentionality.”
“Balance in a corner tree isn’t about symmetry—it’s about visual weight distribution. A well-decorated corner tree should feel equally resolved from the open side *and* the angled side—not identical, but harmonious.” — Lena Torres, Interior Designer & Holiday Stylist, author of Small Space, Big Spirit
The Corner Tree Balancing Framework: 5 Core Principles
Forget “hiding” the back or “faking” fullness. Instead, apply these five interlocking principles—each grounded in spatial perception and practical execution:
- Anchor the Interior Corner First: Begin every decorating step by addressing the 45-degree plane where the two walls meet. This invisible seam is the structural spine of your corner tree. If it feels neglected, the entire composition will read as provisional.
- Distribute Visual Weight Radially, Not Linearly: Ornaments, bows, and clusters shouldn’t follow a flat plane. Think in 3D arcs: place heavier elements slightly deeper into the tree (near the trunk) on the interior side, and lighter, airier pieces toward the outer edges of both visible faces.
- Use Light as a Depth Tool: Lights aren’t just for sparkle—they define volume. Prioritize coverage along the interior corner line and the rear vertical edge. A well-lit back third makes the tree feel substantial, not thin.
- Layer Directional Elements Strategically: Ribbons, garlands, and tinsel should flow *into* the corner—not just across the front. A ribbon that starts on the left visible branch, wraps *behind* the trunk, and emerges on the right visible branch creates continuity and movement.
- Embrace Asymmetry as Intentional Design: Perfect mirror-image balance is neither possible nor desirable in a corner. Instead, aim for equilibrium: a large ornament on the left front might be balanced by three smaller ones clustered at varying depths on the interior corner and right front.
Step-by-Step: Decorating Your Corner Tree in 7 Logical Phases
This sequence prioritizes structure over sparkle—building depth before density, and intention before ornamentation.
- Phase 1: Prep & Assess (10 minutes)
Measure the corner’s depth and width. Identify the exact point where the two walls meet (use painter’s tape to mark it on the floor). Note any obstructions (outlets, baseboards, furniture legs). Trim lower branches *only* if they press against walls—never remove interior-facing foliage. - Phase 2: Light the Spine (20 minutes)
Start lighting at the interior corner line. Weave strings tightly along the trunk and innermost branches from base to tip. Then spiral outward—first covering the left visible face, then looping behind the trunk to illuminate the right face. Use 100-light strands; aim for 100 lights per foot of tree height (e.g., 700 lights for a 7-foot tree). - Phase 3: Anchor the Interior Corner (15 minutes)
Hang 3–5 statement ornaments (3–4 inches wide) directly on inner branches near the 45-degree plane—positioned at different heights. Use ornament hooks with long stems to push them slightly forward, ensuring visibility from both sides. - Phase 4: Layer Garlands with Flow (25 minutes)
Begin garlanding at the top of the interior corner. Drape loosely downward, letting the end swing *past* the corner and onto the left front face. Then start a second strand at the top of the interior corner and drape it toward the right front. Where they overlap near the base, tuck ends under lower branches—never let them hang freely. - Phase 5: Distribute Ornaments by Weight & Scale (30 minutes)
Use the “Rule of Threes”: For every large ornament (4+ inches), place two medium (2.5–3.5 inches) and three small (1.5–2 inches). Place 40% of ornaments on the interior corner plane, 30% on the left front, 30% on the right front. Avoid clustering more than 3 large ornaments within a 12-inch radius. - Phase 6: Add Texture & Dimension (15 minutes)
Insert pinecones, dried citrus slices, or velvet bows *between* branches—not just on tips. Tuck them deep into the interior corner and along the rear trunk line. This adds tactile richness and prevents a “flat” appearance. - Phase 7: Final Walk-Around Audit (10 minutes)
View the tree from four positions: (1) main room entrance, (2) left side at 45 degrees, (3) right side at 45 degrees, (4) directly behind the tree (if accessible). At each, ask: “Do I see at least 3 ornaments, 2 light clusters, and one textural element?” Adjust only where gaps exist.
What to Use (and What to Skip): A Corner Tree Decor Checklist
Not all decorations translate well to angular spaces. This checklist helps prioritize high-impact, low-risk elements.
| Category | Recommended | Avoid | Why |
|---|---|---|---|
| Ornaments | Shatterproof balls with matte or brushed finishes; lightweight wood or felt shapes; ornaments with dual-hanging hooks (for front + interior placement) | Heavy glass globes with single-top hooks; mirrored ornaments; oversized figurines with narrow bases | Single-hook ornaments rotate unpredictably in corners; mirrors create distracting reflections; heavy pieces pull branches outward, exaggerating asymmetry. |
| Garlands & Ribbons | Flexible wired ribbon (2.5-inch width); burlap or velvet rope garlands; paper chain links with staggered lengths | Rigid plastic bead garlands; stiff satin ribbon; uniform-length popcorn strings | Wired ribbon holds directional curves; flexible garlands drape naturally into corners. Rigid materials kink or gap at angles. |
| Lighting | Warm-white LED mini lights with memory wire; battery-operated fairy lights on thin, bendable wire; net lights for base-layer coverage | Colored incandescent bulbs; thick-corded lights; lights with non-adjustable clips | Memory wire stays put on interior branches; warm white enhances depth perception. Thick cords tangle in tight corners; colored bulbs draw attention to uneven spacing. |
| Topper & Base | Slanted star or angel with adjustable armature; low-profile fabric tree skirt (no ruffles); woven basket base with trailing greenery | Vertical spire toppers; high-ruffled skirts; tall pedestal stands | A slanted topper aligns with the corner’s angle; low skirts avoid blocking the interior corner line. Tall elements amplify the “corner cut-off” effect. |
Real Example: The 7-Foot Faux Fir in a Brooklyn Studio Apartment
Maya, a graphic designer in a 550-square-foot studio, faced a classic challenge: her only viable tree spot was a tight L-shaped corner between the kitchen counter and a built-in bookshelf. Her first attempt—a standard front-facing approach—left the interior corner starkly bare. “From the sofa, it looked fine,” she recalls. “But walking from the bedroom door, it was like seeing backstage: wires, empty branches, and one lonely ornament dangling off the right side.”
She applied the Corner Tree Balancing Framework over a weekend. First, she marked the interior corner with tape and added 15 extra lights along the trunk and inner branches. Then she placed three matte-gold 3.5-inch balls at varying heights along that line—each secured with a double-hook ornament hanger. She used wired ivory ribbon, starting at the top interior corner and draping it in a gentle “S-curve” that flowed left, dipped behind the trunk, and emerged right. For ornaments, she grouped by size and depth: large velvet bows nestled deep in the interior, medium mercury-glass balls on mid-level front branches, and tiny cinnamon sticks tucked into tips. The final touch? A low, circular jute skirt that ended 2 inches short of the walls—revealing the base while keeping the corner line clean.
The result wasn’t symmetrical—but it was cohesive. “Now, whether I’m cooking, reading, or video-calling, the tree feels like part of the architecture,” Maya says. “It doesn’t shout ‘look at me.’ It just belongs.”
FAQ: Corner Tree Decoration Questions Answered
Can I use a pre-lit tree in a corner?
Yes—but inspect the light placement first. Many pre-lit trees concentrate lights on the front half. Before assembling, check if lights extend evenly along the interior corner line and rear trunk. If not, supplement with 2–3 additional 100-light strands focused specifically on those zones. Never rely solely on factory wiring for corner balance.
What if my corner has baseboard heaters or outlets nearby?
Safety comes first. Keep all garlands, ribbons, and fabric elements at least 3 feet from heat sources. For outlets, route light cords *behind* the tree (not along the wall) and secure them with cord clips designed for baseboards. Use UL-listed LED lights exclusively—they generate minimal heat and reduce fire risk in confined spaces.
How do I handle a tree that’s taller than my ceiling height allows?
Don’t trim the top. Instead, use a “slanted cut” technique: gently bend the top 6–12 inches of the trunk at a 15–20 degree angle toward the interior corner. Secure it with floral wire wrapped discreetly around the trunk and a sturdy branch. This redirects the apex *into* the space rather than forcing it upward, preserving height while honoring the corner’s geometry.
Conclusion: Your Corner Tree Is a Statement of Intention
A corner Christmas tree isn’t a compromise. It’s an opportunity—to celebrate spatial intelligence, to honor the architecture of your home, and to reject the idea that festivity requires center-stage real estate. When you decorate with the interior corner as your anchor, lights as your depth tool, and asymmetry as your ally, you’re not just filling a gap. You’re curating a moment where function and feeling converge.
The techniques here require no special tools, no expensive upgrades—just observation, patience, and a willingness to move around your tree as deliberately as you’d walk through a gallery. That pause, that 45-degree shift in perspective, is where balance begins. So this season, resist the reflex to decorate only what’s visible. Reach into the corner. Light the spine. Let the ribbon flow behind the trunk. Trust that fullness isn’t measured in ornaments per square inch—but in the quiet confidence that every angle tells the same story: one of care, clarity, and considered joy.


 浙公网安备
33010002000092号
浙公网安备
33010002000092号 浙B2-20120091-4
Comments
No comments yet. Why don't you start the discussion?