
Beauty blenders are essential tools for achieving a flawless makeup application, but their porous, sponge-like structure makes them prone to trapping bacteria, oils, and moisture. Without proper cleaning, these sponges can quickly become breeding grounds for mold and mildew—posing risks not only to your skin but also to your overall health. Many users assume that rinsing the sponge after use is sufficient, but this only removes surface residue. A true deep clean is necessary to eliminate hidden contaminants and maintain hygiene. This guide walks through the science of why deep cleaning matters, provides a step-by-step method for effective sanitization, and shares expert-recommended practices to keep your beauty blender safe and functional for weeks—not days.
Why Mold Grows on Beauty Blenders
Beauty blenders are made from water-absorbent polyurethane foam, designed to expand when wet for seamless blending. While this feature enhances performance, it also means the sponge retains moisture long after use. When stored in humid environments like bathrooms—especially inside sealed containers or makeup bags—the trapped dampness creates an ideal environment for microbial growth.
Mold and bacteria thrive in warm, moist, dark spaces. Left unchecked, colonies can form within 48 hours. Visible signs include dark spots, discoloration, or a musty odor. Even if no symptoms appear, microscopic fungi and bacteria such as Staphylococcus aureus and Candida albicans may be present, potentially causing breakouts, irritation, or infections, especially for those with sensitive or acne-prone skin.
“Makeup sponges are among the most contaminated beauty tools we test. Regular deep cleaning isn’t optional—it’s non-negotiable for skin health.” — Dr. Lisa Chen, Cosmetic Microbiologist
The Step-by-Step Deep Cleaning Process
A weekly deep clean is essential to remove built-up foundation, oils, and microbes. Follow this detailed routine to sanitize your beauty blender thoroughly and safely.
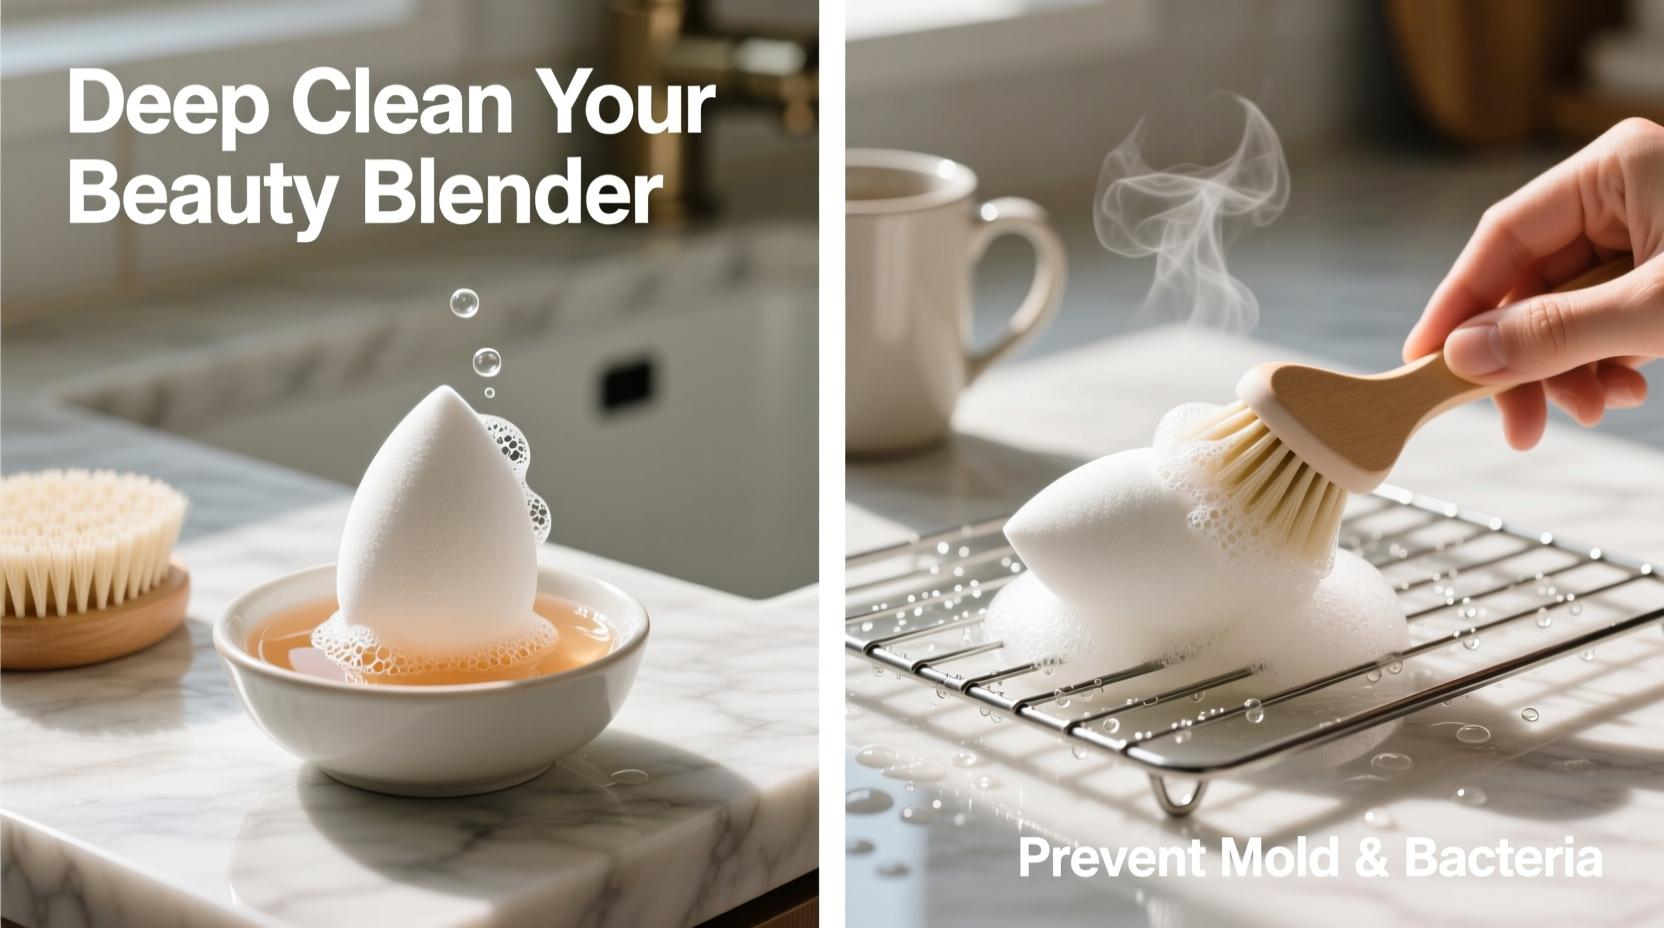
- Rinse Thoroughly: Begin by running the sponge under lukewarm water until the water runs clear. This loosens surface makeup and prevents clogging during deeper cleaning.
- Apply Cleanser: Use a gentle antibacterial soap, baby shampoo, or a dedicated sponge cleanser. Avoid harsh detergents or alcohol-based cleaners, which degrade the foam over time.
- Massage and Squeeze: Work the cleanser into the sponge using a circular motion with your fingers. Fully submerge and squeeze the sponge repeatedly to force the soap deep into the pores. Continue until no colored residue emerges.
- Soak (Optional but Recommended): For heavily soiled sponges, soak in a bowl of warm water mixed with a drop of tea tree oil or hydrogen peroxide (3%) for 5–10 minutes. These natural disinfectants help kill mold spores without damaging the material.
- Rinse Again: Flush the sponge under running water until all soap and loosened debris are gone. Hold it up to the light—if you see any dark specks or streaks, repeat the process.
- Squeeze and Dry: Gently press out excess water. Do not wring or twist, as this can tear the foam. Place the sponge on a clean towel in a well-ventilated area, preferably near a window (but not in direct sunlight).
- Air-Dry Completely: Allow 12–24 hours for full drying. Never store a damp sponge. If possible, flip it halfway through drying to ensure even airflow.
Do’s and Don’ts of Beauty Blender Maintenance
| Do’s | Don’ts |
|---|---|
| Wash after every use with a gentle cleanser | Use bleach or ammonia-based cleaners |
| Deep clean at least once a week | Leave the sponge in a damp makeup bag |
| Allow full air-drying before storage | Store in airtight containers |
| Replace every 3–6 months | Share your sponge with others |
| Use a designated sponge-cleaning mat or textured pad | Expose to high heat (e.g., microwaving) |
Real Example: How One User Prevented Recurring Breakouts
Jamie, a 29-year-old makeup enthusiast, had struggled with persistent chin acne for months. Despite switching foundations and skincare products, the issue persisted. After visiting a dermatologist, she was asked about her beauty tool hygiene. Jamie admitted she rinsed her beauty blender weekly but never performed a deep clean—and often left it in a zippered pouch overnight.
Upon inspection, the sponge had developed faint black specks inside, invisible during regular use. The dermatologist advised immediate replacement and strict weekly sanitation. Jamie began soaking her new sponge in a solution of warm water and baby shampoo, followed by thorough drying on a windowsill rack. Within three weeks, her breakouts subsided significantly. She now maintains a cleaning log and replaces her sponge every two months as a preventive measure.
This case illustrates how unseen contamination can directly impact skin health—even when external habits seem sound.
Alternative Cleaning Methods Compared
While hand-washing is the gold standard, some users explore alternative techniques for convenience or efficiency. Below is an evaluation of popular options:
- Dishwasher Method: Some claim placing the sponge in a mesh bag on the top rack with a mild detergent sanitizes effectively. However, high heat and prolonged exposure to water pressure can break down the foam prematurely. Not recommended by manufacturers.
- UV Sanitizing Devices: Compact UV-C boxes claim to kill 99.9% of germs in minutes. While they reduce surface bacteria, they do not remove physical residue like dried foundation. Best used as a supplement—not a replacement—for manual washing.
- Microwave Technique: A viral hack suggests wetting the sponge and microwaving it for 30 seconds to kill bacteria. This poses serious risks: the sponge can melt, catch fire, or release toxic fumes. The FDA warns against microwaving synthetic foams unless explicitly labeled safe.
- Freezing: Placing a sponge in the freezer halts bacterial growth temporarily but does not kill existing microbes. Once thawed, activity resumes. Ineffective for cleaning.
For reliable results, stick to manual washing with a quality cleanser. It's affordable, safe, and proven effective.
When to Replace Your Beauty Blender
No amount of cleaning can restore a deteriorating sponge. Over time, repeated expansion and contraction weaken the foam, leading to tears, shedding, or permanent discoloration. These flaws compromise both hygiene and performance.
Replace your beauty blender immediately if you notice any of the following:
- Visible mold spots (black, green, or gray flecks)
- Foul or sour smell, even after washing
- Fragments breaking off during use
- Texture feels gritty or uneven
- It no longer bounces back after squeezing
Even with perfect care, most beauty blenders last only 3 to 6 months. Frequent users should consider rotating two sponges—one in use, one drying—to extend each one’s lifespan and ensure consistent cleanliness.
Checklist: Weekly Beauty Blender Deep Clean Routine
Follow this checklist every seven days to maintain optimal hygiene:
- □ Remove sponge from storage and inspect for damage or odor
- □ Rinse under lukewarm water until runoff is clear
- □ Apply a pea-sized amount of gentle cleanser
- □ Massage and squeeze for 1–2 minutes
- □ Soak in warm water with tea tree oil (optional)
- □ Rinse thoroughly until no suds remain
- □ Press gently to remove excess water
- □ Place on a clean, dry towel in a ventilated area
- □ Flip halfway through drying (after 6–8 hours)
- □ Store only when fully dry—never damp
Frequently Asked Questions
Can I use dish soap to clean my beauty blender?
Yes, but choose a fragrance-free, dye-free formula. Some dish soaps contain degreasers that may degrade the foam over time. Baby shampoo or a dedicated sponge cleanser is gentler and preferred for long-term use.
Is it safe to wash beauty blenders in the washing machine?
No. The agitation and spin cycle can tear the delicate foam, and residual detergent may remain trapped inside. Hand-washing gives better control and preserves the sponge’s integrity.
How can I tell if my beauty blender has mold inside?
Signs include dark specks visible when squeezing the wet sponge, a persistent musty smell, or unexplained skin irritation after use. If in doubt, hold the sponge up to a bright light—internal discoloration indicates contamination and warrants immediate replacement.
Final Thoughts: Make Hygiene a Non-Negotiable Habit
Your beauty blender touches your skin more intimately than most skincare tools, yet it’s often neglected in daily routines. Treating it with the same care as your facebrush or razor is crucial. Mold prevention isn’t just about appearance—it’s about protecting your skin’s barrier and avoiding avoidable infections. By integrating a simple weekly deep clean, practicing smart drying techniques, and replacing sponges on schedule, you create a sustainable system that supports both beauty and wellness.
Start tonight: pull out your sponge, run it under the tap, and give it the deep clean it deserves. Small actions today build healthier habits tomorrow.


 浙公网安备
33010002000092号
浙公网安备
33010002000092号 浙B2-20120091-4
Comments
No comments yet. Why don't you start the discussion?