
Blenders are essential kitchen tools, but their hard-to-reach crevices and blade assemblies often trap food residue, oils, and odors over time. Most people resort to aggressive scrubbing with brushes or dish soap, only to find streaks, lingering smells, or even damage to the blade gasket. The good news? You don’t need to scrub your blender to restore it to near-new condition. With the right method, you can dissolve built-up grime, eliminate odors, and leave your blender sparkling—inside and out—without touching a sponge.
The key lies in leveraging natural chemical reactions from everyday pantry staples like vinegar, baking soda, and lemon juice. These ingredients break down organic residues safely and effectively. When combined with the blender’s own mechanical action, they create a self-cleaning process that reaches every corner, including areas you can’t physically access. This article reveals the science-backed techniques professionals use to deep clean blenders effortlessly—and keep them looking pristine for years.
The Science Behind Self-Cleaning Blenders
Blenders are uniquely suited for self-cleaning because of their high-speed blades and enclosed chambers. Unlike pots or pans, where manual scrubbing is unavoidable, blenders can leverage their motorized action to agitate cleaning solutions internally. This allows liquids and suspended particles to circulate at high velocity, dislodging stuck-on food, biofilm, and grease without physical contact.
Vinegar (acetic acid) dissolves mineral deposits and kills bacteria, while baking soda (sodium bicarbonate) lifts stains and neutralizes odors through mild abrasion and pH balancing. Lemon juice adds citric acid, which cuts through oils and leaves a fresh scent. Used together or separately, these ingredients create effervescent reactions when mixed—especially vinegar and baking soda—that produce micro-bubbles capable of penetrating tight spaces around the blade shaft and rubber gasket.
This combination of mechanical agitation and chemical breakdown makes deep cleaning possible without scrubbing. It's not just convenient—it's more thorough than hand washing, since the solution reaches zones brushes often miss.
Step-by-Step: Deep Clean Your Blender Without Scrubbing
Follow this proven method to deep clean any standard countertop blender—whether you own a Vitamix, Ninja, Oster, or generic model. This process takes less than 15 minutes and requires only basic kitchen supplies.
- Disassemble removable parts: Remove the blending jar from the base. Take off the lid and any seals or gaskets if they’re detachable. Set aside small pieces to clean separately.
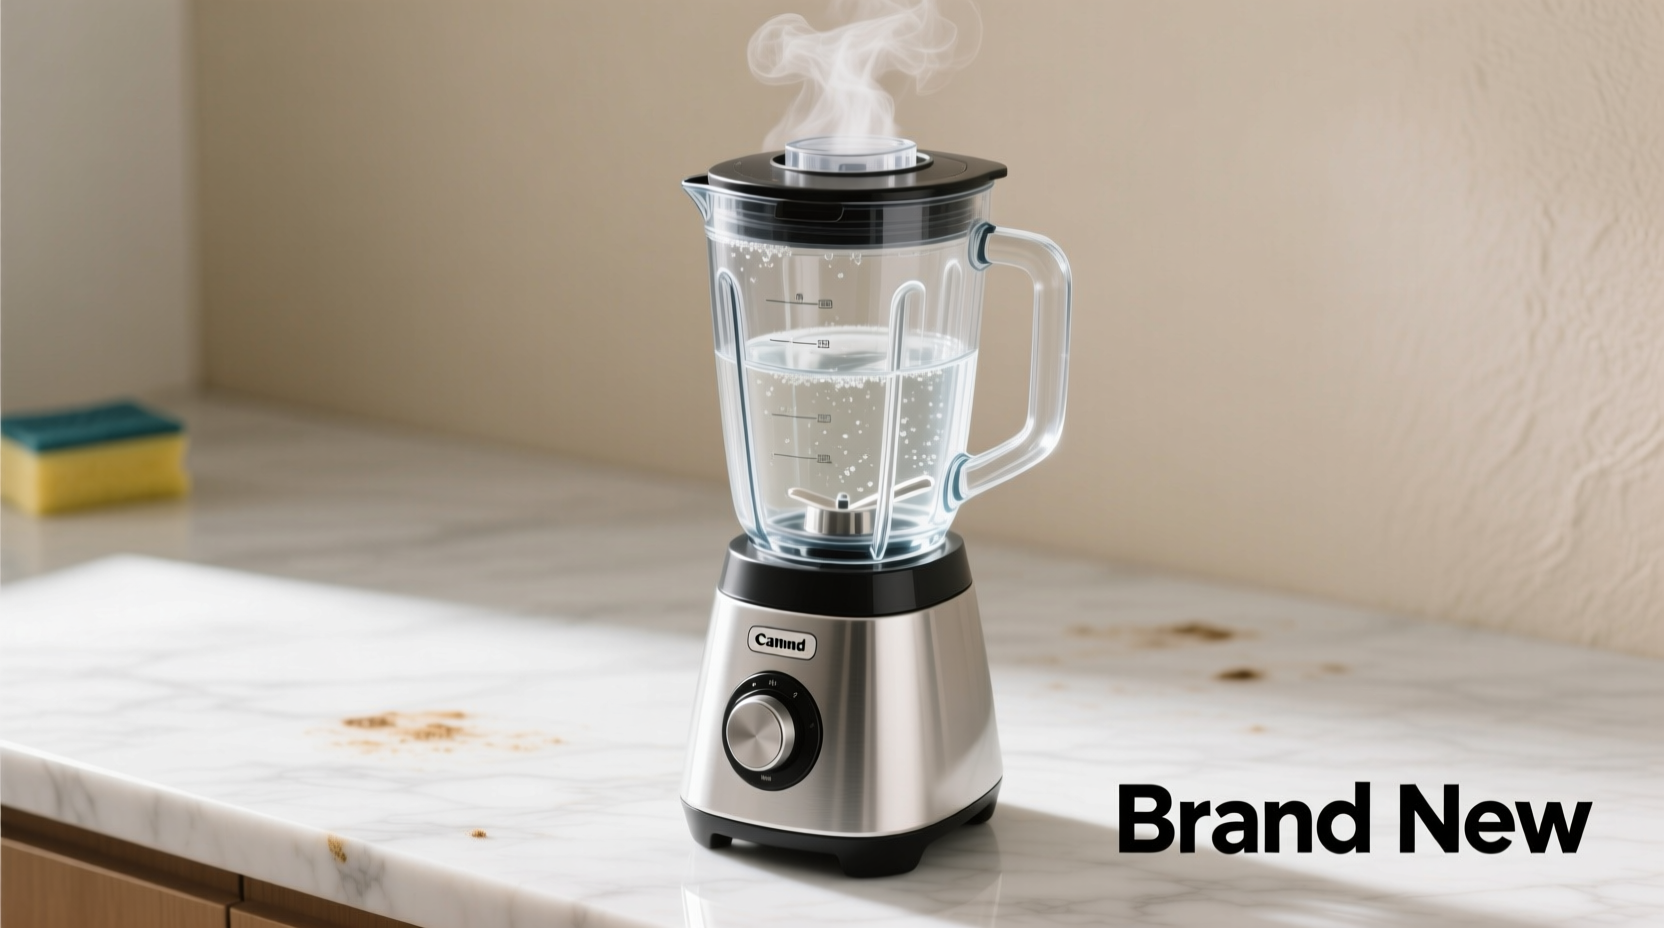
- Add cleaning agents: Pour 1–1.5 cups of warm water into the jar. Add 1 tablespoon of white vinegar and 1 teaspoon of baking soda. For extra degreasing power, include a few drops of dish soap.
- Blend for 30–60 seconds: Secure the lid tightly and run the blender on medium-high speed for 30 seconds. You’ll see foam forming as the reaction lifts debris. If residue persists, blend up to 60 seconds.
- Let it sit: Turn off the blender and let the mixture soak for 5–10 minutes. This allows the solution to penetrate stubborn films around the blade assembly.
- Rinse thoroughly: Empty the contents and rinse the jar under running water. Tilt and swirl to ensure all residue is flushed out, especially under the blade.
- Clean the gasket and lid: Soak rubber seals and lids in warm soapy water. Use a soft toothbrush only if necessary—most buildup will have already loosened.
- Wipe the base: Dampen a cloth with vinegar solution and wipe the exterior of the motor base. Avoid moisture near electrical components.
- Air dry completely: Reassemble only after all parts are fully dry to prevent mold growth in hidden crevices.
This method works equally well on smoothies, nut butter, and soup residues. For particularly greasy builds—like from avocado or tahini—repeat the cycle once for maximum clarity.
Alternative Methods for Specific Stains and Odors
Different types of buildup require tailored approaches. Below are specialized techniques based on what you’ve been blending.
| Cause of Buildup | Recommended Solution | Instructions |
|---|---|---|
| Fruit & Smoothie Residue | Lemon Juice + Water | Add half a lemon (peel included) and 2 cups water. Blend 1 minute, then soak 5 min. |
| Greasy Films (Nut Butters, Oils) | Dish Soap + Baking Soda | Mix 1 tsp baking soda, 2 drops dish soap, and warm water. Blend 45 sec, soak 10 min. |
| Mineral Deposits (Hard Water Stains) | White Vinegar Only | Fill jar halfway with vinegar. Blend 30 sec, let sit 15 min, rinse. |
| Strong Odors (Garlic, Onion, Fish Sauce) | Baking Soda Paste Soak | After initial clean, coat interior with baking soda paste. Let sit 20 min, then rinse. |
For glass jars, you can increase heat exposure by using hot (not boiling) water to accelerate cleaning reactions. Plastic jars should use lukewarm water to avoid warping or cracking.
“Many customers think they need abrasive cleaners for blenders, but that actually damages the surface over time. A simple vinegar-baking soda blend activated by the blender itself is far more effective and safer.” — Dr. Lena Torres, Appliance Hygiene Researcher, KitchenTech Labs
Prevention Tips to Reduce Future Buildup
The best way to maintain a clean blender is to prevent grime from accumulating in the first place. These habits significantly extend the time between deep cleans and preserve your appliance’s performance.
- Blend water immediately after use: Right after making a smoothie or sauce, add warm water and run the blender for 10–15 seconds. This flushes out 80% of residual particles before they dry.
- Avoid overfilling sticky ingredients: Thick blends like hummus or frozen fruit packs tend to cling higher up the jar. Leave adequate headspace and pause to scrape (if safe) during blending.
- Don’t let mixtures sit overnight: Protein shakes, dairy-based drinks, and raw vegetable juices degrade quickly and bond to plastic or stainless steel. Clean within 2 hours of use.
- Use filtered water when possible: Hard water leaves calcium rings that dull the jar’s finish. Filtered or distilled water reduces scaling.
- Replace worn gaskets annually: Rubber seals degrade over time, creating gaps where bacteria and odor-causing microbes hide. Inspect yours yearly.
Mini Case Study: Reviving a Neglected Blender
Sarah, a busy parent from Portland, used her blender weekly for baby food and morning smoothies but rarely cleaned it beyond a quick rinse. After six months, she noticed a persistent sour smell and cloudy film inside the jar. She tried scrubbing with a bottle brush but couldn’t remove the grime around the blade.
Following the vinegar-baking soda method outlined here, she added warm water, 1 tbsp vinegar, and 1 tsp baking soda to the jar and blended for 45 seconds. After letting it sit for 10 minutes, she poured out the foam and rinsed. To her surprise, the entire blade assembly was spotless, and the jar regained its original clarity. “I thought I’d ruined it,” she said. “Now it looks better than when I bought it.”
She now runs a quick water-only blend after each use and performs a full deep clean monthly. Her blender has remained odor-free and visually clean for over a year since.
Checklist: No-Scrub Blender Deep Clean Routine
Keep this checklist handy for your next maintenance session:
- ✅ Unplug the blender and remove the jar
- ✅ Detach lid and gasket (if possible)
- ✅ Add 1 cup warm water + 1 tbsp white vinegar + 1 tsp baking soda (+ optional dish soap)
- ✅ Secure lid and blend 30–60 seconds
- ✅ Let solution sit 5–10 minutes
- ✅ Rinse thoroughly with running water
- ✅ Soak lid and gasket in soapy water
- ✅ Wipe base with damp cloth (no immersion)
- ✅ Air dry all parts completely before reassembly
- ✅ Perform monthly or biweekly depending on usage
Frequently Asked Questions
Can I use bleach to clean my blender?
No. Bleach is corrosive and can degrade plastic components and rubber seals over time. It may also leave behind harmful residues, especially if not rinsed perfectly. Stick to food-safe acids like vinegar or citric acid for disinfection.
Why does my blender still smell after cleaning?
Odors usually linger due to trapped moisture or biofilm in the gasket or beneath the blade. Ensure all parts are fully dry before storage. If the smell persists, remove the blade assembly (if user-serviceable) and soak it in vinegar for 15 minutes. Replace the gasket if cracked or discolored.
Is it safe to blend cleaning agents in my blender?
Yes—as long as you're using food-grade, non-toxic ingredients like vinegar, baking soda, lemon juice, or mild dish soap. These are safe for incidental contact with food surfaces. Just rinse thoroughly afterward to remove any residue.
Final Thoughts: A Cleaner Blender, Effortlessly
Deep cleaning a blender doesn’t have to mean elbow grease and frustration. By harnessing the power of simple chemistry and your appliance’s built-in mechanics, you can achieve a like-new finish with zero scrubbing. The methods described here are not only effective but also gentle on materials, preserving the lifespan of your blender while ensuring hygiene and performance.
Whether you use your blender daily or occasionally, integrating a no-scrub deep clean into your routine takes minutes and pays off in longevity and confidence. Say goodbye to stained jars and funky smells—your blender can stay fresh, clear, and ready for anything.


 浙公网安备
33010002000092号
浙公网安备
33010002000092号 浙B2-20120091-4
Comments
No comments yet. Why don't you start the discussion?