
Coffee makers are workhorses in most households, brewing cup after cup with little fanfare. But over time, mineral deposits from water, coffee oils, and even mold can build up inside the machine. This buildup not only affects the taste of your coffee but can also reduce the efficiency and lifespan of your appliance. Regular cleaning is essential — and you don’t need expensive products to do it right. With simple household items like white vinegar, baking soda, and dish soap, you can perform a thorough deep clean that restores performance and ensures every brew tastes fresh.
Why Deep Cleaning Your Coffee Maker Matters
Even if your coffee maker looks clean on the outside, internal components like the heating element, water reservoir, and tubing are prone to accumulating residue. Hard water contains calcium and magnesium, which leave behind limescale when heated. Meanwhile, natural oils from coffee beans coat internal surfaces, eventually turning rancid and imparting a bitter or stale flavor to your drink.
A neglected coffee maker can also become a breeding ground for bacteria and mold, especially in damp areas like the drip tray or water tank. The U.S. Department of Agriculture has noted that appliances handling warm, moist environments—like coffee makers—are susceptible to microbial growth if not cleaned regularly.
“Mineral buildup and organic residue compromise both flavor and function. A monthly deep clean should be as routine as changing your air filter.” — Dr. Lena Patel, Home Appliance Hygiene Specialist
Ignoring these issues leads to slower brewing times, inconsistent temperature control, and in severe cases, complete machine failure. Preventative maintenance saves money and keeps your morning ritual enjoyable.
The Power of Vinegar: Why It Works
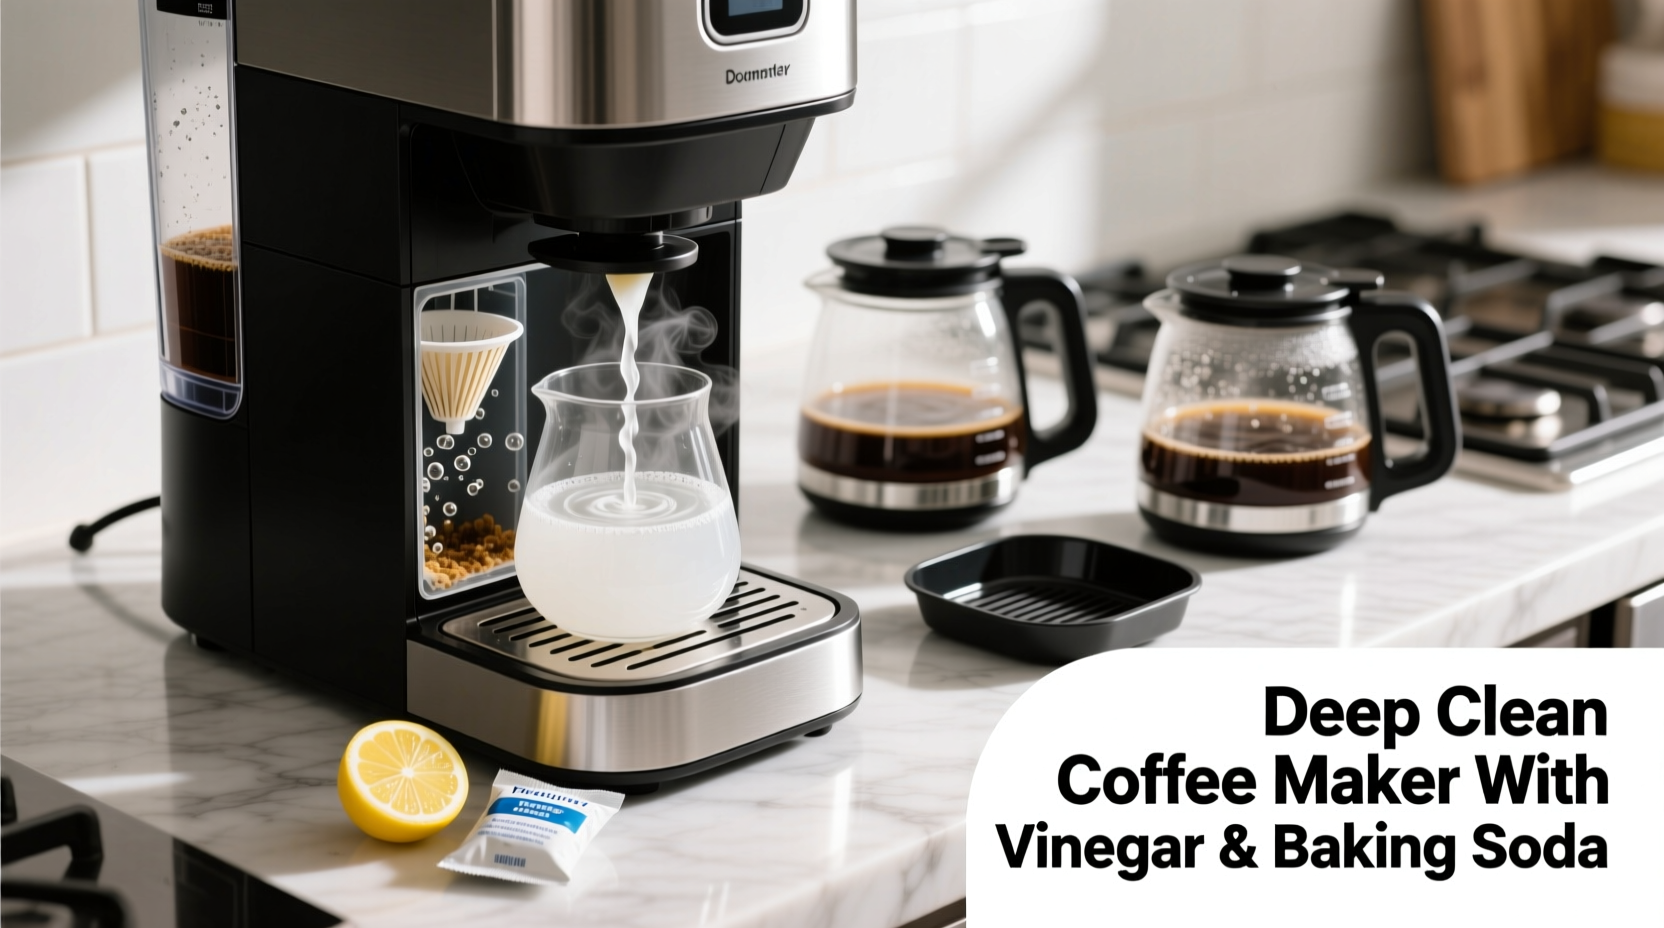
White distilled vinegar is a staple in natural cleaning for good reason. Its acetic acid content (typically 5–7%) effectively dissolves mineral deposits without damaging most coffee maker components. Unlike harsh chemical descalers, vinegar is non-toxic, affordable, and readily available in nearly every kitchen.
Vinegar works by breaking down calcium carbonate—the primary component of limescale—through an acid-base reaction. As it flows through the machine during a cleaning cycle, it loosens scale from metal coils, plastic tubing, and spray heads. It also helps cut through oily residues left behind by coffee grounds.
While effective, vinegar has a strong odor. Rinsing thoroughly after cleaning is crucial to avoid lingering sour notes in your next pot of coffee. For those sensitive to smell, adding lemon juice to rinse cycles can help neutralize odors naturally.
Step-by-Step Guide to Deep Cleaning with Vinegar
This comprehensive method applies to standard drip coffee makers, the most common type found in homes. Follow these steps monthly—or more often if you live in a hard water area or brew multiple pots daily.
- Unplug the machine and remove any used filters, coffee grounds, or permanent baskets. Wash the carafe and filter basket with warm soapy water and set aside.
- Prepare the vinegar solution: Mix equal parts white vinegar and water. For a full reservoir (usually 10–12 cups), use 30 oz (900 ml) vinegar and 30 oz water.
- Pour into the water reservoir. Do not add coffee at this stage.
- Start a brew cycle. Let the machine run halfway, then pause it. This allows the vinegar solution to sit in the system and break down deposits. Wait 30–60 minutes before resuming.
- Complete the brew cycle. Once finished, discard the vinegar solution from the carafe.
- Rinse thoroughly: Fill the reservoir with fresh water and run 2–3 complete brew cycles with plain water only. This removes all traces of vinegar.
- Clean removable parts: While the machine runs rinse cycles, scrub the carafe, lid, filter basket, and warming plate with a soft sponge and dish soap. For stubborn stains, make a paste of baking soda and water.
- Wipe exterior surfaces with a damp cloth. Dry all components before reassembling.
After reassembly, brew one final test pot of water to ensure no vinegar remains. If needed, repeat a rinse cycle. Now you're ready to enjoy a cleaner, better-tasting cup.
Enhancing the Clean: Additional Household Items That Help
While vinegar handles descaling, other common pantry staples boost cleaning power and tackle different types of grime.
Baking Soda: For Oily Residue and Odor Removal
Mix 1 tablespoon of baking soda with warm water to create a gentle abrasive paste. Use it to scrub the carafe, especially where brown stains accumulate. Baking soda neutralizes odors and lifts oil-based films without scratching glass or stainless steel.
Lemon Juice: Natural Deodorizer and Mild Acid
Fresh lemon juice can replace vinegar in rinse cycles for a pleasant citrus scent. Its citric acid also dissolves light mineral deposits. Add half a cup of lemon juice to a full reservoir of water and run a partial cycle, followed by two plain water rinses.
Dish Soap and Soft Brush: For Manual Components
Use mild dish soap and a bottle brush or toothbrush to reach crevices in the water reservoir, spray head, and drip mechanism. Avoid steel wool or harsh scrubbers that can scratch plastic parts.
| Household Item | Best For | How to Use | Avoid On |
|---|---|---|---|
| White Vinegar | Descaling, disinfecting | 50/50 mix with water; run brew cycle | Aluminum parts, unsealed wood |
| Baking Soda | Stain removal, odor control | Paste with water; scrub manually | Non-stick coatings |
| Lemon Juice | Deodorizing, light descaling | Add to water reservoir; run partial cycle | Marble or stone surfaces |
| Dish Soap | Cleaning removable parts | With sponge or brush | Internal electronics |
Mini Case Study: Reviving a Neglected Coffee Maker
Sarah, a remote worker in Denver, noticed her coffee tasted increasingly bitter and her machine took longer to brew each morning. She had been using tap water and skipped cleaning for over six months. After reading about vinegar descaling, she decided to try it.
She ran a 50/50 vinegar-water cycle, paused halfway, and let it soak for 45 minutes. The second half of the cycle sputtered slightly—indicating blockage release—before completing. She followed with three rinse cycles. When she brewed her first post-clean coffee, she immediately noticed a brighter flavor and faster brew time. “It’s like I got a new machine,” she said. “I didn’t realize how much gunk was inside.”
Sarah now marks her calendar for monthly cleanings and uses filtered water to reduce future scaling.
Do’s and Don’ts of Coffee Maker Maintenance
To get the most out of your cleaning efforts, follow these best practices:
| Do’s | Don’ts |
|---|---|
| Use filtered water to minimize mineral buildup | Use undiluted vinegar straight—always dilute |
| Clean removable parts weekly | Put carafe or lid in dishwasher unless labeled safe |
| Descale monthly (more often in hard water areas) | Ignore visible mold or mildew—clean immediately |
| Wipe exterior daily to prevent dust accumulation | Run vinegar through machines with aluminum boilers |
| Leave the lid open occasionally to dry internal moisture | Use abrasive pads on plastic or glass parts |
FAQ: Common Questions About Cleaning Coffee Makers
Can I use apple cider vinegar instead of white vinegar?
No. Apple cider vinegar contains pigments and residual sugars that can stain internal components or promote bacterial growth. Stick to clear, distilled white vinegar for best results.
How often should I deep clean my coffee maker?
At minimum, perform a vinegar descaling every month. If you use hard water or brew several pots per day, consider cleaning every 2–3 weeks. Machines with built-in water filters may require less frequent attention.
Is it safe to use baking soda in the water reservoir?
Not recommended. Baking soda is abrasive and may clog small tubing or valves if not fully dissolved. Reserve it for manual scrubbing of accessible parts like the carafe and filter basket.
Checklist: Monthly Coffee Maker Deep Clean
- ☐ Unplug the coffee maker
- ☐ Remove and wash filter basket and carafe
- ☐ Mix 1:1 white vinegar and water solution
- ☐ Run half-cycle, then pause for 30–60 minutes
- ☐ Complete the brew cycle
- ☐ Discard vinegar solution
- ☐ Run 2–3 full water-only rinse cycles
- ☐ Scrub carafe and basket with baking soda paste if stained
- ☐ Wipe exterior and warming plate
- ☐ Reassemble and brew a test pot of water
Conclusion: Make Clean Coffee a Daily Pleasure
Your coffee maker deserves more than a quick wipe-down. A proper deep clean using vinegar and other household essentials revitalizes its performance, protects your health, and elevates your coffee experience. You don’t need specialty products or technical skills—just consistency and attention to detail. By integrating this simple routine into your home maintenance schedule, you ensure every cup is as fresh and flavorful as it should be.


 浙公网安备
33010002000092号
浙公网安备
33010002000092号 浙B2-20120091-4
Comments
No comments yet. Why don't you start the discussion?