
A keyboard is one of the most frequently touched surfaces in any workspace or home office. Over time, it accumulates dust, crumbs, oils from fingertips, and even bacteria—often unnoticed until keys start sticking or the surface feels grimy. While some users opt to disassemble their keyboards for cleaning, doing so carries risks like damaging connectors or losing small parts. Fortunately, a thorough deep clean can be achieved without removing a single key.
This guide walks through proven, non-invasive techniques to restore your keyboard’s cleanliness and performance. Whether you're using a mechanical, membrane, or laptop-integrated keyboard, these steps will help extend its lifespan, improve hygiene, and maintain typing comfort—all without tools or technical expertise.
Why Deep Cleaning Matters
Keyboards are breeding grounds for germs. Studies have shown that the average keyboard hosts more bacteria than a toilet seat. Beyond health concerns, debris buildup can interfere with key responsiveness, cause double-typing, or lead to permanent mechanical failure over time. Regular maintenance prevents these issues before they disrupt productivity.
Unlike surface wiping, deep cleaning targets what lies beneath the keys—the hidden layer where most contamination resides. The goal isn’t just aesthetics; it’s functionality and longevity. A clean keyboard responds better, lasts longer, and contributes to a healthier work environment.
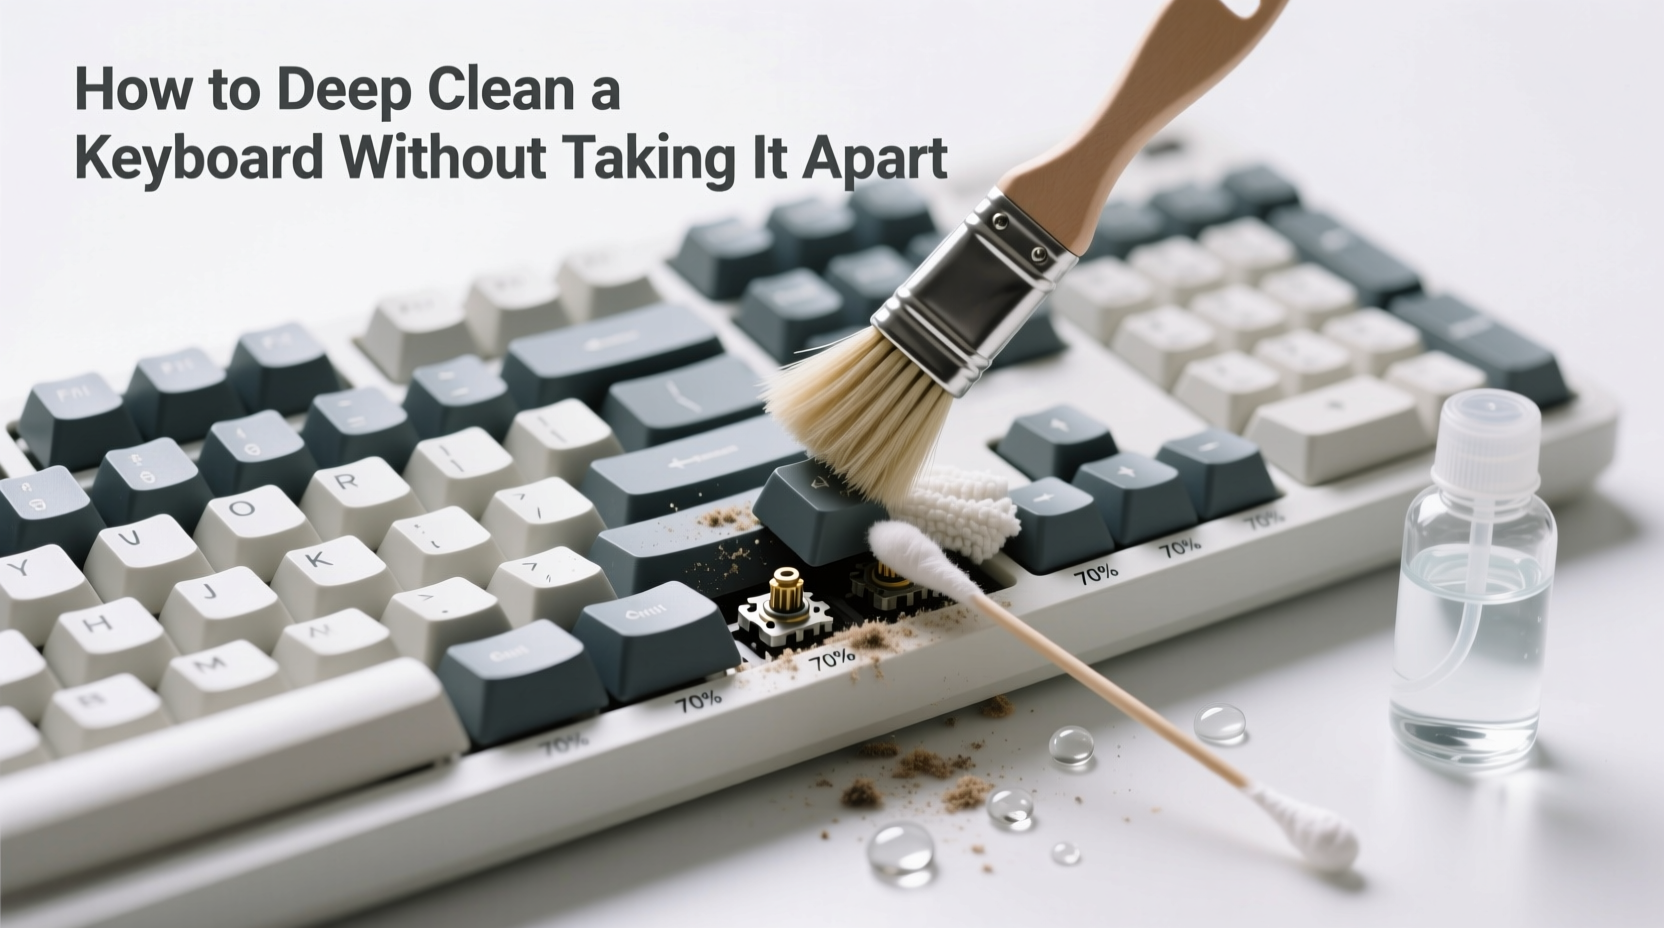
“Most keyboard failures aren’t due to electronic faults—they’re caused by physical debris accumulation. Routine non-invasive cleaning can prevent up to 70% of common malfunctions.” — Dr. Alan Reyes, Electronics Durability Researcher at MIT Media Lab
Step-by-Step: How to Deep Clean Your Keyboard Safely
Cleaning your keyboard thoroughly without disassembly requires patience and the right sequence of actions. Follow this timeline-based approach for optimal results.
- Power down and disconnect: Turn off your computer or unplug the keyboard (for wired models). For wireless keyboards, switch them off or remove batteries to avoid accidental input or short circuits.
- Shake out loose debris: Hold the keyboard upside down and gently shake it. Tilt it side-to-side to loosen crumbs and particles trapped between keys. Do this over a trash can or outdoors if possible.
- Use compressed air: With short bursts, direct canned air between and around each key. Hold the can upright to prevent propellant leakage. Focus on shadowed areas where dust collects. Avoid prolonged spraying to prevent moisture buildup.
- Damp wipe the surface: Moisten a microfiber cloth with 70% isopropyl alcohol (not soaking wet). Wipe each keycap and the spaces between them. Never spray liquid directly onto the keyboard.
- Clean stubborn grime with cotton swabs: Dip a cotton swab in isopropyl alcohol, wring it out well, and carefully clean around base of keys and crevices. Replace swabs as they pick up dirt.
- Address stains or sticky residue: For visible smudges or oily buildup, use a second swab with a tiny drop of mild dish soap diluted in water. Immediately follow with an alcohol-dampened swab to disinfect and dry.
- Let it dry completely: Allow at least 30 minutes for all moisture to evaporate before reconnecting or powering on.
- Test functionality: Type across all rows to ensure no keys are sticking or unresponsive. Repeat spot-cleaning if needed.
Essential Tools and Materials
The effectiveness of your cleaning depends heavily on the tools used. Using improper materials—like paper towels or household cleaners—can scratch surfaces or damage internal components. Below is a checklist of recommended supplies.
Checklist: What You’ll Need
- Compressed air canister
- Microfiber cloths (2–3)
- Cotton swabs (at least 10)
- 70% isopropyl alcohol
- Small bowl or container for dampening cloths
- Toothpick (optional, for gentle scraping)
- Rubber gloves (recommended for hygiene)
Avoid using bleach, window cleaners, or abrasive sponges. These can degrade plastic keycaps and corrode circuitry over time. Stick to alcohol-based solutions, which evaporate quickly and disinfect effectively.
Do’s and Don’ts of Keyboard Cleaning
| Do’s | Don’ts |
|---|---|
| Use isopropyl alcohol on a cloth—not sprayed directly | Never pour liquid into the keyboard |
| Hold compressed air can upright during use | Don’t tilt or shake the can excessively |
| Clean in a well-lit area to spot debris easily | Avoid working in dusty or humid environments |
| Unplug or power down before cleaning | Never clean a powered-on or connected keyboard |
| Replace cotton swabs when visibly dirty | Don’t reuse dirty swabs—they spread grime |
Real Example: Recovering a Neglected Work Keyboard
Jamal, a freelance writer, noticed his mechanical keyboard had become increasingly sluggish. Certain keys required multiple presses, and a faint odor emerged after long typing sessions. He was hesitant to open the unit, fearing he’d break the switches. Instead, he followed a non-invasive deep clean process.
After shaking out debris and applying compressed air, he removed a surprising amount of pet hair and food particles. Using alcohol-dampened swabs, he cleaned around each key stem. On the spacebar, he found dried soda residue clogging the hinge mechanism. A soft toothpick helped lift the gunk without prying. After 40 minutes of careful cleaning and drying, the keyboard responded like new.
“I didn’t think it would work,” Jamal said later. “But now my keys register perfectly, and the whole thing looks ten years younger.” His experience highlights how much function and appearance can improve without opening the case.
Special Considerations by Keyboard Type
Different keyboards respond differently to cleaning methods. Understanding your model ensures you apply the safest technique.
- Mechanical Keyboards: Durable and often spill-resistant, but gaps between keys trap debris. Use compressed air carefully—some switches (like optical) are sensitive to static. Avoid excessive moisture near stabilizers.
- Membrane Keyboards: Common in offices and budget setups. Less tolerant of moisture. Wipe only with slightly damp cloths and never soak. Crumbs are harder to remove due to lower key profiles.
- Laptop Keyboards: Integrated and delicate. Use minimal pressure when wiping. Avoid inserting objects under keys to prevent dislodging scissor mechanisms. Clean more frequently due to proximity to face and hands.
- Wireless Keyboards: Remove batteries before cleaning to eliminate risk of internal corrosion. Pay attention to charging ports—clean with a dry swab only.
“Even high-end keyboards fail prematurely when exposed to constant oil and particulate buildup. Non-invasive cleaning is not just convenient—it’s essential preventive maintenance.” — Lena Park, Senior Technician at TechCare Labs
Frequently Asked Questions
Can I use hand sanitizer to clean my keyboard?
No. Hand sanitizers often contain glycerin or fragrances that leave sticky residues. They may also include higher concentrations of alcohol that can dull plastic finishes over time. Stick to pure isopropyl alcohol (70%) for best results.
How often should I deep clean my keyboard?
Every 3–4 months for regular users. Heavy typists, those who eat at their desks, or households with pets should consider monthly deep cleans. Light users can extend to every six months if kept in a clean environment.
Is it safe to use a vacuum cleaner on a keyboard?
Not recommended. Most household vacuums generate static electricity that can damage sensitive electronics. Small handheld models with anti-static brushes exist, but compressed air is safer and more effective for dislodging fine particles.
Final Tips for Long-Term Keyboard Care
Prevention is the best form of maintenance. Simple daily habits drastically reduce the need for intensive cleaning later. Eat away from your workspace, wash hands before extended typing sessions, and cover your keyboard when not in use for long periods. Consider using a silicone skin or dust cover—especially on laptops or shared devices.
Keep a microfiber cloth and travel-sized alcohol wipes at your desk for weekly touch-ups. These small efforts compound over time, preserving both hygiene and hardware integrity.
Conclusion: Take Action Today
Your keyboard is more than a tool—it’s a reflection of your digital habits. A few minutes of focused care can restore smooth operation, eliminate health hazards, and extend the life of your equipment. You don’t need special skills or tools to make a meaningful difference. By following these practical steps, you protect your investment and create a cleaner, more efficient workspace.


 浙公网安备
33010002000092号
浙公网安备
33010002000092号 浙B2-20120091-4
Comments
No comments yet. Why don't you start the discussion?