
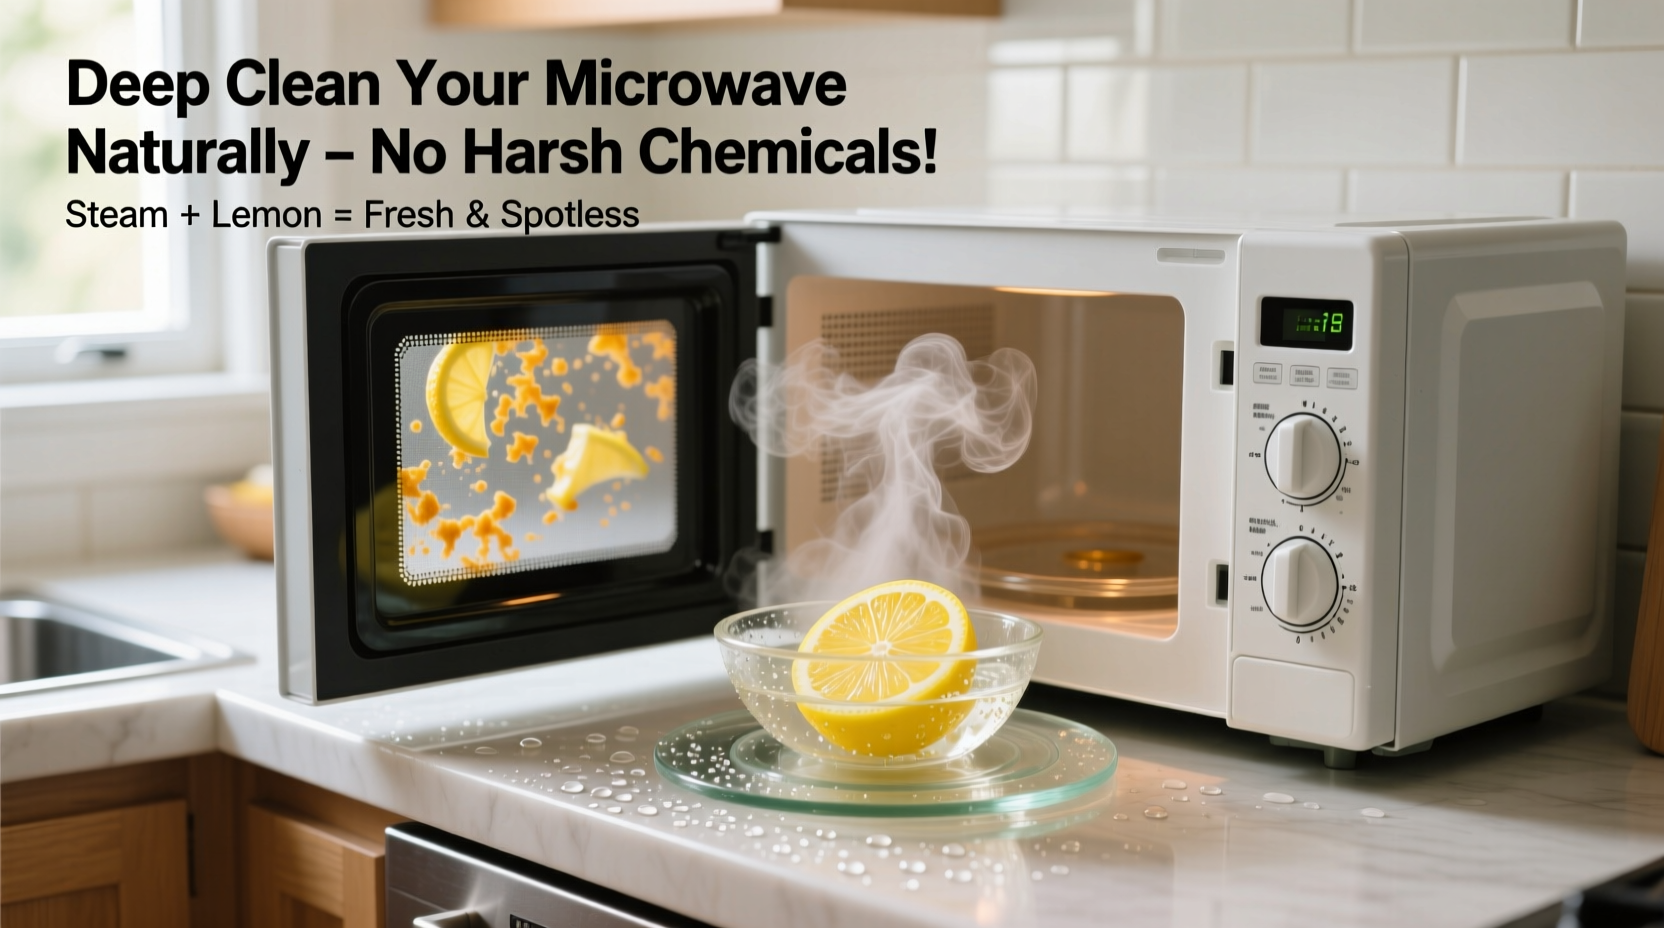
Microwaves are one of the most used appliances in modern kitchens, yet they're often overlooked when it comes to regular cleaning. Over time, splatters, dried food, and lingering odors build up inside, creating an unhygienic environment that can affect both food quality and appliance efficiency. While commercial cleaners promise quick results, many contain harsh chemicals like ammonia or chlorine that leave behind toxic residues and strong fumes. There’s a better way: using just steam and lemon, you can deep clean your microwave naturally, safely, and effectively.
This method leverages the power of heat and acidity to break down grime without risking damage to your health or your appliance. It's eco-friendly, budget-conscious, and perfect for households with children or pets. Whether your microwave is speckled with old sauce splashes or haunted by last week’s popcorn explosion, this guide will walk you through a proven process that restores cleanliness and freshness—using ingredients already in your kitchen.
The Science Behind Steam and Lemon Cleaning
Steam cleaning works because heat transforms water into vapor, which penetrates and softens dried-on food particles. When contained within a sealed space like a microwave cavity, steam increases humidity and temperature rapidly, loosening debris from surfaces. This makes wiping much easier and reduces the need for scrubbing.
Lemon adds a powerful natural advantage. Its high citric acid content acts as a mild degreaser and disinfectant, helping dissolve sticky residues and neutralize bacteria. The acidic nature also cuts through grease more effectively than plain water. Additionally, lemon oil has antimicrobial properties that help eliminate odor-causing microbes, leaving your microwave smelling fresh and clean.
Together, steam and lemon create a synergistic cleaning effect. The heat opens pores in baked-on messes, allowing citric acid to penetrate and lift them away. Unlike chemical sprays that merely mask smells, this combination addresses both visible grime and invisible contaminants at the source.
“Natural cleaning methods like steam and citrus are not only safer but often just as effective as chemical alternatives—especially in small, enclosed spaces like microwaves.” — Dr. Lena Peterson, Environmental Health Scientist
Step-by-Step Guide: Deep Clean Your Microwave Using Steam and Lemon
This simple, five-step process takes less than 30 minutes and requires only two main ingredients and basic kitchen tools. Follow each step carefully for optimal results.
- Prepare the Cleaning Solution
Squeeze the juice of one medium lemon (about ¼ cup) into a microwave-safe bowl. Add 1 cup of water. Drop in the spent lemon halves for extra surface area and aroma. The mixture should be diluted enough to prevent over-acidification of internal components. - Heat the Mixture
Place the bowl in the center of the microwave. Heat on high for 4–5 minutes, or until the solution boils vigorously and steam coats the interior walls. Watch through the door—once condensation forms heavily and droplets run down the sides, the chamber is sufficiently saturated. - Let It Sit
After heating, leave the door closed for 5–10 minutes. This allows the trapped steam to continue softening stuck-on food. Do not open prematurely; the longer it steams, the easier the wipe-down will be. - Wipe Down Interiors
Carefully remove the hot bowl using oven mitts. Dip a soft sponge or microfiber cloth in warm water, wring it out, and begin wiping all interior surfaces—ceiling, walls, turntable, and door seal. Most grime should come off with minimal pressure. For stubborn spots, hold the damp cloth over the area for 10–15 seconds to re-steam locally before wiping again. - Clean the Turntable and Vent Areas
Remove the glass turntable and wash it separately with warm soapy water. Use a cotton swab or soft brush to clean around ventilation slots and under the rotating ring mechanism, where crumbs and grease accumulate. Dry all parts thoroughly before reassembling.
Best Practices for Ongoing Microwave Maintenance
Prevention is key to minimizing deep cleaning frequency. Incorporating small habits into daily use significantly reduces buildup and extends periods between full cleanings.
- Cover food during heating: Use a microwave-safe plate, lid, or paper towel to prevent splatters at the source.
- Wipe spills immediately: Even a quick post-use wipe with a damp cloth prevents residue from baking onto surfaces.
- Air out after use: Leave the door slightly ajar for a few minutes after cooking to reduce moisture retention and prevent mold growth.
- Monthly refresh cycle: Run the lemon-steam treatment once a month, even if the microwave looks clean, to maintain hygiene and deodorize.
Regular maintenance not only keeps your microwave looking better but also improves performance. Built-up grime absorbs microwave energy, reducing heating efficiency and increasing cook times. A clean interior ensures consistent, reliable operation.
Do’s and Don’ts of Natural Microwave Cleaning
| Do’s | Don’ts |
|---|---|
| Use non-abrasive cloths (microfiber or sponge) | Use steel wool or scouring pads that scratch enamel |
| Allow adequate cooling time before cleaning | Open the door immediately after boiling—risk of burns |
| Remove and hand-wash the turntable regularly | Put turntable in dishwasher unless labeled safe |
| Test cleaning solutions on a small area first | Use bleach or oven cleaner inside the microwave |
| Reapply steam for tough, aged stains | Scrub aggressively—gentle pressure is usually sufficient |
Real Example: Reviving a Neglected Microwave
Sarah, a busy teacher and mother of two, hadn’t cleaned her microwave in nearly nine months. Between packed lunches and quick dinners, splatters accumulated into hardened layers of cheese, sauce, and coffee. The interior had a persistent stale odor, and the turntable barely rotated smoothly due to caked-on gunk beneath the ring.
After reading about the lemon-steam method, she decided to try it one Sunday morning. She followed the steps precisely: mixed lemon juice and water, heated for 5 minutes, waited 10, then wiped. To her surprise, 90% of the grime lifted effortlessly. Two stubborn patches near the top required a second round of steaming, but after 20 minutes total effort, the microwave looked almost new. The turntable spun freely once cleaned, and the air smelled faintly citrusy instead of sour.
She now uses a microwave cover daily and schedules a 10-minute steam-clean every four weeks. “It’s amazing what a little consistency does,” she said. “I wish I hadn’t waited so long.”
Frequently Asked Questions
Can I use bottled lemon juice instead of fresh?
Yes, but fresh lemon juice is preferred. Bottled versions often contain preservatives and have lower acidity, making them slightly less effective. If using bottled, consider adding a teaspoon of citric acid or doubling the amount for similar results.
How often should I deep clean my microwave?
For average household use, a deep clean every 4–6 weeks is sufficient. High-use kitchens (e.g., families of four or more, meal prep routines) may benefit from a monthly cycle. Light wipe-downs after messy meals help extend intervals.
Is it safe to use lemon around the microwave’s electronic components?
Yes, as long as liquid doesn’t pool near control panels or vents. The steam method contains moisture within the cavity, and wiping is done after removal of the bowl. Avoid spraying any liquid directly onto buttons or seams. Always unplug the unit if performing a detailed clean near electronics.
Checklist: Your Natural Microwave Deep-Cleaning Routine
Keep this checklist handy for your next cleaning session:
- □ Gather: 1 lemon, 1 microwave-safe bowl, 1 microfiber cloth, oven mitts
- □ Squeeze lemon juice into bowl, add 1 cup water, include rinds
- □ Microwave on high for 4–5 minutes until steaming heavily
- □ Wait 5–10 minutes with door closed
- □ Carefully remove bowl using mitts
- □ Wipe all interior surfaces with damp cloth
- □ Remove turntable and wash separately
- □ Clean vent areas and door seals with cotton swab
- □ Reassemble and test operation
- □ Schedule next cleaning in 4 weeks
Why Avoid Harsh Chemicals in Appliance Cleaning?
Many conventional microwave cleaners rely on volatile organic compounds (VOCs), alkalis, or solvents to cut grease. These substances can linger on surfaces and vaporize during subsequent heating cycles, contaminating food and indoor air. According to the EPA, repeated exposure to such chemicals—even in small amounts—can contribute to respiratory irritation, headaches, and long-term health risks.
In contrast, lemon and water leave no harmful residues. They’re biodegradable, non-toxic, and safe around food contact surfaces. Switching to natural methods reduces environmental impact and promotes a healthier home, especially in tightly ventilated kitchens.
Additionally, acidic yet gentle solutions like lemon are less likely to degrade the microwave’s enamel coating over time compared to abrasive chemical pastes. Long-term use of harsh cleaners can corrode finishes, leading to pitting and rust—issues that compromise both appearance and sanitation.
Conclusion: A Cleaner Kitchen Starts with Simple Habits
Deep cleaning your microwave doesn’t require expensive products or complicated procedures. With nothing more than a lemon, some water, and a few minutes of your time, you can achieve a spotless, fresh-smelling appliance using a method that’s safe for your family and the planet. The steam-and-lemon technique proves that sometimes, the oldest solutions are still the best.
By integrating this routine into your household maintenance schedule, you not only improve hygiene but also extend the life of a vital kitchen tool. Small acts of care compound into lasting benefits—better air quality, improved cooking efficiency, and a more pleasant cooking experience overall.


 浙公网安备
33010002000092号
浙公网安备
33010002000092号 浙B2-20120091-4
Comments
No comments yet. Why don't you start the discussion?