
Over time, even the most careful cooking habits can lead to a stubborn accumulation of grease inside an air fryer. While the basket and tray may get regular attention, it's the hidden zones—the crevices around the heating element, the base near the fan, and the seams between components—that silently trap oil, food particles, and carbonized residue. Left uncleaned, this buildup not only compromises performance but also increases fire risk and causes unpleasant odors. A surface wipe-down won’t cut it. What’s needed is a thorough, targeted deep cleaning process that reaches every overlooked corner. This guide walks you through exactly how to dismantle, scrub, and restore your air fryer—even in the places manufacturers don’t highlight in manuals.
Why Hidden Grease Accumulation Is a Bigger Problem Than You Think
Air fryers circulate hot air at high speeds, which means any loose grease or food debris gets blasted into tight spaces. Unlike ovens where spills are visible, air fryers conceal grime beneath removable parts. The result? Layers of sticky, oxidized oil form in areas like the:
- Gap between the inner chamber wall and the basket rail
- Base surrounding the fan housing
- Heating coil cover (in non-stick coated models)
- Underneath the drip tray or crumb catcher
- Seams where the control panel meets the body
This trapped grease doesn’t just smell—it degrades non-stick coatings over time, reduces airflow efficiency, and can ignite under extreme heat. According to the National Fire Protection Association (NFPA), small kitchen appliances account for nearly 10% of home cooking fires, many linked to accumulated grease. Regular maintenance isn't optional; it's essential for safety and longevity.
“Grease buildup in concealed areas is one of the most common yet overlooked hazards in countertop cooking devices. It insulates heating elements, forcing them to work harder—and hotter—than designed.” — Dr. Alan Reeves, Appliance Safety Engineer, Consumer Tech Institute
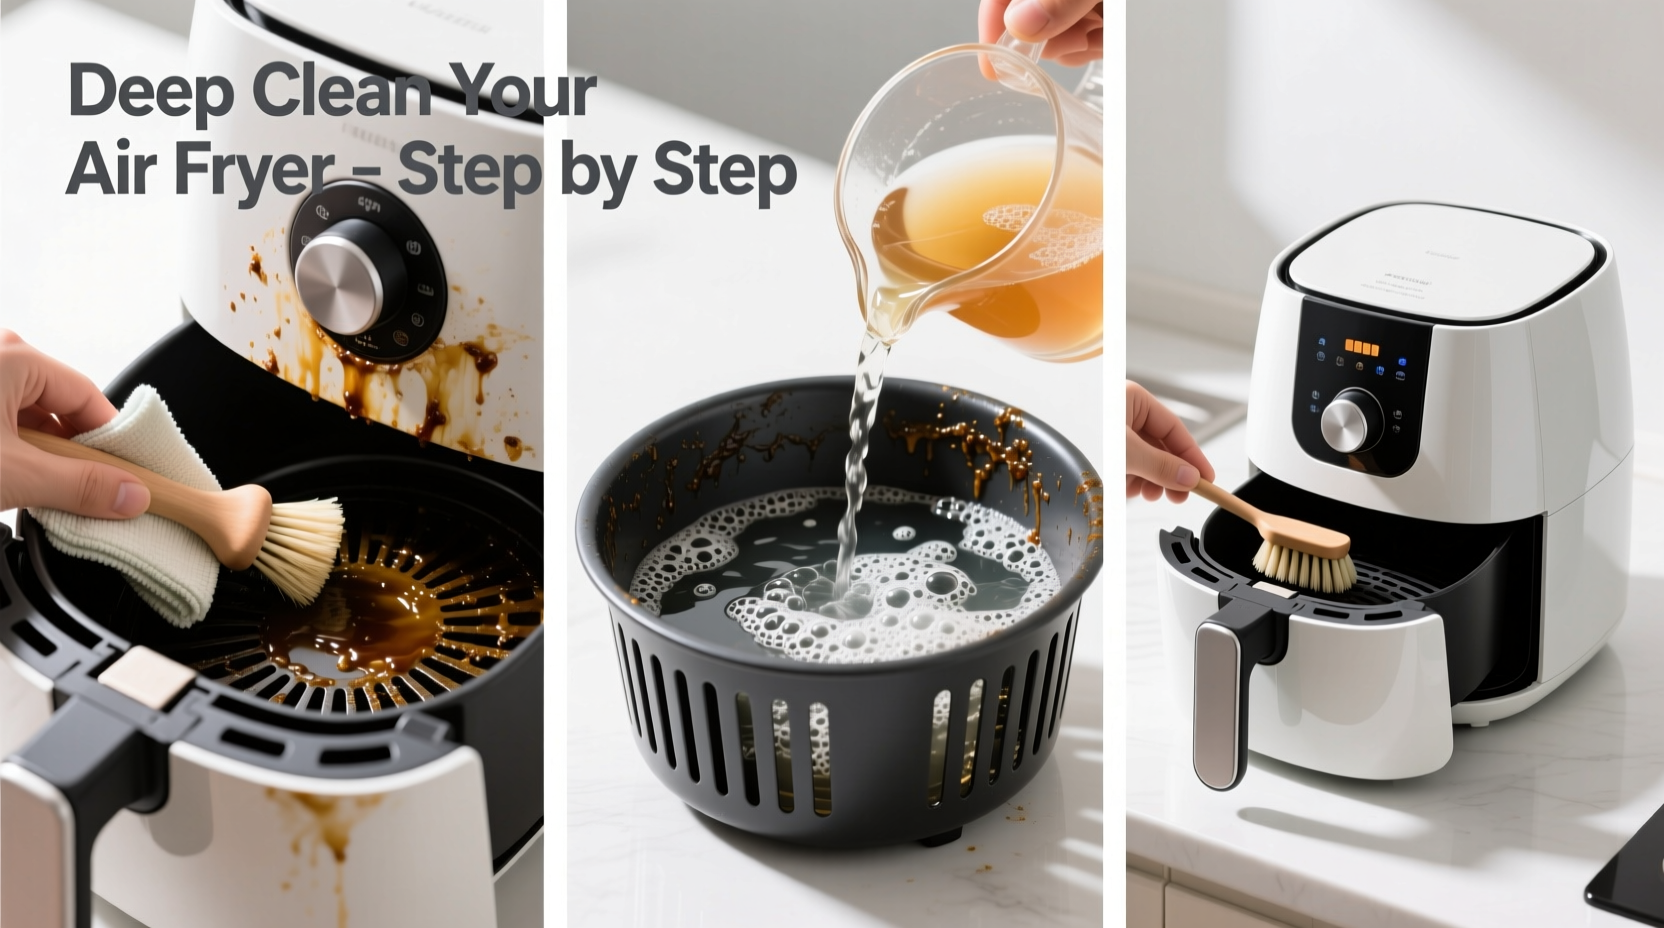
Step-by-Step: Deep Cleaning Your Air Fryer Beyond the Basket
Cleaning the basket alone is like washing only half your face. True deep cleaning requires disassembly, soaking, and precision scrubbing. Follow this timeline-based method for maximum effectiveness.
🕒 Step 1: Cool Down & Disassemble (15 minutes + cooling time)
Unplug the unit and let it cool completely—minimum 2 hours if recently used. Remove all detachable parts: basket, tray, drip pan, crumb guard, and any accessories. Check your manual to see if the outer shell or base can be opened further. Most consumer models don’t require tools, but some brands (like Philips) have service panels that snap off for filter access.
🕒 Step 2: Soak Removable Components (30–60 minutes)
Fill a sink or basin with hot water and add 2 tablespoons of dish soap and ¼ cup of white vinegar. Submerge the basket, tray, and any other dishwasher-safe parts. For baked-on grease, sprinkle baking soda directly onto surfaces before soaking. Let sit for at least 30 minutes—up to 2 hours for heavy buildup.
🕒 Step 3: Scrub Components Thoroughly (20 minutes)
Use a non-abrasive sponge or nylon brush to scrub each soaked part. Pay special attention to:
- The mesh bottom of the basket, where grease seeps through during frying
- Edges where food crumbs lodge after repeated use
- Any grooves or ridges designed to elevate food
Rinse completely and dry with a microfiber cloth. Avoid steel wool or metal scrapers—they scratch non-stick surfaces and promote future sticking.
🕒 Step 4: Access Hidden Interior Zones (25 minutes)
This is where most users stop—but it’s the most critical phase. With the main components removed, inspect the interior cavity:
- Shine a flashlight along the base to spot darkened patches near the fan vent.
- Use cotton swabs dipped in vinegar solution to clean around the heating element. Never spray liquid directly onto electronics.
- Wrap a microfiber cloth around a chopstick or butter knife to reach behind rails and under ledges.
- If your model has a removable bottom plate (e.g., Ninja Foodi variants), unscrew it carefully and clean the fan blades with a soft brush.
For greasy film on walls, dampen a cloth with warm soapy water, wring thoroughly, and wipe down all surfaces. Follow with a second cloth moistened with plain water to remove soap residue.
🕒 Step 5: Reassemble & Test (10 minutes)
Ensure all parts are fully dry before reassembling. Moisture near electrical components can cause short circuits. Plug in the unit and run it empty at 350°F (175°C) for 5 minutes to burn off any lingering moisture and neutralize odors. This also verifies proper operation post-cleaning.
Do’s and Don’ts: Maintaining Performance Without Damage
One wrong move during cleaning can shorten your air fryer’s lifespan. Use this reference table to avoid common pitfalls.
| Do | Don’t |
|---|---|
| Use vinegar and baking soda for natural degreasing | Submerge the main unit or control panel in water |
| Wipe electronics with a barely damp cloth | Use oven cleaner or bleach-based products |
| Inspect hidden areas monthly | Scrub non-stick coatings with abrasive pads |
| Run a blank cycle after deep cleaning | Operate the unit with wet internal components |
| Store with basket slightly open to prevent odor retention | Ignore persistent smoke or burning smells |
Real Example: How One User Fixed Persistent Smoke Issues
Sarah M., a home cook from Portland, noticed her air fryer started emitting thin trails of smoke after just six months of daily use. She cleaned the basket regularly but assumed that was sufficient. After smelling burnt plastic during a batch of fries, she unplugged the unit and inspected deeper.
Using a flashlight, she discovered a thick, tar-like layer coating the fan housing beneath the heating coil. Small bits of potato skin had been sucked into the vent and carbonized over time. Following a variation of the steps above—soaking the basket, using a vinegar-soaked swab for the vent, and gently brushing the coil—she removed over a teaspoon of compacted debris. After reassembly, the smoke disappeared, and airflow noticeably improved. “I had no idea how much gunk could hide in there,” she said. “Now I do a mini inspection every two weeks.”
Essential Tools & Supplies Checklist
Before starting, gather these items to ensure a smooth, effective cleaning session:
- Non-abrasive sponges or nylon brushes
- Cotton swabs (for tight corners)
- Microfiber cloths (lint-free)
- White vinegar (natural degreaser)
- Baking soda (gentle abrasive)
- Mild dish soap (preferably degreasing formula)
- Small bowl or sink for soaking
- Flashlight (to illuminate hidden areas)
- Chopstick or flat utensil (for wrapped-cloth scrubbing)
- Soft-bristled toothbrush (for fan blades or coils)
When to Seek Professional Service
While most deep cleaning can be done at home, certain signs indicate it’s time to contact the manufacturer or a certified technician:
- Visible damage to the heating element or exposed wires
- Fan does not spin freely after cleaning
- Burning smell persists despite thorough cleaning
- Control panel malfunctions after exposure to moisture
- Unit trips circuit breaker when powered on
Attempting to repair internal electronics without training can void warranties and create safety risks. If in doubt, consult the support portal for your brand (e.g., Cosori, Instant, Ninja) and request a service manual or authorized repair center.
FAQ: Common Questions About Deep Cleaning Air Fryers
Can I put my air fryer basket in the dishwasher?
Most baskets and trays are dishwasher-safe, but check your manual first. Dishwasher detergents can degrade non-stick coatings over time, especially if they contain phosphates. Hand washing with gentle soap is recommended for long-term care.
How often should I deep clean my air fryer?
For average use (3–5 times per week), perform a full deep clean every 4–6 weeks. High-use households or those cooking fatty foods (bacon, wings, frozen snacks) should do it every 2–3 weeks. A quick visual check monthly helps catch issues early.
Is vinegar safe for cleaning air fryer interiors?
Yes, diluted white vinegar is excellent for cutting grease and eliminating odors. Never pour it directly into the unit. Instead, apply it to a cloth or swab. Avoid apple cider or balsamic vinegar—they can leave stains or sticky residues.
Prevent Future Buildup: Daily Habits That Make a Difference
Deep cleaning shouldn’t be a crisis response. Integrate these habits to reduce hidden grease accumulation:
- Line the basket: Use parchment paper liners with perforated holes to allow airflow while catching drips.
- Blot fatty foods: Pat meats dry before cooking to minimize oil splatter.
- Wipe after each use: Dampen a cloth with soapy water and quickly wipe accessible interior surfaces once cooled.
- Use a drip tray: Place a small silicone mat or tray underneath the basket to catch overflow.
- Ventilate the area: Run a range hood or open a window during cooking to reduce airborne grease settling on nearby surfaces.
“The best maintenance strategy is consistent, light upkeep. Five minutes after each use beats two hours of scrubbing later.” — Lena Cho, Home Appliance Technician & Blogger at CleanTech Kitchens
Conclusion: Take Control of Your Kitchen’s Most Overworked Appliance
Your air fryer works hard to deliver crispy meals with less oil—but it shouldn’t suffer in silence. Hidden grease buildup is more than unsightly; it’s a functional and safety concern that demands proactive attention. By following a structured deep cleaning routine, using the right tools, and adopting preventive habits, you protect both your investment and your household. Don’t wait for smoke, strange noises, or foul odors to prompt action. Schedule your next deep clean today, and make it a ritual as routine as loading the dishwasher.


 浙公网安备
33010002000092号
浙公网安备
33010002000092号 浙B2-20120091-4
Comments
No comments yet. Why don't you start the discussion?