
A blender is one of the most frequently used appliances in modern kitchens, relied on for smoothies, soups, sauces, and more. However, despite regular rinsing, residue from sticky ingredients like nut butters, oils, and fibrous vegetables can accumulate—especially around the blade base and inside crevices of the jar. Over time, this buildup not only affects performance but can also harbor bacteria and cause unpleasant odors. While many users clean the visible interior, the blade assembly often gets overlooked. A thorough deep clean of both the jar and its blade base is essential for hygiene, longevity, and optimal blending results.
Why Deep Cleaning the Blade Base Matters
The blade base of a blender is where food particles are most likely to become trapped. The tight seal between the blade housing and the jar creates small gaps that liquids and soft foods can seep into. These hidden pockets are breeding grounds for mold, mildew, and odor-causing bacteria if not cleaned properly. Additionally, mineral deposits from hard water or acidic ingredients like citrus juice can corrode metal components over time, especially on stainless steel blades.
Manufacturers often warn against submerging the entire base in water because it may compromise the seal and lead to motor damage when reassembled. However, the removable blade unit—commonly found in high-performance blenders like Vitamix, Ninja, or Blendtec—can be safely detached and cleaned with proper technique.
“Many people think rinsing after use is enough, but without disassembling and scrubbing the blade gasket, they’re leaving behind 30% of the grime.” — Dr. Lena Peterson, Appliance Hygiene Researcher at the Kitchen Safety Institute
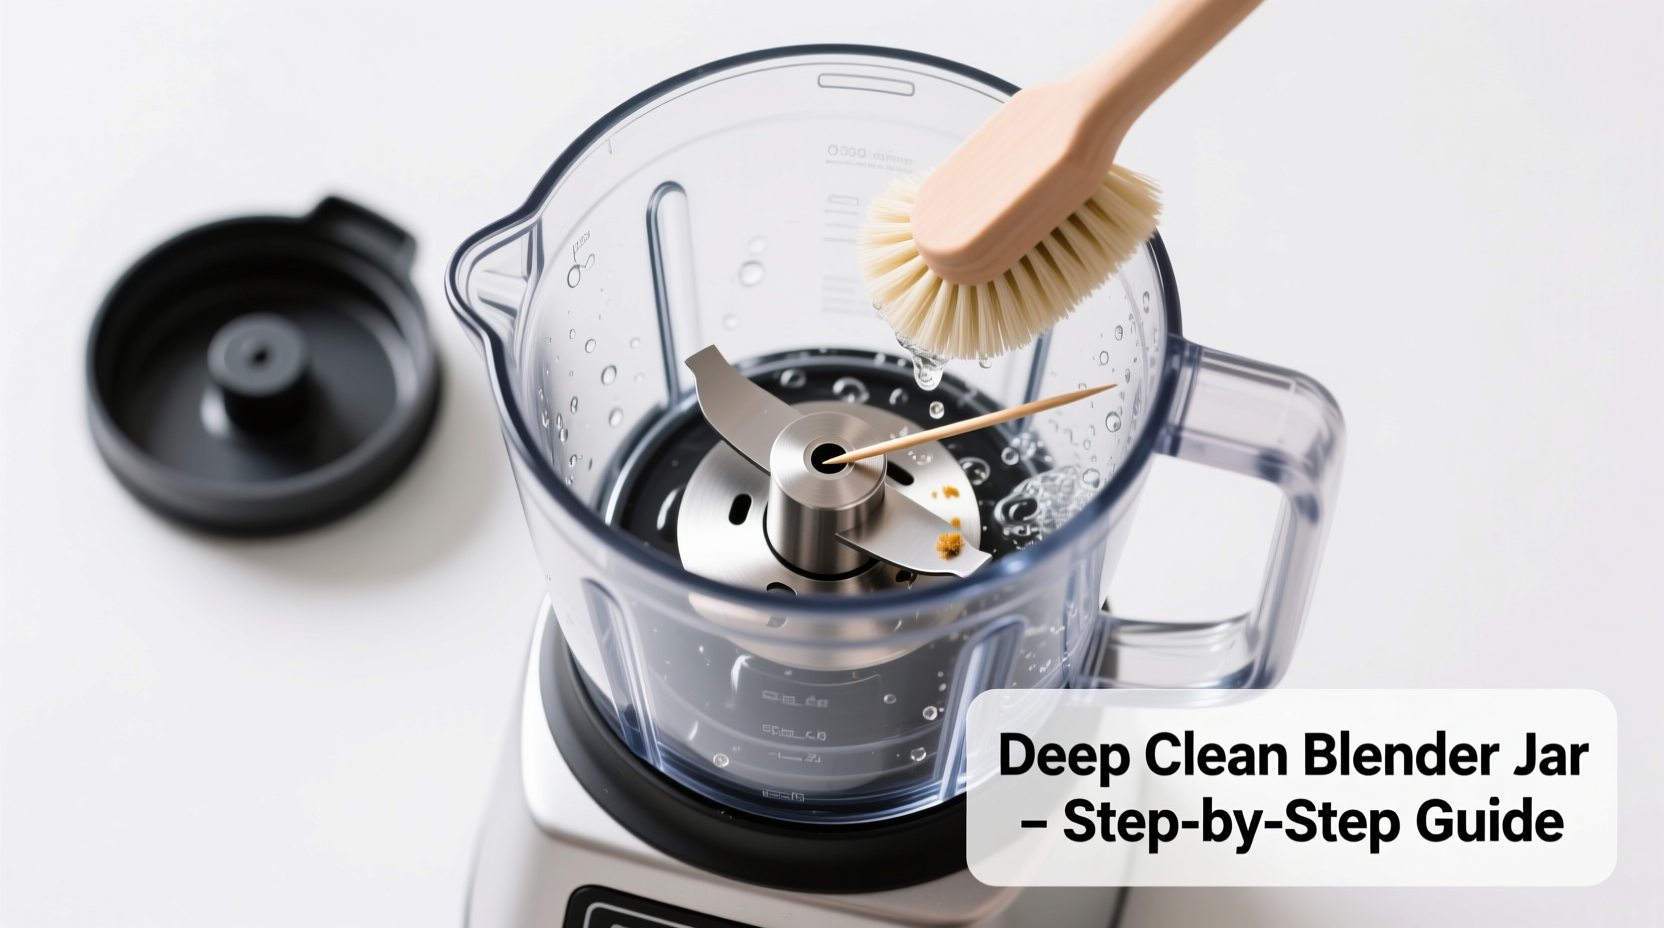
Step-by-Step Guide to Deep Cleaning Your Blender Jar and Blade Base
Cleaning your blender thoroughly requires attention to detail and a methodical approach. Follow these steps to ensure every part—from the jar’s interior to the underside of the blade—is sanitized and residue-free.
- Unplug and disassemble: Always disconnect the blender from power. Remove the jar from the motor base. If your model allows, unscrew the blade assembly from the bottom of the jar. Refer to your user manual if unsure about disassembly.
- Rinse immediately after use: While not part of the deep clean itself, pre-rinsing prevents dried-on food, making later cleaning easier.
- Soak the blade assembly: Place the detached blade unit in warm, soapy water for 10–15 minutes. This loosens stuck-on debris and oil residues.
- Clean the jar interior: Fill the jar halfway with warm water and a drop of dish soap. Blend for 30 seconds, then rinse. For stubborn stains, add a tablespoon of baking soda and blend again.
- Scrub under the blade: Use a soft-bristle bottle brush or toothbrush to clean around the rubber gasket and beneath the blades. Pay special attention to the grooves where the blade screws into the housing.
- Disinfect with vinegar solution: Wipe down all parts with a 1:1 white vinegar and water mix to kill bacteria and neutralize odors.
- Rinse and dry completely: Rinse all components thoroughly with clean water. Air-dry upside down on a drying rack—never reassemble while damp.
- Reassemble carefully: Once fully dry, screw the blade base back onto the jar securely. Ensure the gasket is properly seated to prevent leaks.
Essential Tools and Supplies for Effective Cleaning
Using the right tools makes a significant difference in removing grime without damaging your blender. Avoid abrasive pads or harsh chemicals that can scratch plastic jars or degrade rubber seals.
| Tool/Supply | Purpose | Recommended Use |
|---|---|---|
| Dish soap (phosphate-free) | Cuts through grease and food residue | Mix with warm water for soaking and washing |
| Baking soda | Natural abrasive and deodorizer | Make a paste for scrubbing or blend in jar |
| White vinegar | Disinfects and removes mineral deposits | Wipe surfaces or soak gaskets |
| Bottle brush or pipe cleaner | Reaches tight spaces under blades | Use gentle pressure to avoid damaging seals |
| Soft cloth or microfiber towel | Drying without lint or scratches | For final wipe-down before storage |
| Old toothbrush (dedicated) | Detail cleaning around gasket and threads | Label clearly to avoid cross-use with personal items |
Common Mistakes That Compromise Blender Cleanliness
Even conscientious users can fall into habits that reduce cleaning effectiveness. Awareness of these pitfalls helps maintain appliance hygiene long-term.
- Leaving the blade assembly wet: Trapped moisture promotes mold growth, particularly in rubber gaskets. Always air-dry completely before reassembly.
- Using steel wool or scouring pads: These scratch plastic jars, creating microscopic grooves where bacteria can hide.
- Ignoring the gasket: The rubber or silicone ring beneath the blade is a common contamination zone. Remove it if possible and clean separately.
- Over-tightening the blade base: Excessive force can warp the jar’s threading or compress the gasket unevenly, leading to leaks.
- Assuming “self-cleaning” means no maintenance: While some blenders have a self-clean function, it doesn’t replace periodic deep cleaning of the blade mechanism.
Real Example: How One Home Cook Fixed Her Blending Issues
Sophie M., a meal-prep enthusiast from Portland, noticed her smoothies were taking longer to blend and developing an off smell despite daily rinsing. After ruling out motor issues, she decided to inspect the blade base. Upon unscrewing the unit, she discovered a thick layer of oxidized almond butter residue trapped beneath the blades and inside the gasket groove.
She soaked the blade assembly in warm soapy water, then used a toothbrush dipped in a baking soda-vinegar paste to scrub the area. After thorough rinsing and drying, she reassembled the blender. Not only did the odor disappear, but blending efficiency improved noticeably—her usual 60-second cycle now took just 35 seconds. Sophie now schedules a bi-weekly deep clean and keeps a dedicated cleaning brush stored near her blender.
Deep Cleaning Checklist
Use this actionable checklist to ensure no step is missed during your next deep cleaning session:
- ✅ Unplug the blender and remove the jar from the base
- ✅ Unscrew the blade assembly (if detachable)
- ✅ Soak blade unit in warm, soapy water for 10–15 minutes
- ✅ Run soapy water through the jar using the blend function
- ✅ Scrub under blades and around gasket with a soft brush
- ✅ Remove and clean rubber/silicone gasket if accessible
- ✅ Disinfect with vinegar solution or diluted bleach (1 tsp per cup water)
- ✅ Rinse all parts thoroughly with clean water
- ✅ Air-dry components upside down on a rack
- ✅ Reassemble only when completely dry
- ✅ Test for leaks by filling with water before first use
Do’s and Don’ts of Blender Maintenance
| Do’s | Don’ts |
|---|---|
| Disassemble and dry the blade base regularly | Submerge the motor base in water |
| Use natural cleaners like vinegar and baking soda | Use bleach-based cleaners unless specified by manufacturer |
| Clean immediately after blending sticky or oily ingredients | Leave blended remnants sitting overnight |
| Inspect gaskets monthly for wear or cracking | Ignore persistent odors—they signal hidden buildup |
| Store the jar inverted to allow airflow | Tighten the blade base with excessive force |
Frequently Asked Questions
Can I put my blender jar in the dishwasher?
Many modern blender jars are dishwasher-safe, especially those made from durable plastic or glass. However, the blade base is often not recommended for dishwashers due to high heat and strong detergents that may degrade rubber seals or loosen fittings. Always check your product manual. When in doubt, hand-wash the blade assembly to preserve its integrity.
How do I remove stubborn stains from my blender jar?
For tough stains—like turmeric, beetroot, or coffee—create a cleaning slurry by adding warm water, one tablespoon of baking soda, and a splash of white vinegar to the jar. Let it sit for 15 minutes, then blend for 30 seconds. Repeat if necessary. For organic discoloration, a paste of baking soda and water applied with a soft cloth can gently lift stains without scratching.
Is it safe to use bleach to clean my blender?
Diluted bleach (1 teaspoon of unscented bleach per quart of water) can be used occasionally to sanitize the jar and blade components, especially if mold has been detected. Soak for no more than 5 minutes, then rinse extremely well—multiple times—to eliminate any chemical residue. Never mix bleach with vinegar or ammonia, as this produces toxic fumes. Reserve bleach use for emergencies, not routine cleaning.
Conclusion: Make Deep Cleaning Part of Your Routine
Your blender works hard to deliver quick, nutritious meals. In return, it deserves consistent care that goes beyond a quick rinse. By incorporating a structured deep cleaning routine—especially focusing on the often-neglected blade base—you protect your investment, improve performance, and ensure every blend is hygienic and fresh. The process takes less than 20 minutes every other week and pays dividends in appliance lifespan and kitchen safety.


 浙公网安备
33010002000092号
浙公网安备
33010002000092号 浙B2-20120091-4
Comments
No comments yet. Why don't you start the discussion?