
Makeup brushes are essential tools in any beauty routine, but they often go unnoticed when it comes to maintenance. Over time, bristles accumulate oils, dead skin cells, bacteria, and product buildup—leading not only to poor makeup application but also to breakouts and skin irritation. While many people know they should clean their brushes, few do it correctly. The wrong method can weaken the glue, fray bristles, or cause shedding. This guide walks you through a safe, effective way to deep clean your brushes at home using accessible products, while preserving their quality and extending their lifespan.
Why Deep Cleaning Matters
Daily touch-ups and blending may require only a quick wipe on a tissue, but regular deep cleaning is non-negotiable for hygiene and performance. Brushes used for foundation, concealer, or cream products absorb oils and moisture, creating a breeding ground for bacteria. Even powder brushes collect residue that affects pigment payoff and blending precision.
According to dermatologists, unclean brushes contribute to clogged pores and acne flare-ups, especially around the chin and jawline—common areas where foundation brushes linger. A 2020 study published in the *Journal of Cosmetic Dermatology* found that over 70% of tested makeup brushes harbored harmful microbes, including staphylococcus and E. coli.
“Cleaning your brushes isn’t just about aesthetics—it’s a skincare necessity. Dirty tools can compromise even the most meticulous cleansing routine.” — Dr. Lena Torres, Board-Certified Dermatologist
What You’ll Need: The Right Tools for Safe Cleaning
Using harsh soaps or aggressive scrubbing can ruin delicate bristles. Instead, choose gentle, pH-balanced ingredients designed for sensitive materials. Here’s what to gather before starting:
- Mild shampoo or brush cleanser: Baby shampoo or sulfate-free hair shampoo works well due to its gentle formula.
- Brush cleaning mat (optional):strong> A silicone pad with textured surfaces helps dislodge stubborn residue without damaging bristles.
- Clean towel or paper towels: For drying—never use rough fabrics that can snag fibers.
- Lukewarm water: Hot water can weaken the adhesive holding bristles in place.
- Small bowl or sink basin: To hold water and cleanser.
- Brush guard or shaping cap (optional): Helps maintain shape during drying, especially for tapered or domed brushes.
Step-by-Step Guide to Deep Cleaning Makeup Brushes
Follow this detailed process to ensure every brush is thoroughly cleaned without structural damage. Allocate 15–30 minutes depending on how many brushes you’re cleaning.
- Pre-rinse the bristles: Hold the brush under lukewarm running water. Tilt it at an angle so water flows from base to tip—never submerge the entire brush, as moisture can seep into the ferrule (metal part) and loosen the glue.
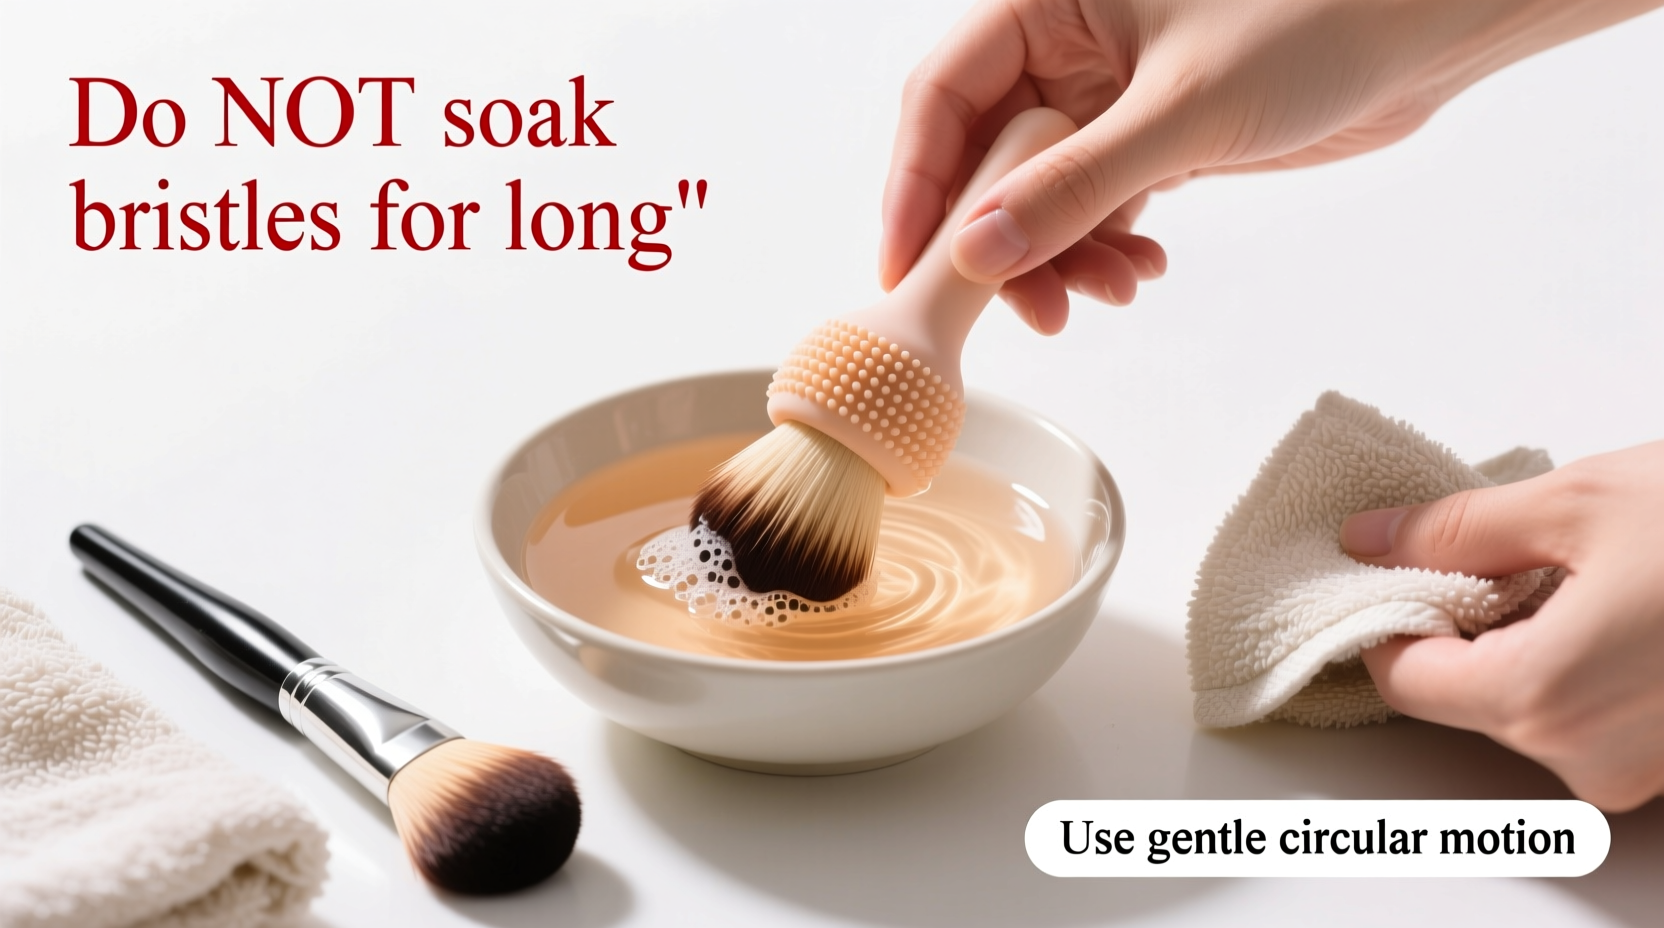
- Apply cleanser: Place a dime-sized amount of baby shampoo or brush cleanser into a small bowl or directly onto a cleaning mat. Swirl the bristles gently in circular motions to work up a lather. Focus on the lower half where most buildup occurs.
- Massage the bristles: Using the textured side of a cleaning mat or your palm, gently massage the bristles in small circles. This action lifts dried product and breaks down oils. For dense synthetic brushes, apply slightly more pressure; for soft natural hair brushes, use feather-light strokes.
- Rinse thoroughly: Rinse under lukewarm water until the runoff is completely clear. Any lingering suds mean residual cleanser remains, which can dry out bristles.
- Squeeze out excess water: Gently press the bristles between clean fingers or a soft cloth. Do not twist or pull—this causes misshaping and shedding.
- Reshape the brush head: Use your fingers to carefully restore the original shape, especially important for angled or fan brushes.
- Dry properly: Lay brushes flat on a clean towel with the bristles hanging slightly off the edge so air circulates. Alternatively, use a brush drying rack. Never stand them upright in a cup—they can trap moisture in the ferrule, leading to mold and loosened bristles.
Do’s and Don’ts When Cleaning Makeup Brushes
| Do | Don’t |
|---|---|
| Clean brushes every 1–2 weeks if used daily | Wait months between cleanings |
| Use lukewarm water | Use hot water |
| Lay brushes flat to dry | Dry brushes upright in a cup |
| Use a gentle, sulfate-free cleanser | Use alcohol-based sanitizers frequently |
| Reshape bristles after washing | Twist or wring out wet bristles |
Cleaning Different Types of Brushes
Not all brushes are created equal. Natural hair and synthetic bristles require different care approaches to maintain integrity.
Natural Hair Brushes (e.g., goat, sable)
Commonly used for powders and blending, these bristles are porous and absorb oils easily. They’re more delicate than synthetics and can become brittle if over-cleaned. Limit deep cleaning to once every 3–4 weeks unless visibly dirty. Always use mild shampoo and never soak.
Synthetic Brushes
Ideal for liquids and creams, synthetic bristles are more durable and can be cleaned weekly. They resist water absorption better, making them less prone to damage. Still, avoid boiling water or strong detergents that degrade polymer fibers over time.
Dense Foundation or Concealer Brushes
These hold the most product buildup. Pre-treat with a drop of olive oil or micellar water to break down stubborn formulas before washing. Follow with a full cleanse using the standard method above.
Mini Case Study: From Breakouts to Clear Skin
Sophia, a 28-year-old graphic designer, struggled with recurring chin acne despite following a strict skincare regimen. She washed her face twice daily, avoided comedogenic products, and changed pillowcases regularly—but the breakouts persisted. After consulting a dermatologist, she was asked about her makeup tools. Sophia admitted she hadn’t cleaned her favorite kabuki brush in over six months.
She followed the deep-cleaning steps outlined here, repeating the process biweekly. Within three weeks, her breakouts reduced significantly. “I didn’t realize my brush was basically a petri dish,” she said. “Now I clean them like clockwork—and my skin has never looked better.”
Checklist: Your Monthly Brush Care Routine
Stay on top of hygiene with this simple monthly checklist:
- ☐ Inspect each brush for odor, stiffness, or discoloration
- ☐ Separate brushes by frequency of use (daily vs. occasional)
- ☐ Deep clean high-use brushes (foundation, concealer, blush)
- ☐ Spot-clean eye and lip brushes with alcohol-free wipe
- ☐ Reshape and lay flat to dry overnight
- ☐ Store in a breathable container away from humidity
- ☐ Replace any brushes with loose bristles or damaged ferrules
FAQ: Common Questions About Brush Cleaning
How often should I deep clean my makeup brushes?
For brushes used daily with liquid or cream products, deep clean every 1–2 weeks. Powder brushes can be cleaned every 3–4 weeks. Occasional-use brushes (like highlighter or contour) need cleaning every 4–6 weeks.
Can I use vinegar to clean makeup brushes?
Vinegar is acidic and can degrade bristle proteins over time, especially in natural hair brushes. While it has antimicrobial properties, it’s not recommended for frequent use. If needed, dilute one part white vinegar with four parts water and rinse thoroughly afterward.
Is it safe to use hand sanitizer on brushes?
In a pinch, a small amount of alcohol-based sanitizer can disinfect a brush between uses—especially during travel. However, frequent use dries out bristles and weakens the glue. Always follow with a proper wash later.
Extending the Life of Your Brushes
Proper cleaning is only part of the equation. How you store and handle brushes plays a major role in longevity. Keep them in a ventilated drawer or upright holder with the bristles facing up. Avoid sealed plastic cases that trap moisture and encourage bacterial growth.
Never share brushes directly with others—use disposable applicators instead. And replace brushes every 1–2 years, or sooner if bristles become frayed, shed excessively, or no longer hold their shape after washing.
“A well-maintained brush performs better, feels softer on the skin, and lasts years longer. Think of cleaning as an investment in both your makeup results and skin health.” — Naomi Reed, Professional Makeup Artist & Educator
Conclusion
Deep cleaning your makeup brushes doesn’t require expensive products or salon visits. With the right technique and consistent care, you can keep your tools hygienic, functional, and beautiful for years. The key lies in gentle handling, proper rinsing, and smart drying practices that protect the delicate structure of each brush. By integrating these steps into your routine, you’re not just maintaining tools—you’re protecting your skin and enhancing your everyday beauty experience.


 浙公网安备
33010002000092号
浙公网安备
33010002000092号 浙B2-20120091-4
Comments
No comments yet. Why don't you start the discussion?